Last Updated on June 3, 2023
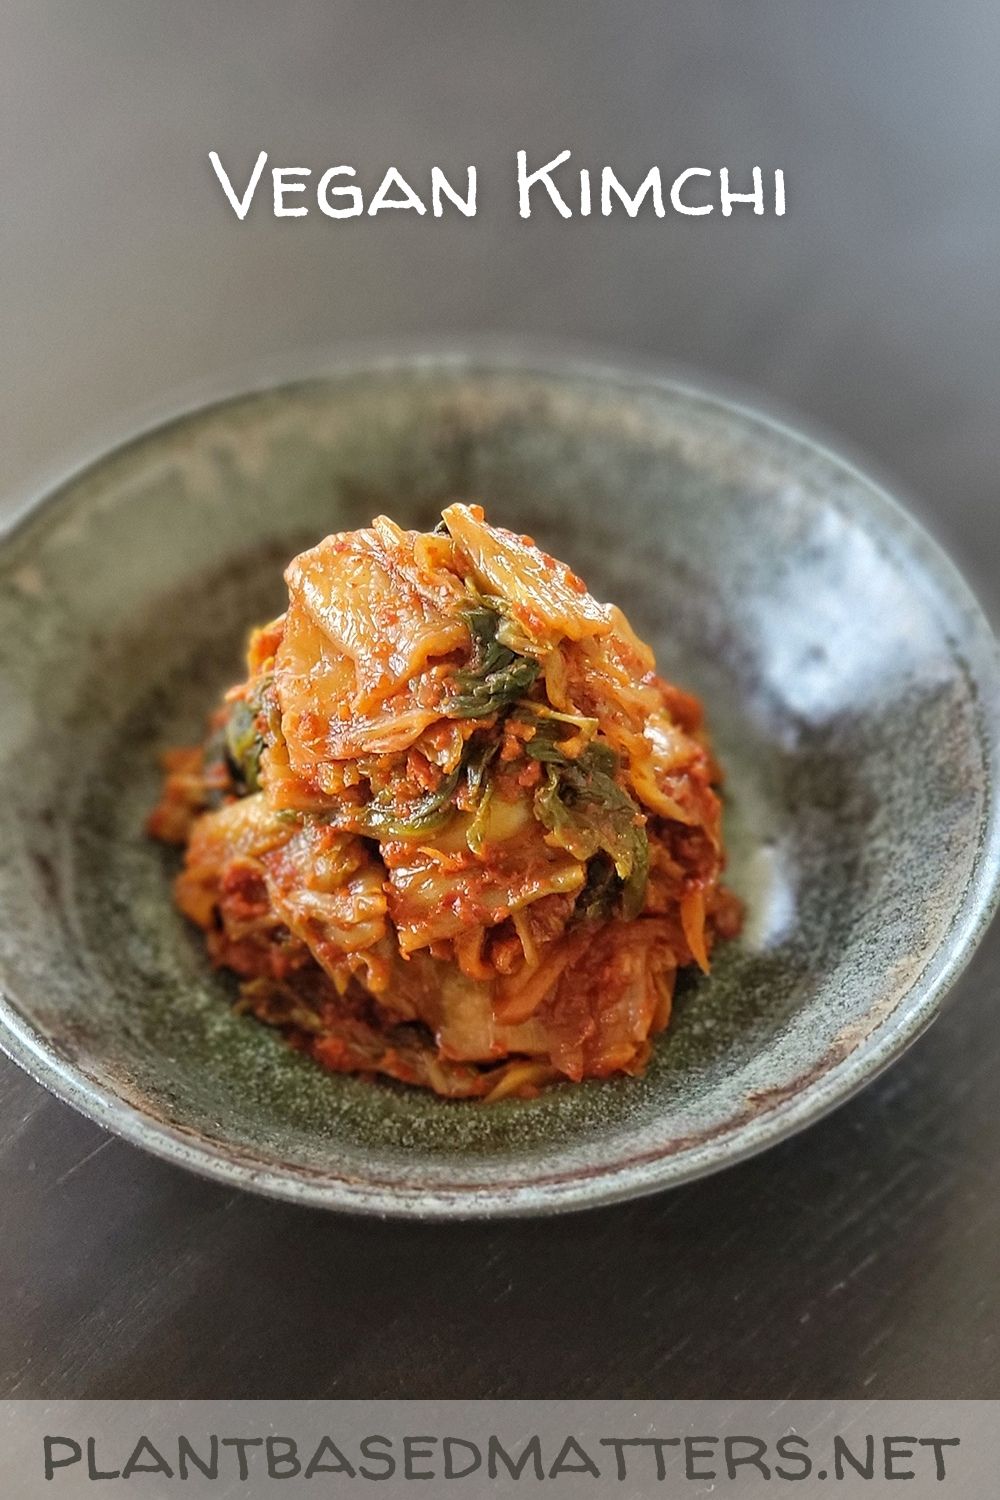
[ヴィーガンキムチ]
This Vegan Kimchi is my interpretation of the most common type of Korean kimchi made of napa cabbage but without the use of rice flour paste! It’s spicy, tangy, slightly sweet with lots of umami taste. My vegan kimchi is just as delicious as the authentic Korean kimchi but made 100 % vegan. It’s a perfect food project to do on your day off!
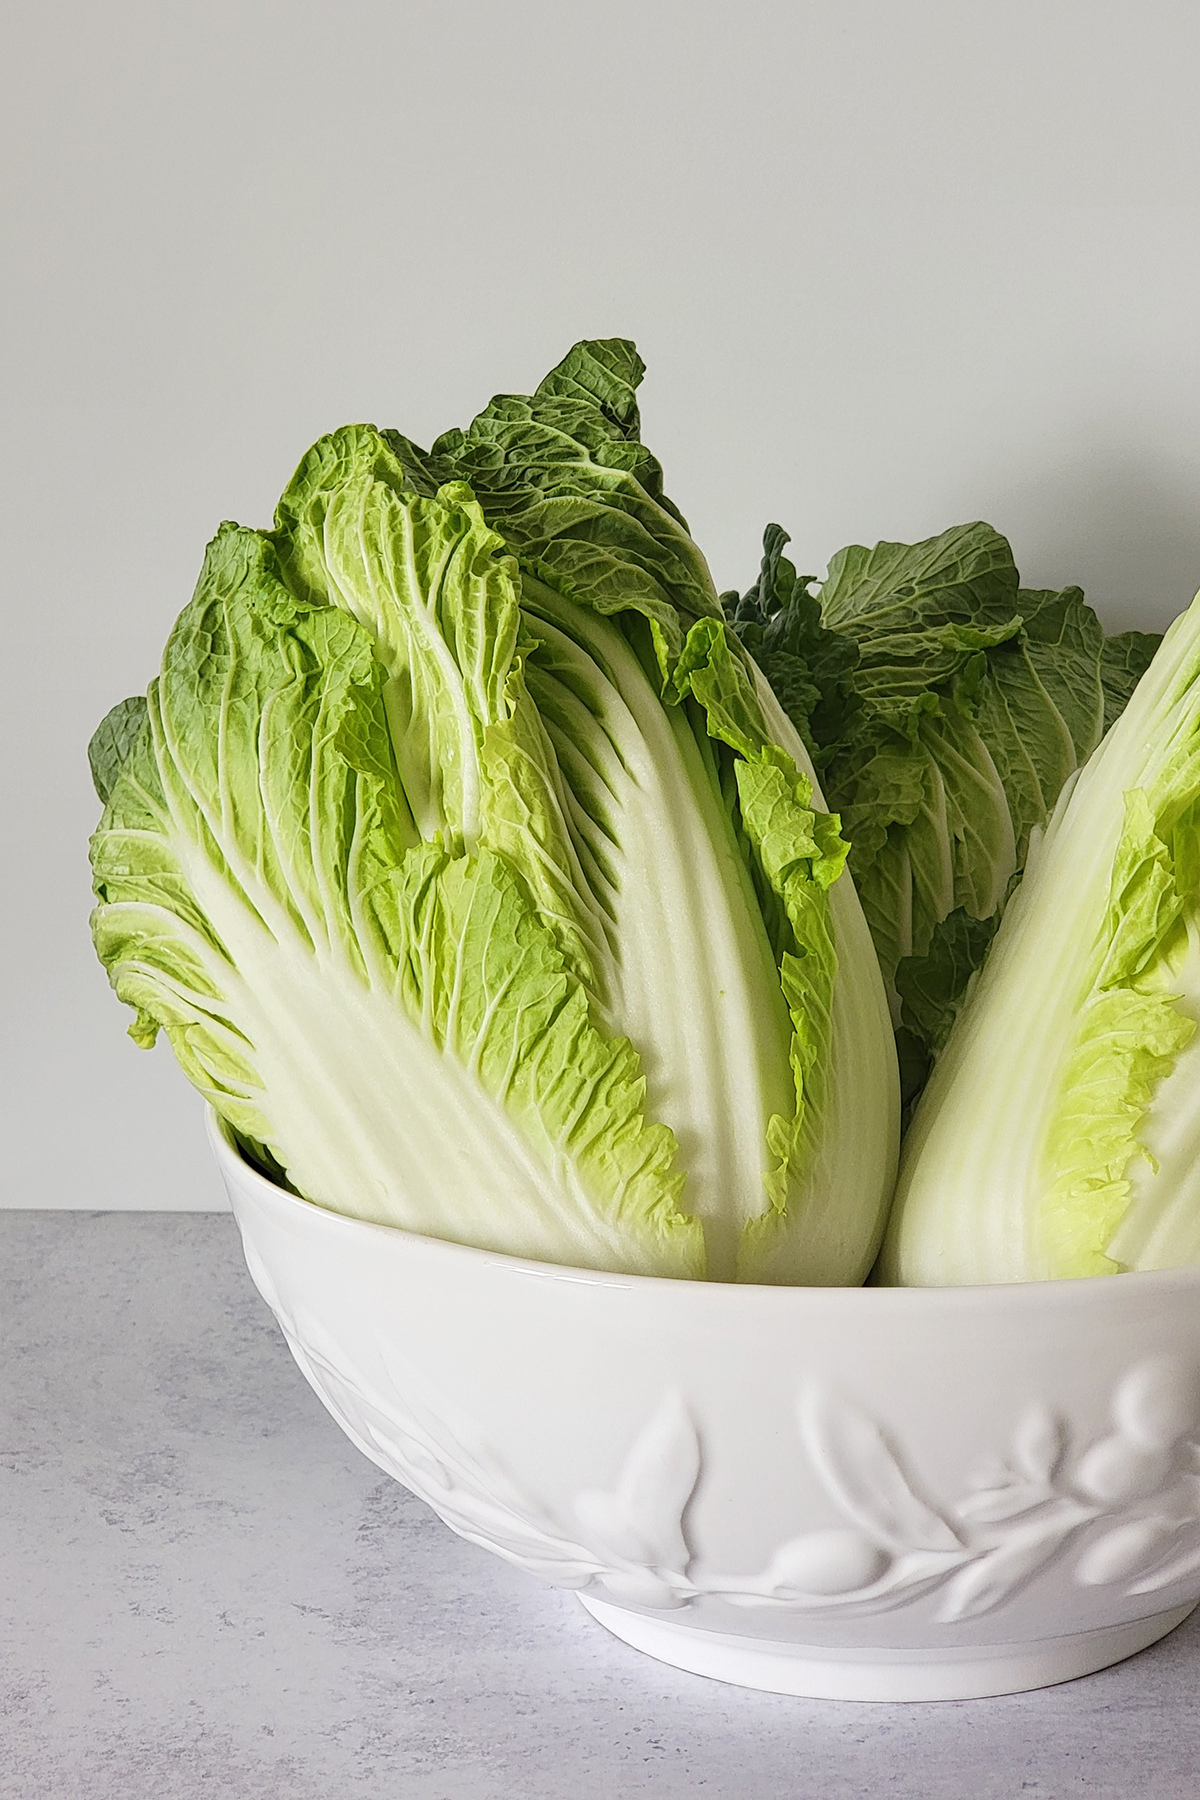
Napa Cabbage Kimchi
When we think of kimchi, I’m sure napa cabbage kimchi is what comes to our mind! Napa cabbage is a type cabbage that’s common in Asian cooking such as Japanese, Korean and Chinese. Some may call it Chinese cabbage while others call it napa cabbage.
Did you know that the name “napa” cabbage is Japanese? The word “napa” or “nappa [菜っ葉]” to be more accurate in pronunciation, refers to any leafy vegetables. I guess the word napa or nappa got lost in translation and eventually became another official English name for Chinese cabbage.
Napa cabbage is juicy, sweet and tender. It’s perfect for making pickles including kimchi! Using regular cabbage won’t be the same so you definitely need to make one with napa cabbage!
Inspiration
I feel every recipe I create has a background story or some sort of reasons or motivations behind it. I’ve always wanted to make vegan kimchi recipe of my own and eventually share it with whoever may have the same interest.
I feel like I’ve been through so many phases with kimchi. LOL. First, it was just me enjoying the flavor of kimchi in general. That moved onto eating some kimchi at local Korean restaurants (pre-vegan days) which was also enjoyable. Then, I stopped eating kimchi for a while after becoming vegan.
After a while another wave of kimchi craving came. But this time, it left me with the realization that there was no good store-bought kimchi that meets my expectations. So, I decided to make my own!

Luckily, I found the recipe which was super simple and easy to follow and was good enough to make me happy. I used the recipe that I found on Serious Eats by J. Kenji Lopez-Alt. But then, I wanted to make my own kimchi that tastes somewhat more authentic like the one I used to eat at the local Korean restaurant.
Did I achieve that? Probably not or at least not yet. After all, I’m not Korean so I don’t think I’ll ever have an idea of what authentic napa cabbage kimchi should taste.
But I know what my taste preferences are so I’ve gone through many trials and error to perfectly suit “my” wants and preferences to call this “my kimchi.” Honestly, it really took a while for me to finally publish the recipe. I’d say my vegan kimchi recipe may keep evolving from here moving onward. But for now, I can represent this version until I could come up something worthwhile changing!
So what makes this vegan kimchi uniquely mine?
No Rice Flour Paste
When I first discover that the traditional (authentic) kimchi is made with rice flour paste, I’ve read that when kimchi paste is made with rice flour paste, the kimchi paste will distribute, coat and stick evenly on the cabbage leaves.
Other information says that the rice flour paste also adds more depth to the flavor of kimchi and also helps with proper fermentation and/or to prevent from spoiling.
I don’t know if those information is accurate which I’d assume it is. However, since I first made the homemade kimchi recipe (from Serious Eats) without rice flour paste and tasted great, for me, it was totally acceptable to skip it.
For that reason, I purposely omit the use of rice flour paste. Again, it’s not an authentic way, but that’s what my vegan kimchi sets apart from all the over vegan kimchi recipes out there!
I think some may be hesitant to make their own vegan kimchi because it requires quite a lot of work to put it together. Well, with my recipe, it’s one less step to make delicious vegan kimchi at home!
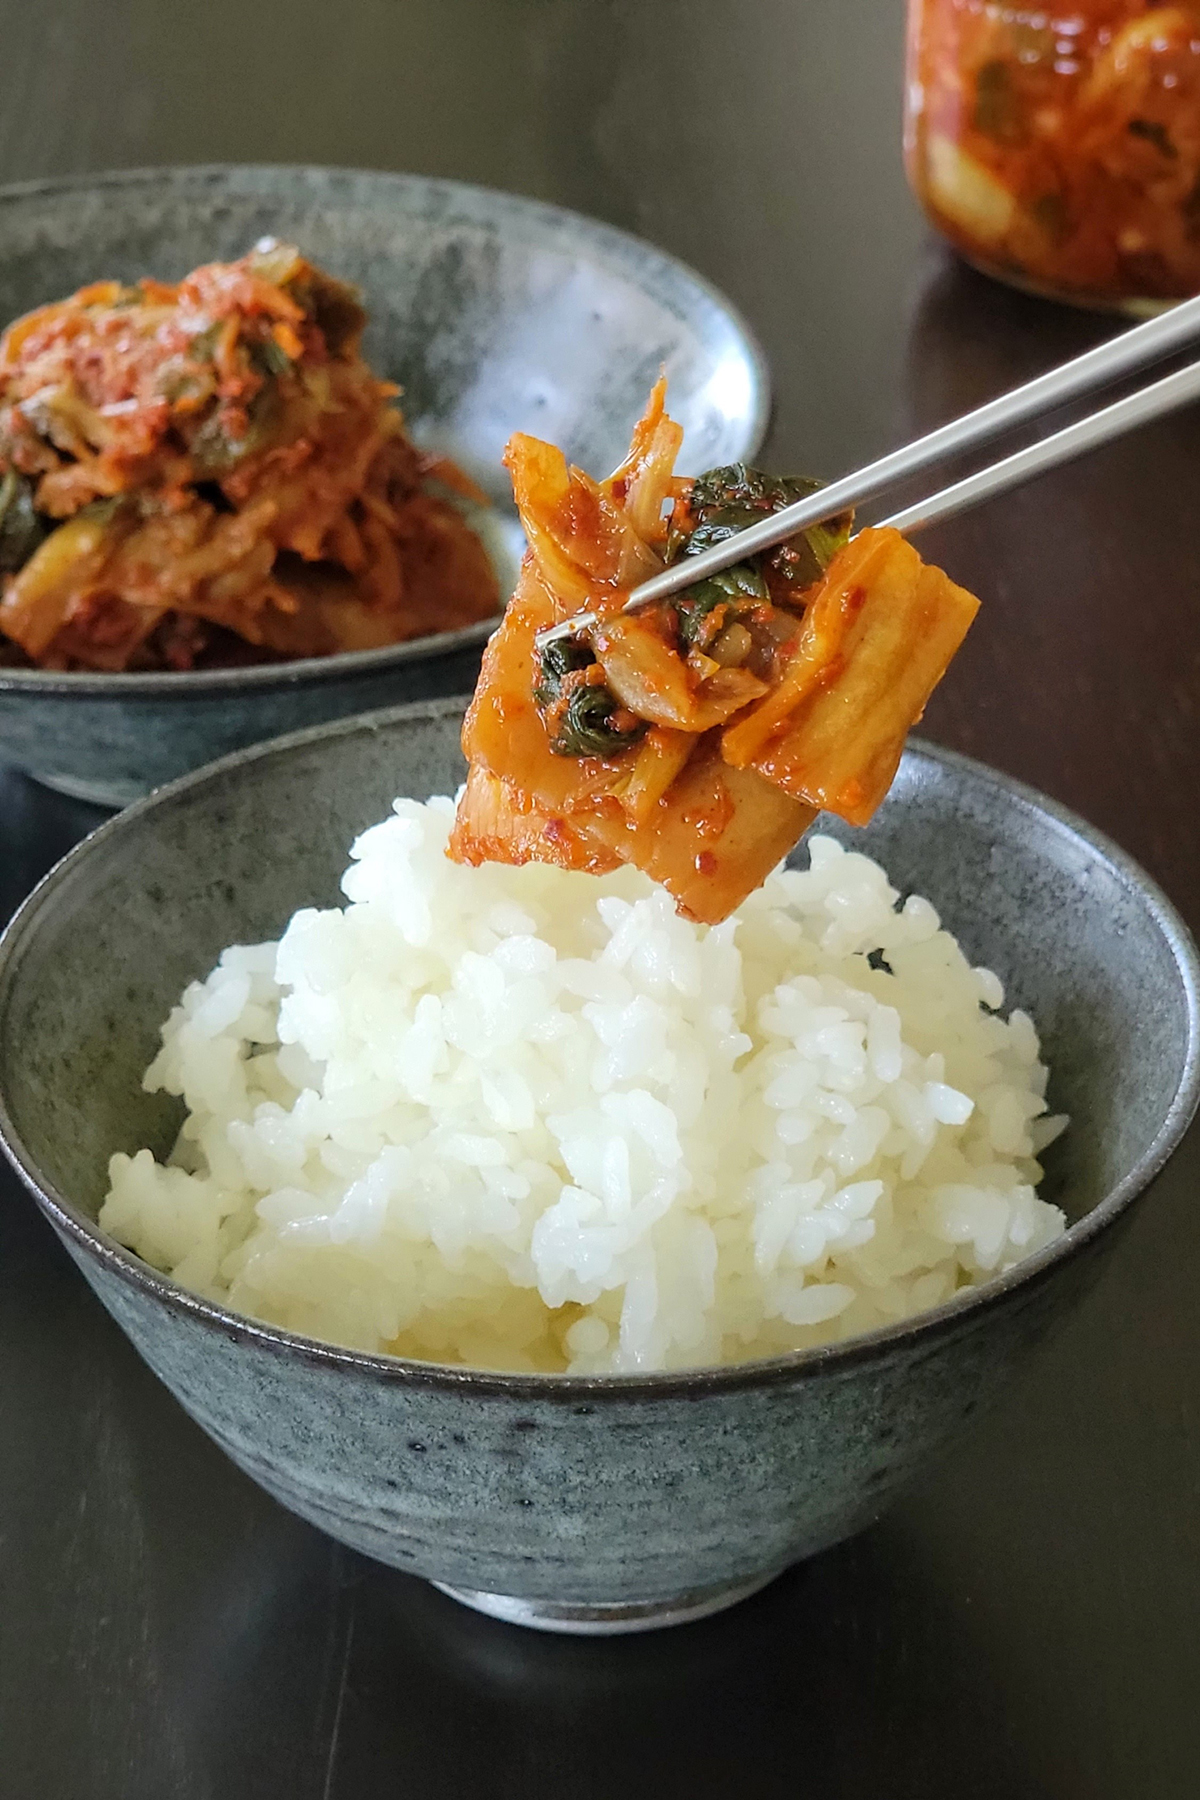
How to Enjoy Kimchi
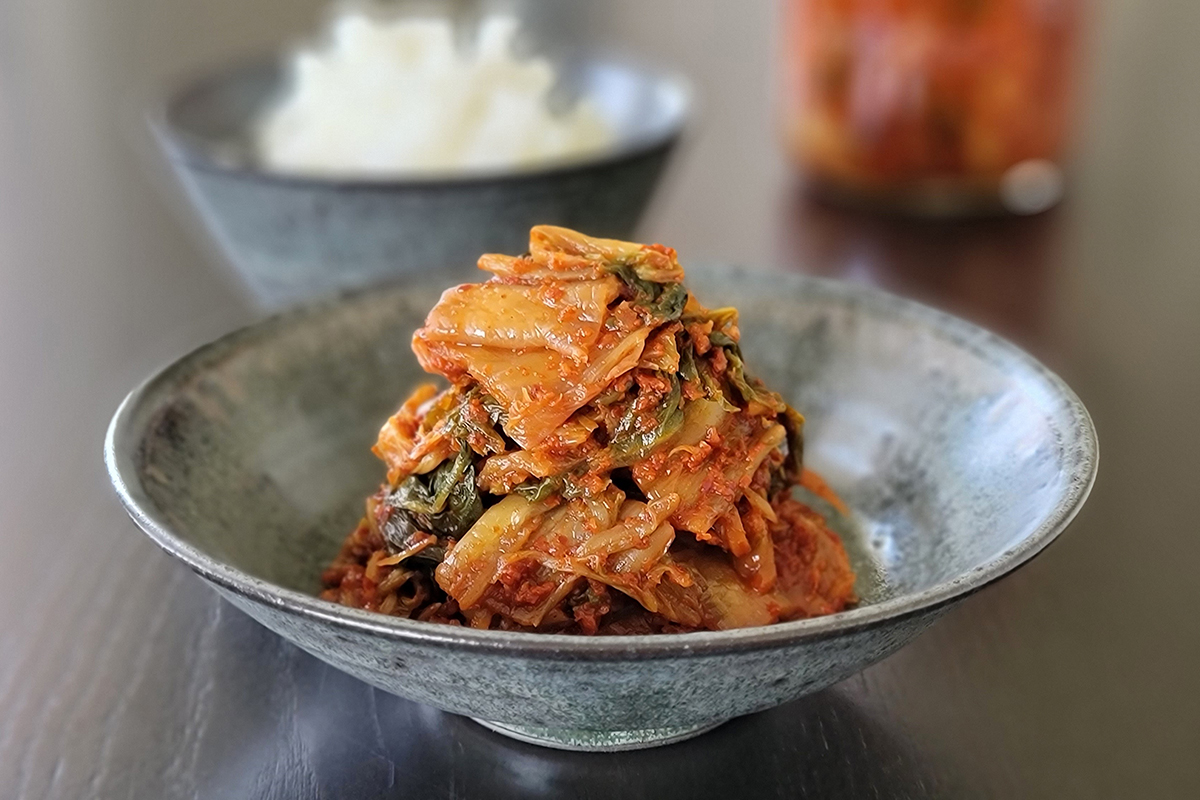
Great kimchi should taste amazing just by eating by itself. But the best way to appreciate the taste of kimchi is to eat with a bowl of white rice. To be exact, Japanese rice or Korean rice will be the best option!
Another ideas to savor kimchi would be:
- Kimchi Fried Rice
- Kimchi Cream Pasta
- (with) Bibim Bap
- (with) Kimbap
- Savory Kimchi Pancakes
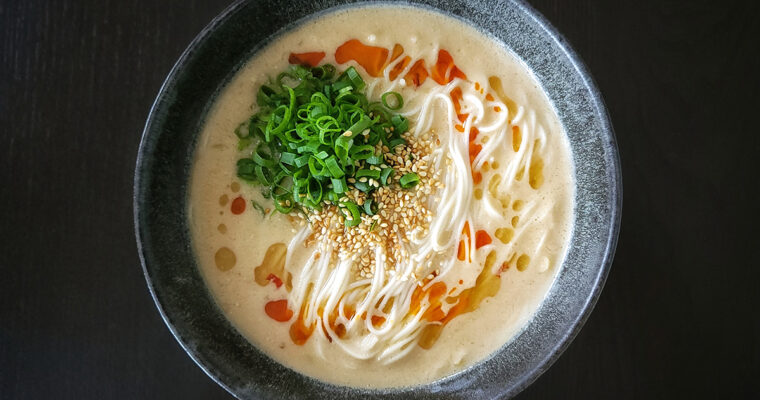
- Kimchi Ramen
- Kimchi Avocado Toast
- (in) Sandwiches etc.
You can make so many dishes with delicious homemade kimchi from Authentic Korean dishes to Korean-inspired fusion food!
Be sure to check out the “Step-by-Step Instructions (w/ Photos)” after the Printable Recipe!

Vegan Kimchi
Ingredients
Prepping Napa Cabbage
- 3 medium or 2 large head napa cabbage about 6 lbs / 2.7 kg
- 6 tbsp sea salt
Kimchi Paste
- 5 oz yellow onion 1/2 onion, roughly chopped
- 6 white parts of scallions roughly chopped (save the green parts for later)
- 2 oz ginger knob peeled and chopped
- 20 garlic cloves about 1/2 cup, roughly chopped
- 1 fuji apple peeled and remove the core/seeds and roughly chopped
- 1 1/2 cup gochugaru adjust to taste
- 1 tbsp dulse flakes
- 3 tbsp sugar adjust to taste
Daikon & Carrot
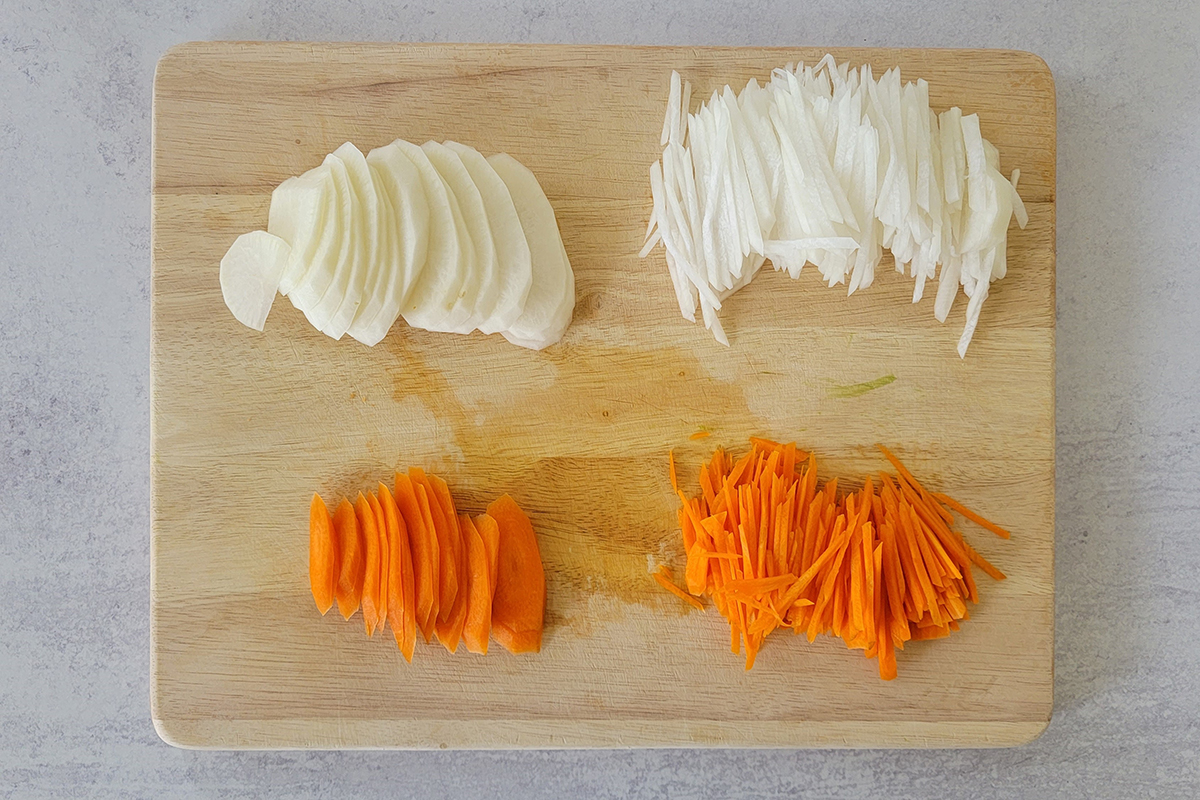
- 12 oz daikon radish peeled and julienned
- 6 oz carrots peeled and julienned
- 1/2 tbsp sea salt
The Rest
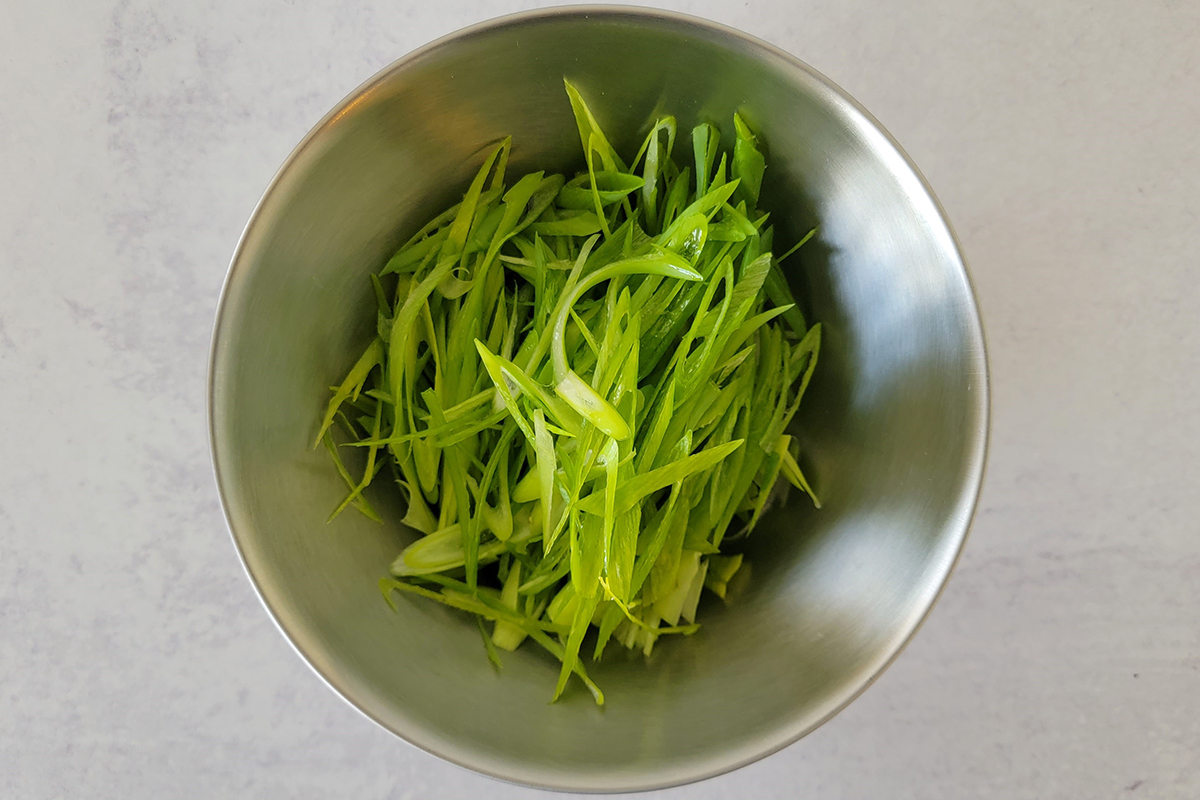
- 6 green parts of scallions thinly sliced
- Extra sea salt if needed
Instructions
- Wash and clean napa cabbages then shake off the excess water. Cut napa cabbage lengthwise in quarters then cut the core off. Next, cut into about 1 1/2 inches/4 cm pieces. Transfer to an extra-large bowl or a large pot. Sprinkle 6 tbsp sea salt and massage with hands for a couple of minutes to draw out moisture. Let it stand for 2-3 hours until wilted and the liquid has been drawn out.
- Meanwhile prepare the kimchi paste. In a food processor, combine onion, white parts of scallion, ginger, garlic and apple. Pulse until they become a paste. Next, add gochugaru, dulse flakes and sugar. Pulse again until it makes a thick paste. Set aside.
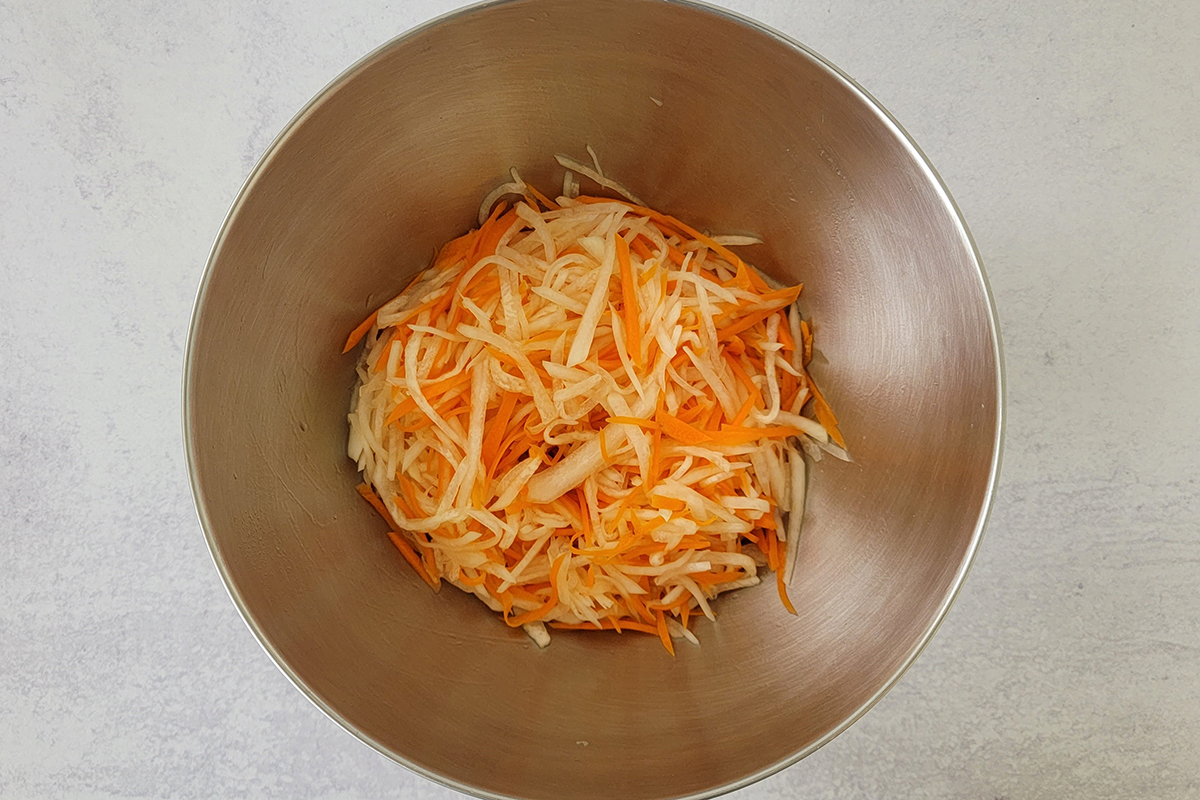
- In another bowl, combine julienned daikon radish, carrot and 1/2 tbsp sea salt. Massage with hands and let it stand until the final mix in step 5.
- Once the napa cabbage is completely wilted, transfer to a colander and drained the liquid. Rinse with running water then squeeze the napa cabbage to get rid of excess water. Transfer back to the same bowl or pot.
- Into the bowl or pot with drained napa cabbage, add the daikon radish and carrot (with the liquid), green parts of scallions. Next, add the kimchi paste and mix until everything is well coated with the kimchi paste. Check the saltiness again and add more sea salt as needed. The kimchi should taste quite salty.
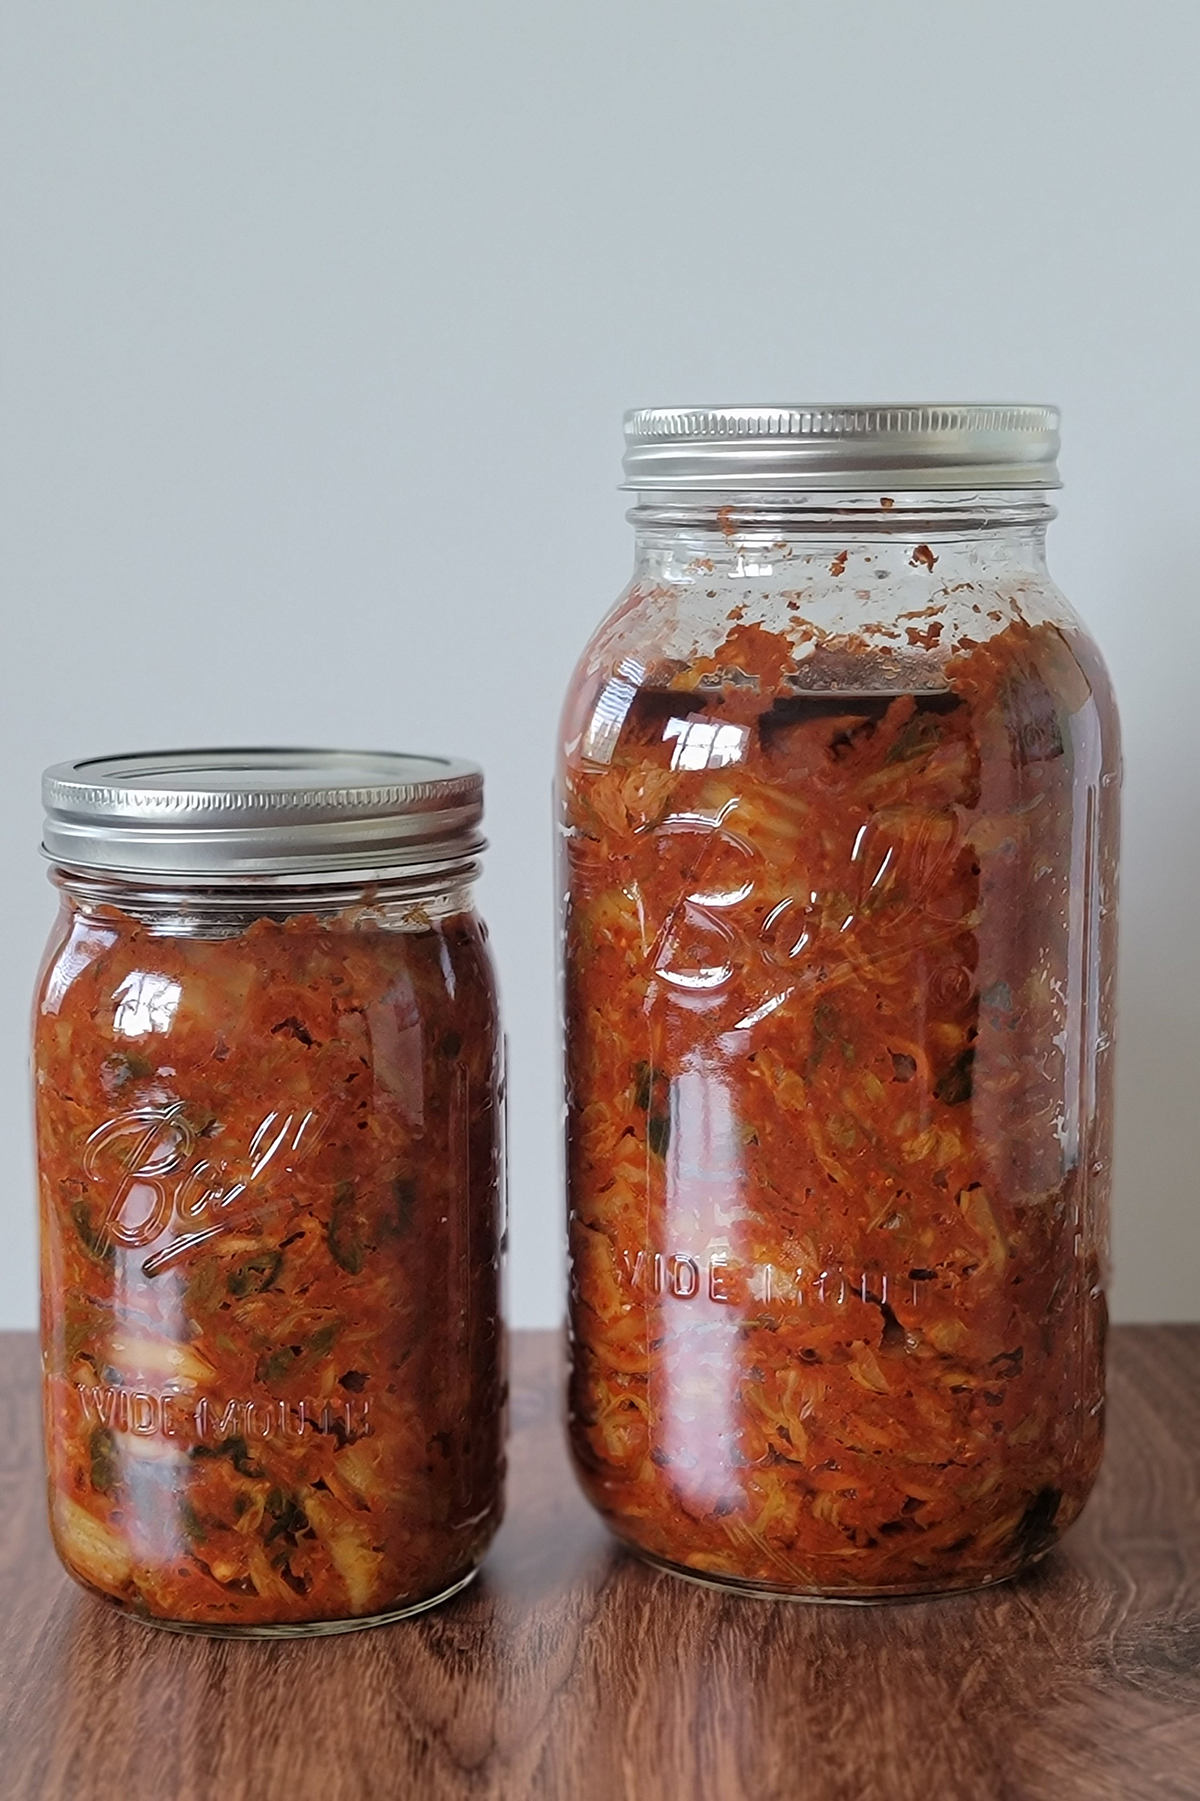
- Transfer to a clean glass jars or containers. Fill the jars with the kimchi as much as you can. When the jar is not filled, it won’t ferment properly. After filling to almost to the top, push it down to get rid of air pockets as much as you can. IMPORTANT: After pushing it down, make sure to leave about 1.5 in/4 cm room at the top. As the kimchi starts fermenting, it will rise up. If it’s filled all the way to the top, it will cause a major spillage when it starts the fermentation.
- Cover with a lid and tighten it.IMPORTANT: Don’t overtighten the lid. Kimchi releases gas as it ferments. When the gas builds up in the jar but has nowhere for the gas to escape, the jar may explode.Leave the jars (or containers) at a cool room temperature in a dark place for 24-48 hours to start the fermentation process.
- Check for Fermentation: Once it starts fermenting, you may hear the jar releasing the gas built up on its own which is completely normal and it means the fermentation is successful! You can also check by opening the jar. Open the lid carefully and slowly.As soon as it’s open, you should see (hear) the liquid from kimchi bubbles which means the fermentation is successful!Another way is to taste it. If the kimchi tastes sour, that means it’s fermented! If they aren’t fermented yet, leave a little longer and check again. After the 24-48 hours (or the initial fermentation is successful), transfer to the fridge and let it continue to slowly ferment for 7-10 days.
- Serve and enjoy!
Notes
Napa Cabbage
- Choose fresh and tight-head napa cabbage.
- Regular cabbage is not recommended for making kimchi.
Daikon Radish
- You could also add daikon radish when making the kimchi paste in step 2 instead of adding it later. Both are equally tasty!
Dulse Flakes
- Dulse flakes are dried kelp which adds umami taste and depth to the kimchi.
- I use Organic Dulse Flakes from Mountain Rose Herbs.
Choice of Apple
- I use fuji apple for the intense sweetness.
- You can substitute with other type of sweet apple or Asian pear.
Gochugaru
- Gochugaru is Korean dried red chili pepper flakes.
- You can easily find one at Korean grocery stores and online stores. I use Gochugaru from Mother-in-Law’s Kimchi.
- You can adjust the amount to your taste.
Sugar
- I highly recommend using sugar to balance out the saltiness and spiciness---I also prefer kimchi that’s slightly sweeter.
- If you don’t want to use sugar, simply skip it or add another fuji apple for extra sweetness (optional.)
Choice of Jars/Containers
- Be sure to use clean and washed jars or containers to store kimchi. I use glass jar with a metal lid.
- If you use plastic containers, be aware that kimchi will stain and leave the kimchi smell permanently.
- Find the right size container. You want to use a jar that you can fill almost to the top (remember to leave some room to avoid a spillage.) If kimchi is filled halfway to the container, it won’t ferment properly.
- Any extra kimchi doesn’t fit in the jars, you can eat it as is (without fermentation.)
Fermentation
- Once the kimchi is fermented, it will taste somewhat sour and have some sort of a carbonated taste.
- The taste of kimchi will change over the course of time. Fully fermented kimchi will get sourer but develop more depth and umami flavor.
How to Store
- After the initial fermentation at a room temperature, be sure to transfer to the fridge and keep it in there.
- You could place the jars in another container to avoid an accidental spillage in the fridge. This way, if the lid gets loose as it ferments, the container can catch the overflowing juice.
- Kimchi will last for a long time in refrigeration. Enjoy the different flavor at different stages!
Step-by-Step Instructions (w/ Photos)
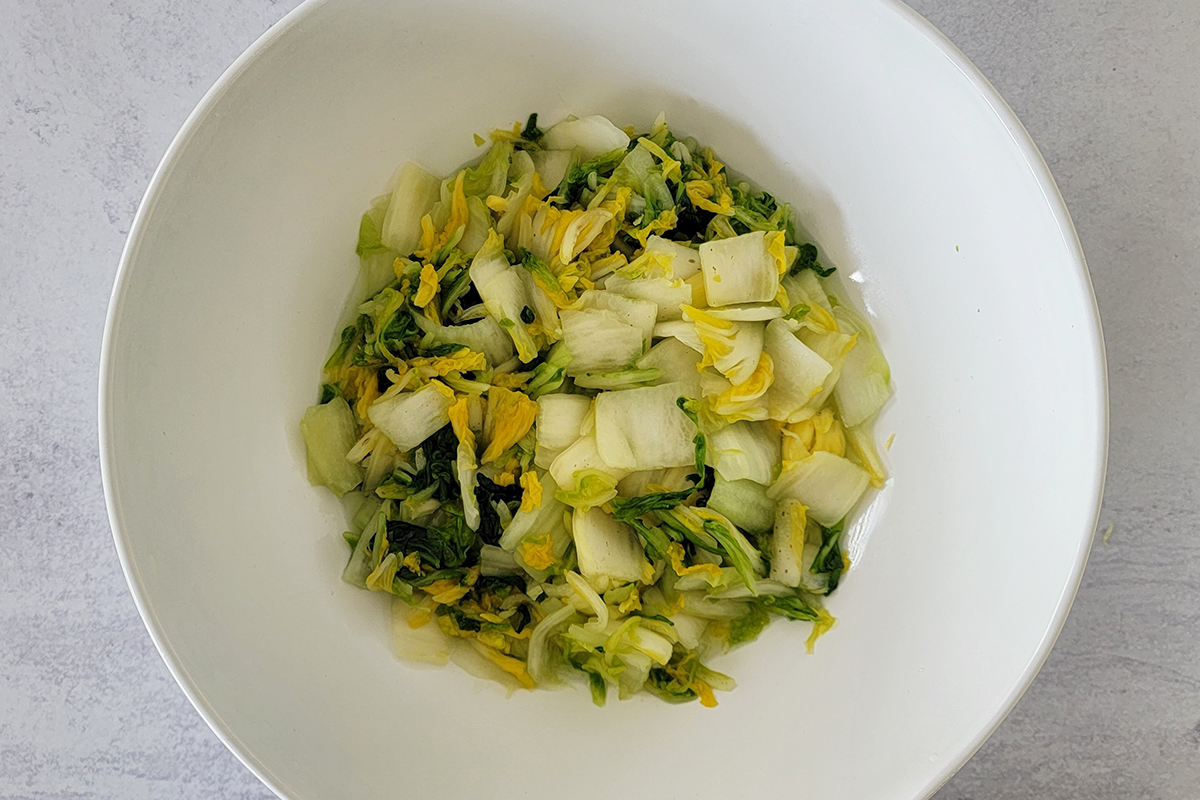
1. Wash and clean napa cabbages then shake off the excess water. Cut napa cabbage lengthwise in quarters then cut the core off.
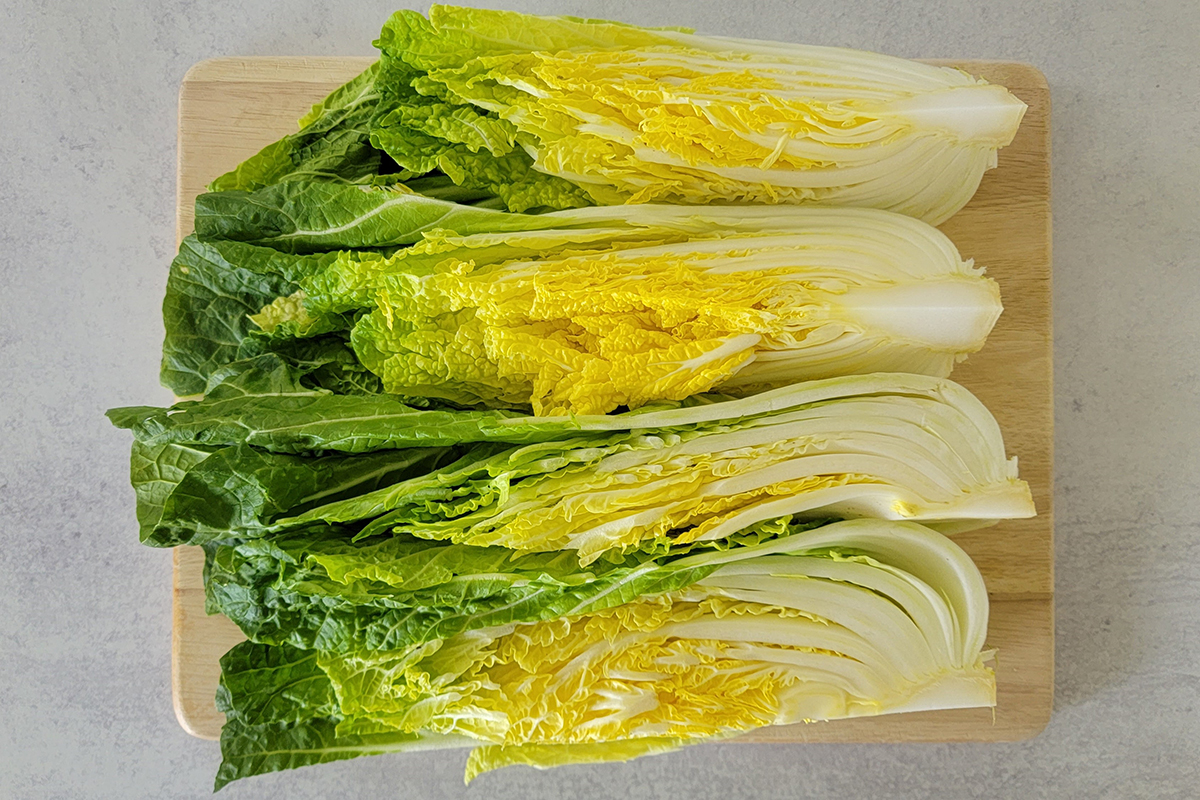
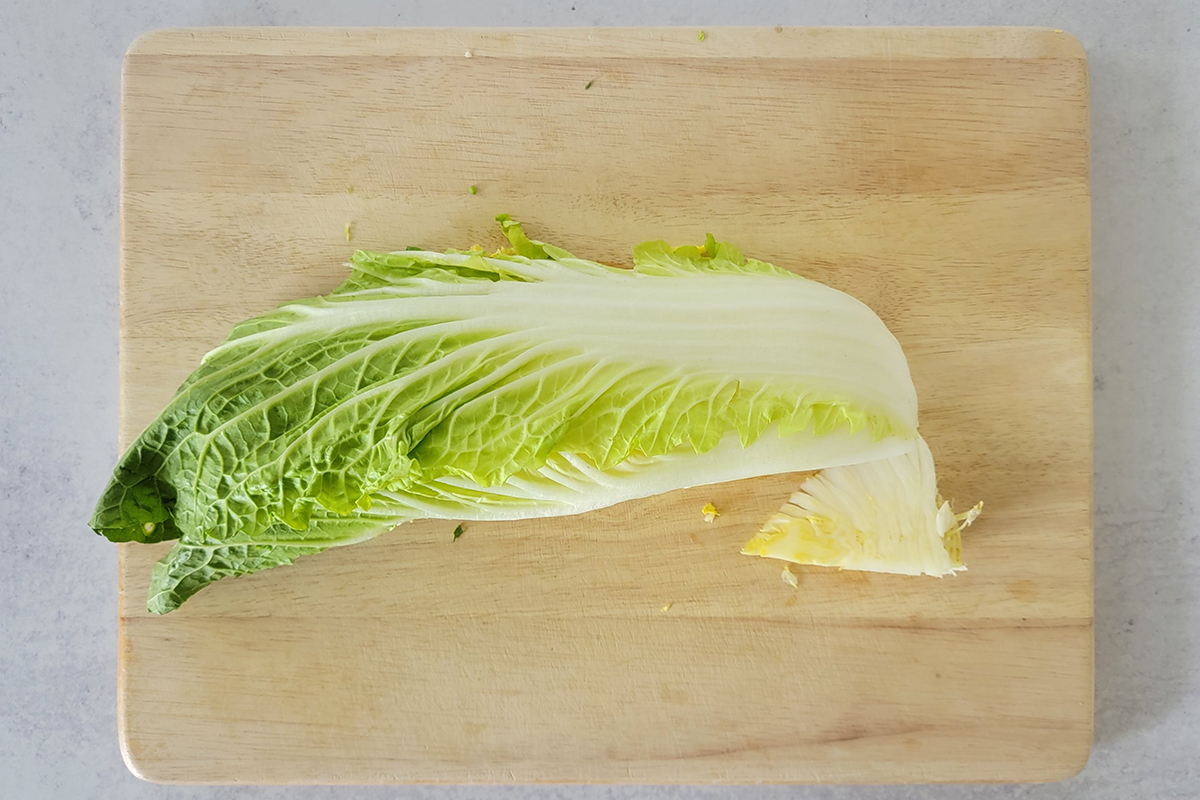
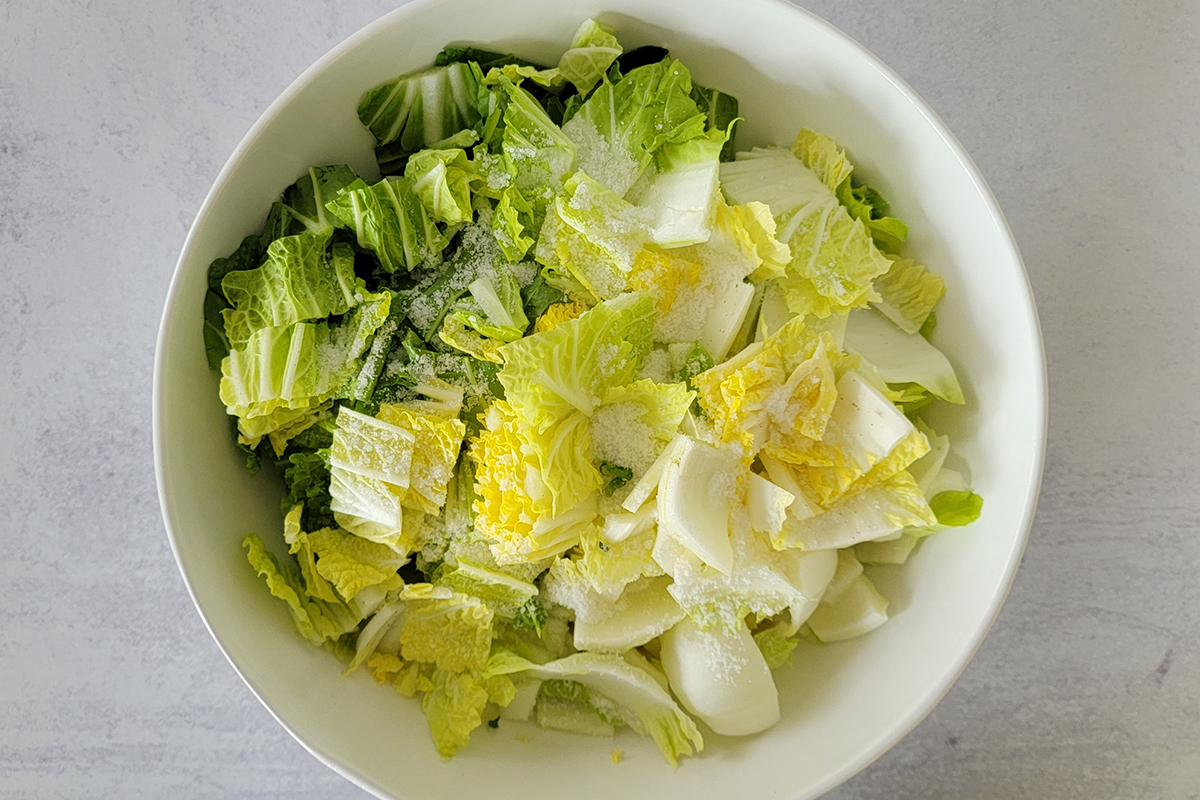
Next, cut into about 1 1/2 inches/4 cm pieces. Transfer to an extra-large bowl or a large pot.

Sprinkle 6 tbsp sea salt and massage with hands for a couple of minutes to draw out moisture. Let it stand for 2-3 hours until wilted and the liquid has been drawn out.
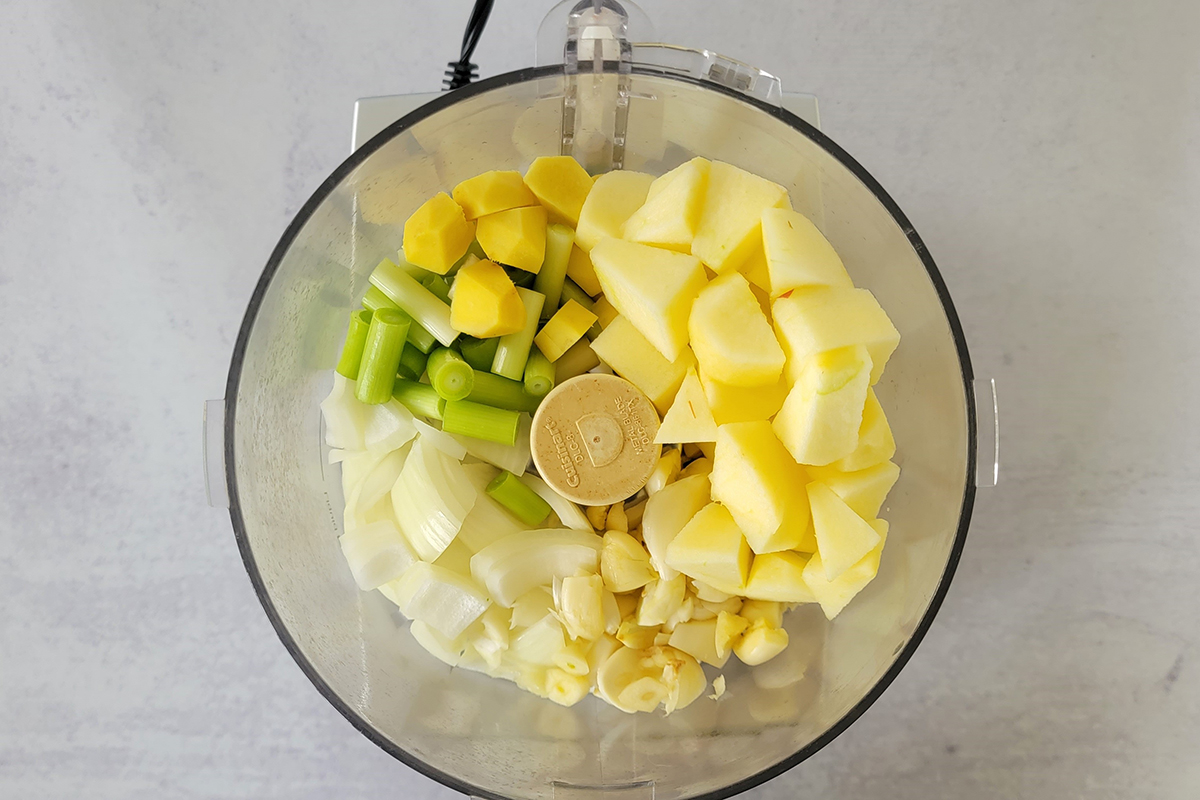
2. Meanwhile prepare the kimchi paste.
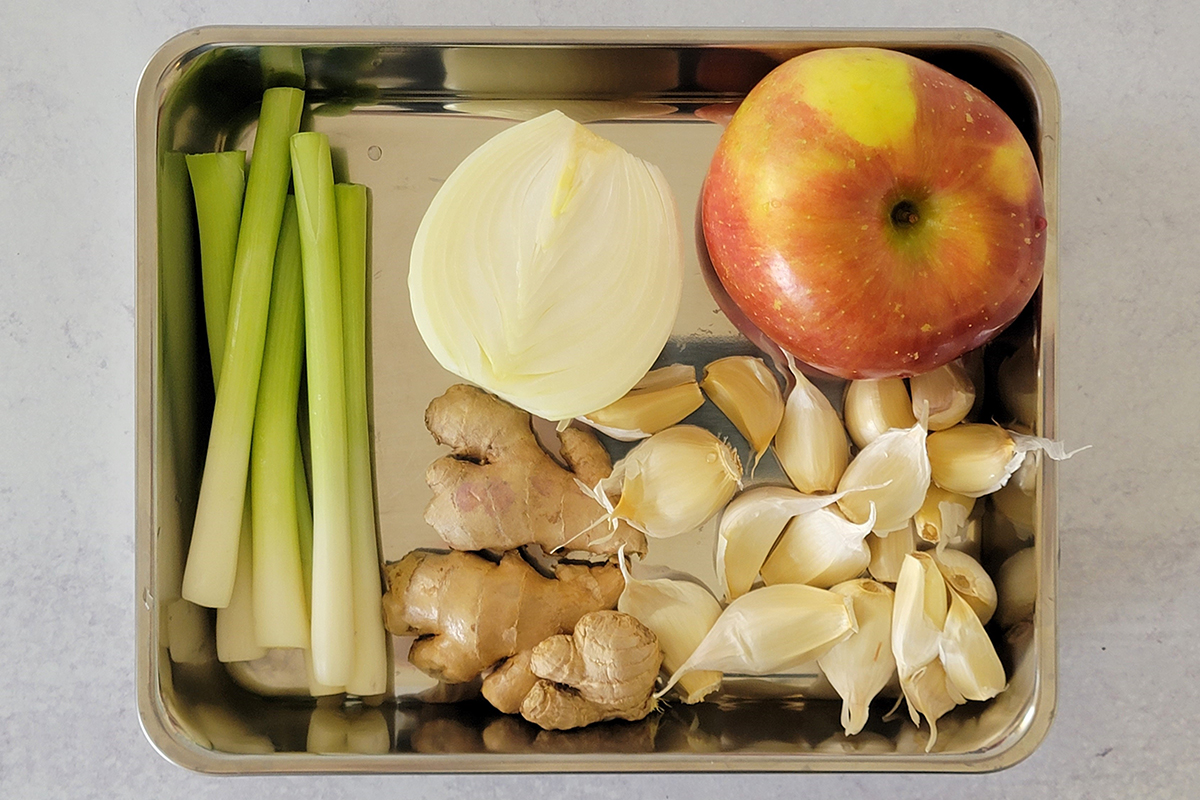
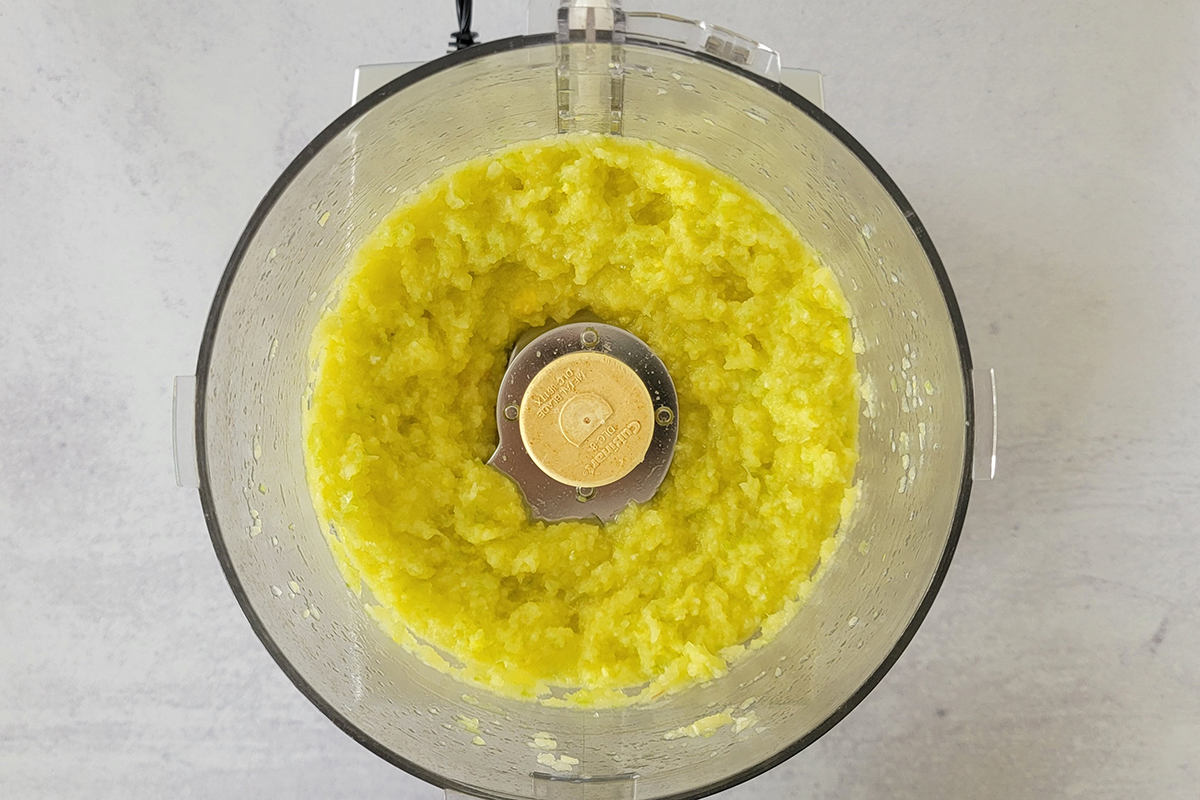
In a food processor, combine onion, white parts of scallion, ginger, garlic and apple. Pulse until they become a paste.
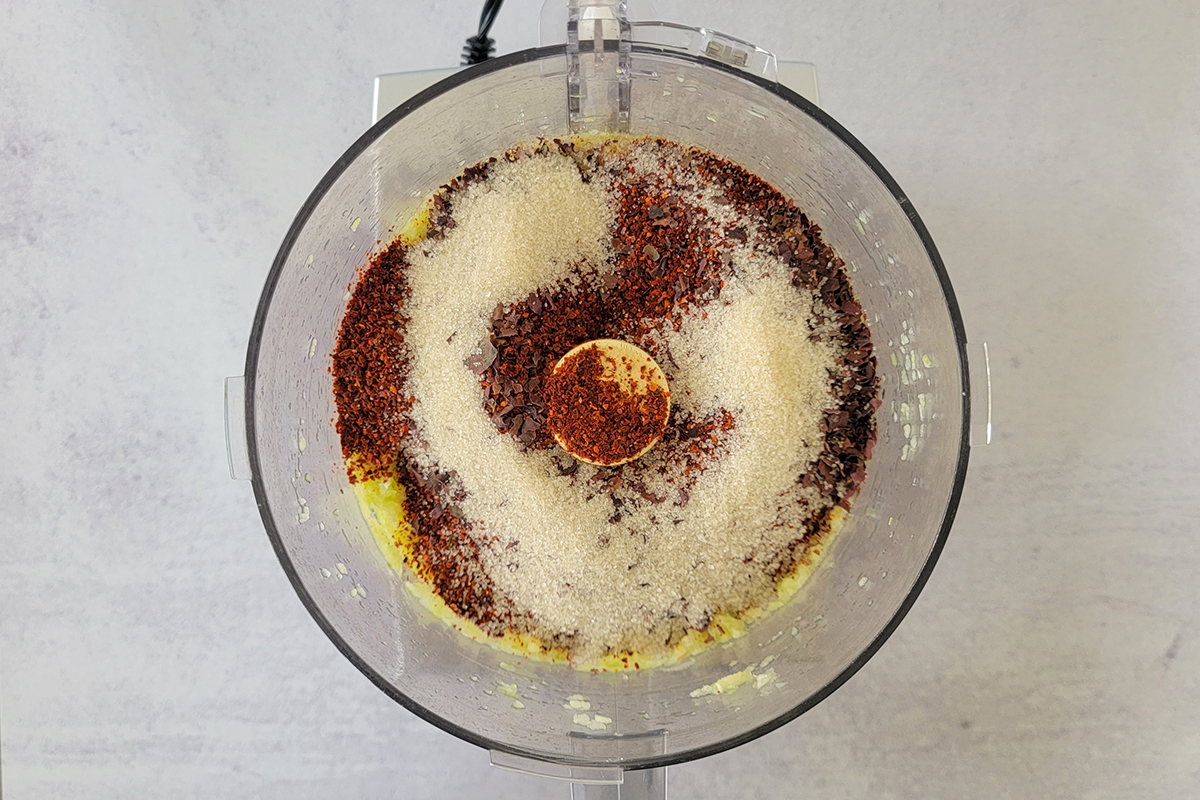
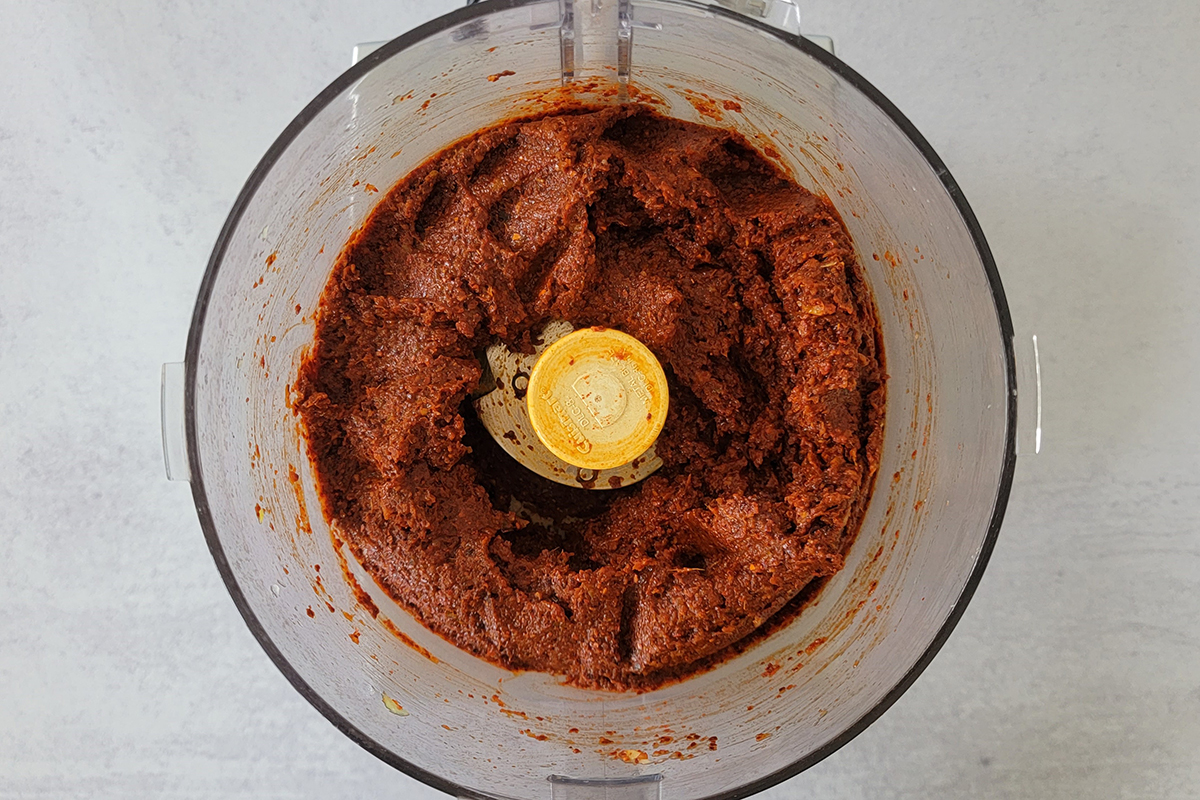
Next, add gochugaru, dulse flakes and sugar. Pulse again until it makes a thick paste. Set aside.
3. In another bowl, combine julienned daikon radish, carrot and 1/2 tbsp sea salt.
Massage with hands and let it stand until the final mix in step 5.
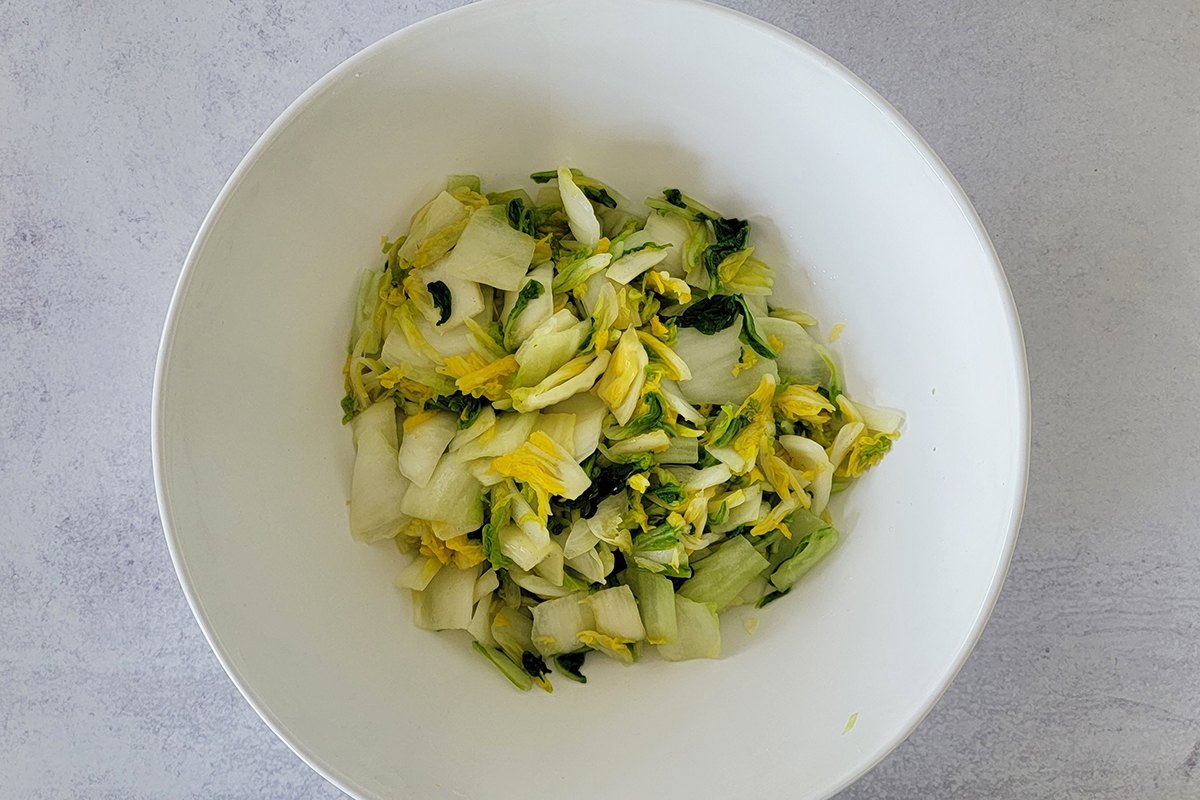
4. Once the napa cabbage is completely wilted, transfer to a colander and drained the liquid.
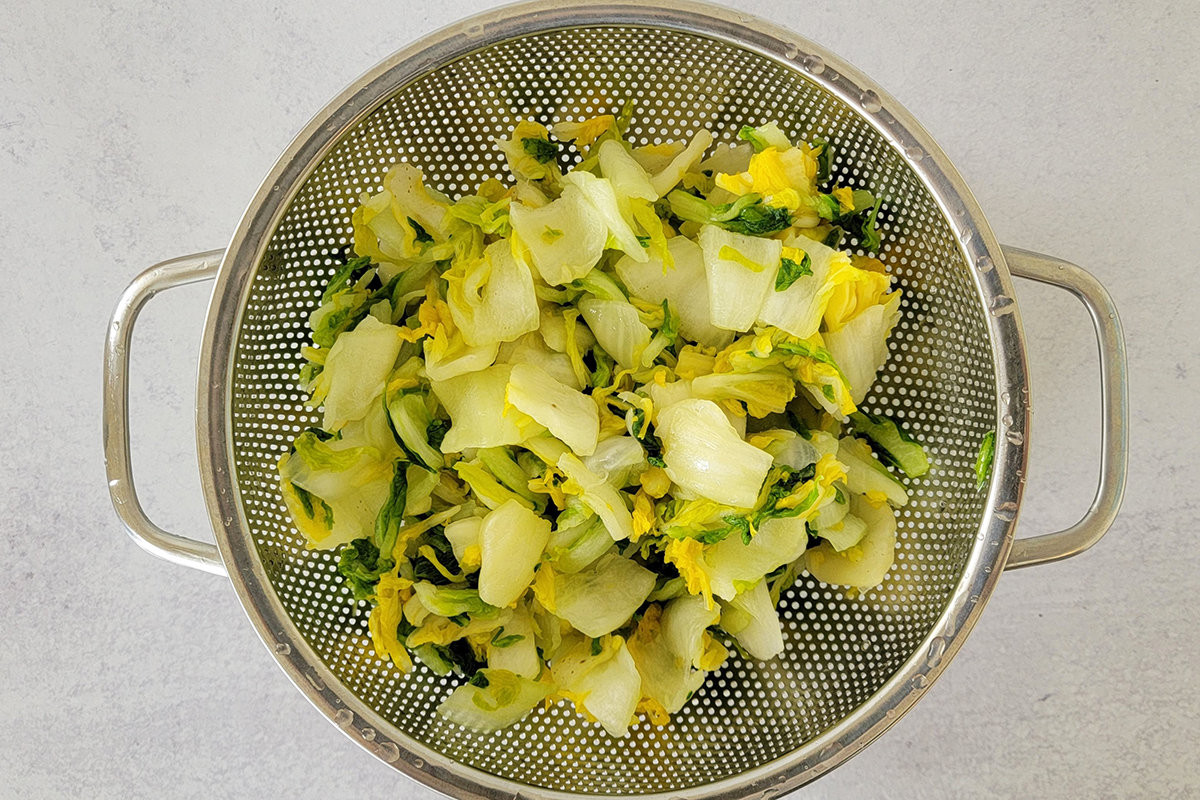
Rinse with running water then squeeze the napa cabbage to get rid of excess water. Transfer back to the same bowl or pot.
5. Into the bowl or pot with drained napa cabbage, add the daikon radish and carrot (with the liquid), green parts of scallions.
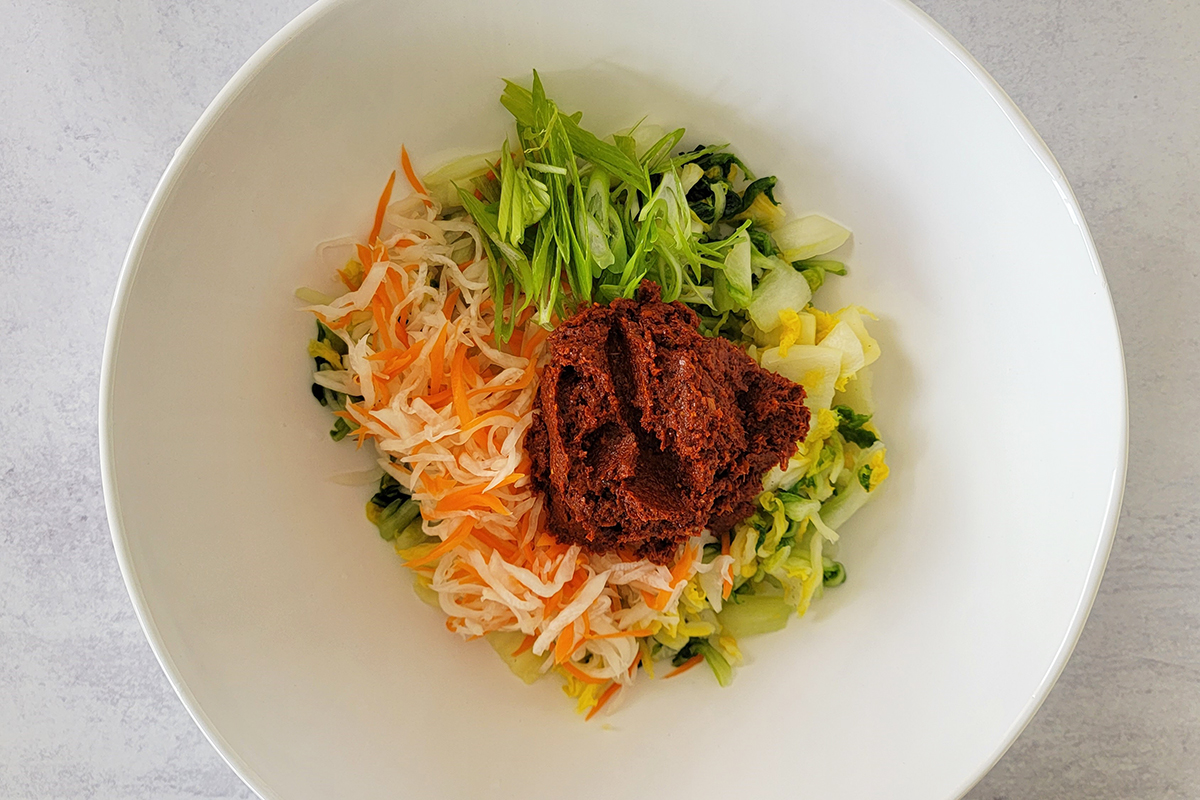
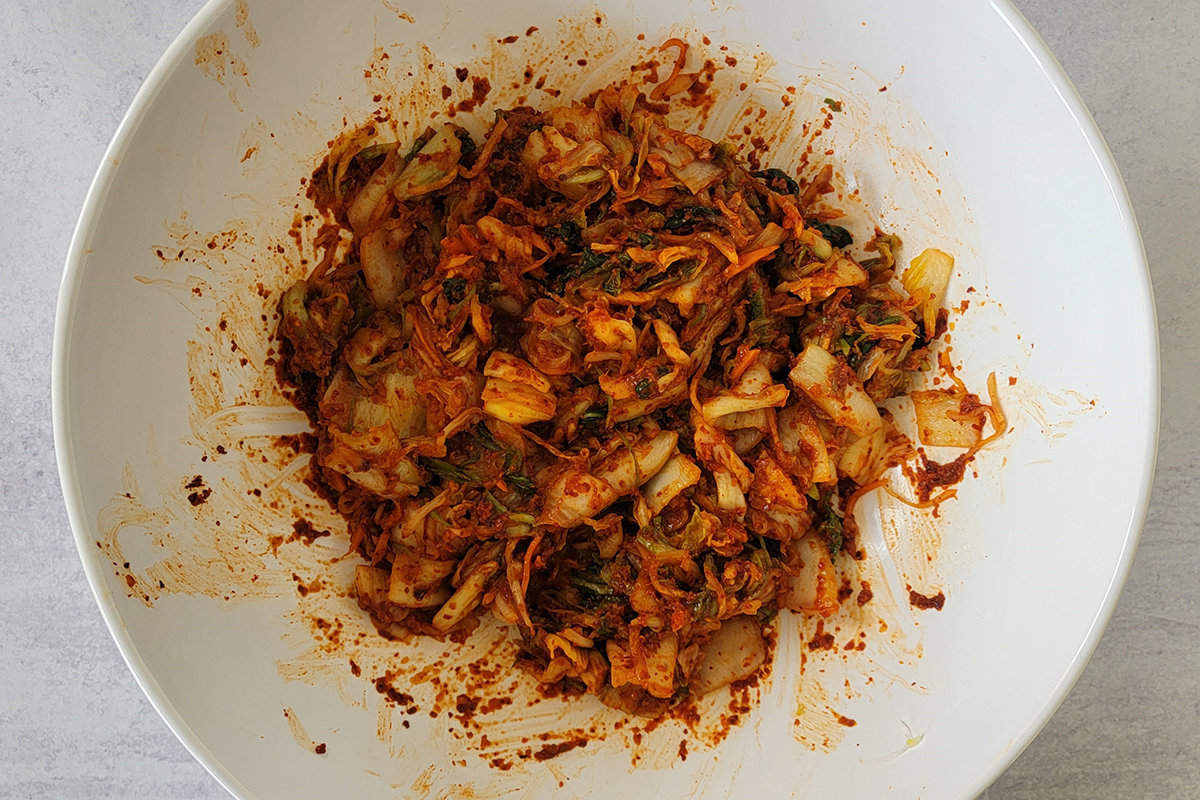
Next, add the kimchi paste and mix until everything is well coated with the kimchi paste. Check the saltiness again and add more sea salt as needed. The kimchi should taste quite salty.
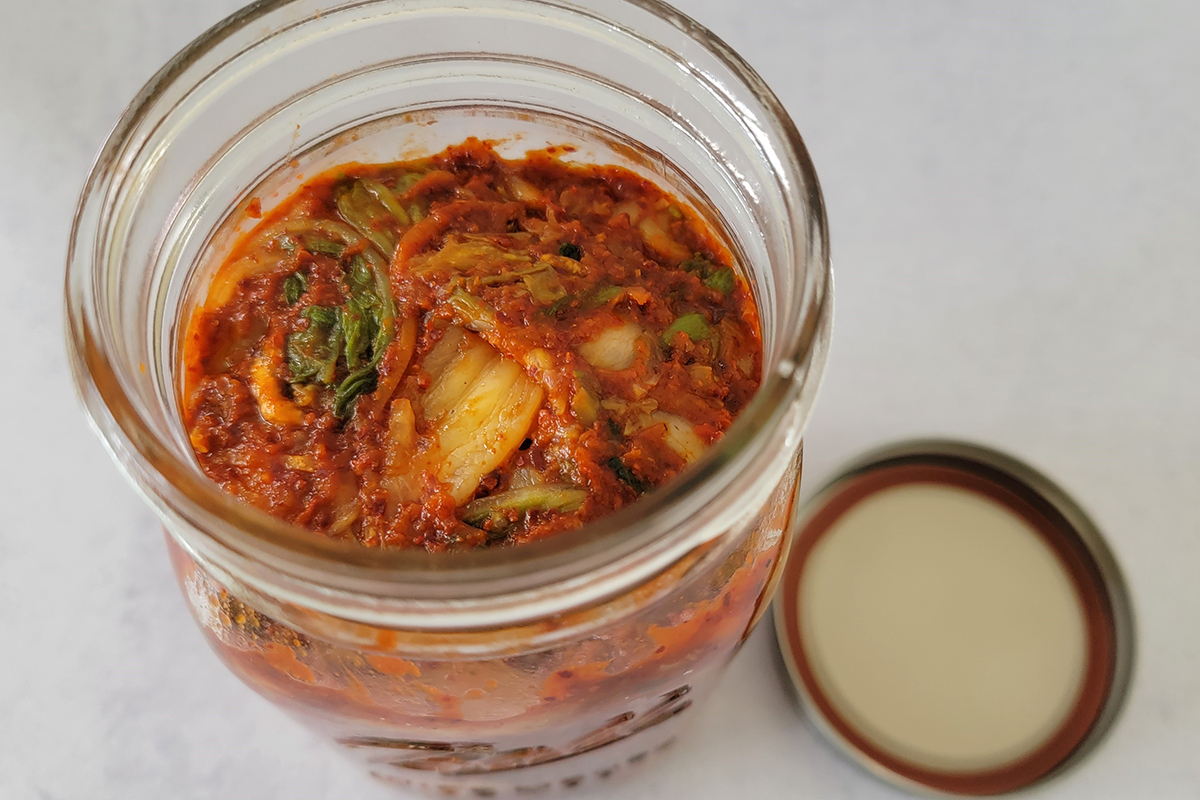
6. Transfer to a clean glass jars or containers. Fill the jars with the kimchi as much as you can. When the jar is not filled, it won’t ferment properly. After filling to almost to the top, push it down to get rid of air pockets as much as you can.
IMPORTANT: After pushing it down, make sure to leave about 1.5 in/4 cm room at the top. As the kimchi starts fermenting, it will rise up. If it’s filled all the way to the top, it will cause a major spillage when it starts the fermentation.
7. Cover with a lid and tighten it.
IMPORTANT: Don’t overtighten the lid. Kimchi releases gas as it ferments. When the gas builds up in the jar but has nowhere for the gas to escape, the jar may explode.
Leave the jars (or containers) at a cool room temperature in a dark place for 24-48 hours to start the fermentation process.

8. Check for Fermentation: Once it starts fermenting, you may hear the jar releasing the gas built up on its own which is completely normal and it means the fermentation is successful! You can also check by opening the jar. Open the lid carefully and slowly.
As soon as it’s open, you should see (hear) the liquid from kimchi bubbles which means the fermentation is successful!
Another way is to taste it. If the kimchi tastes sour, that means it’s fermented! If they aren’t fermented yet, leave a little longer and check again. After the 24-48 hours (or the initial fermentation is successful), transfer to the fridge and let it continue to slowly ferment for 7-10 days.
9. Serve and enjoy!
If you enjoy the recipe, please share, leave a comment below and tag us @plantbased_matters on Instagram! Your kind support will be greatly appreciated 🙂