Last Updated on June 29, 2022
[ぬか漬け]
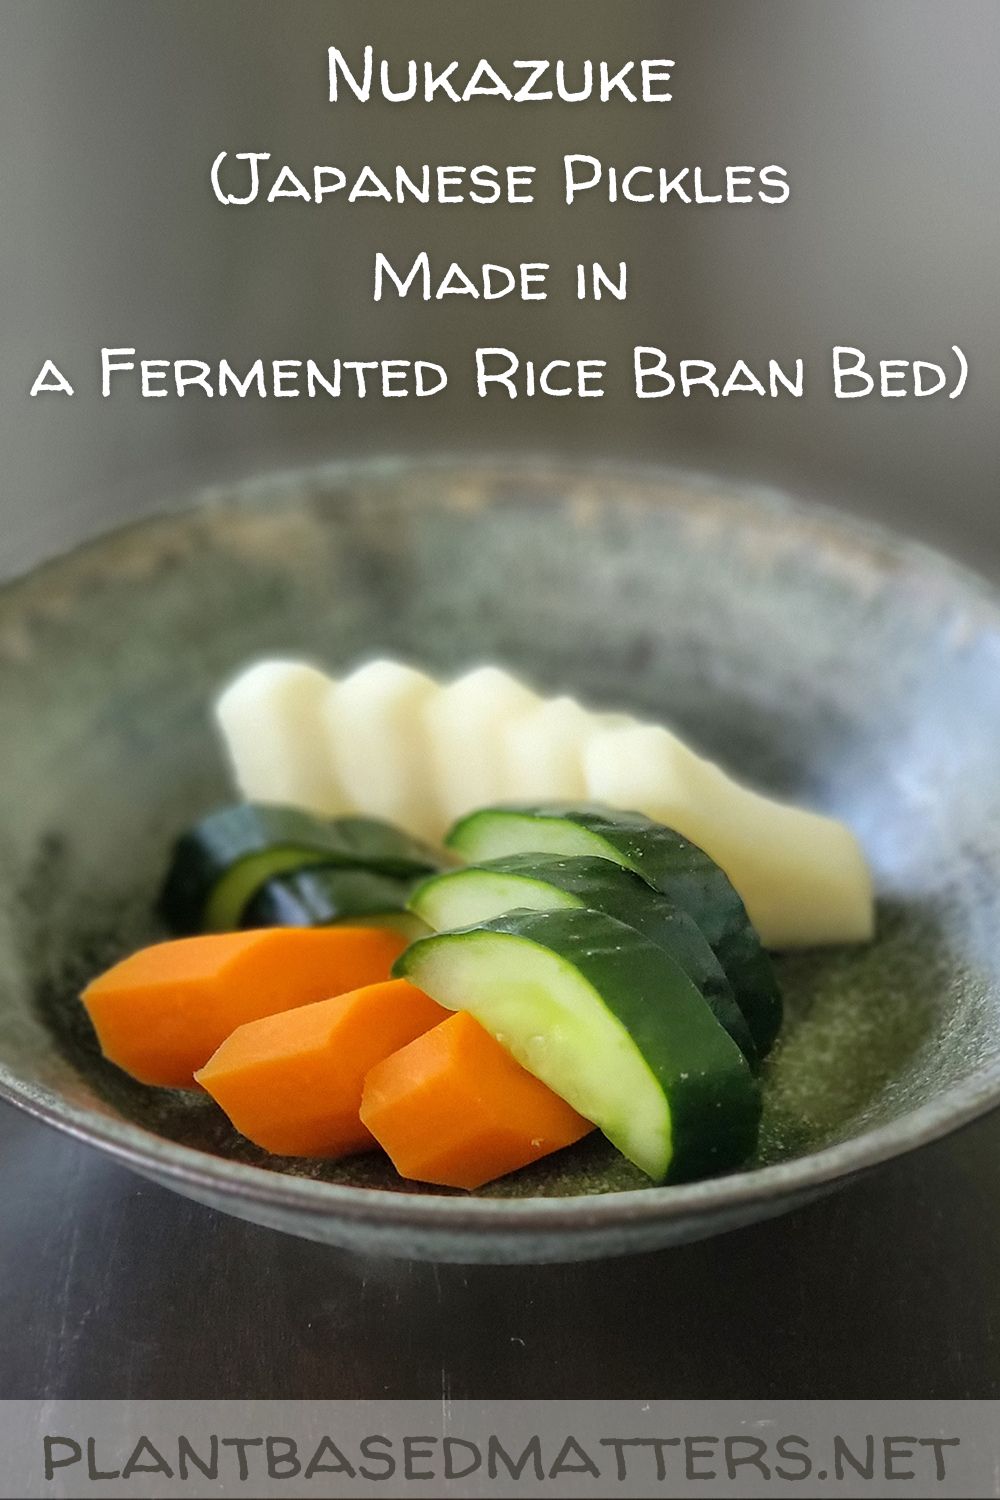
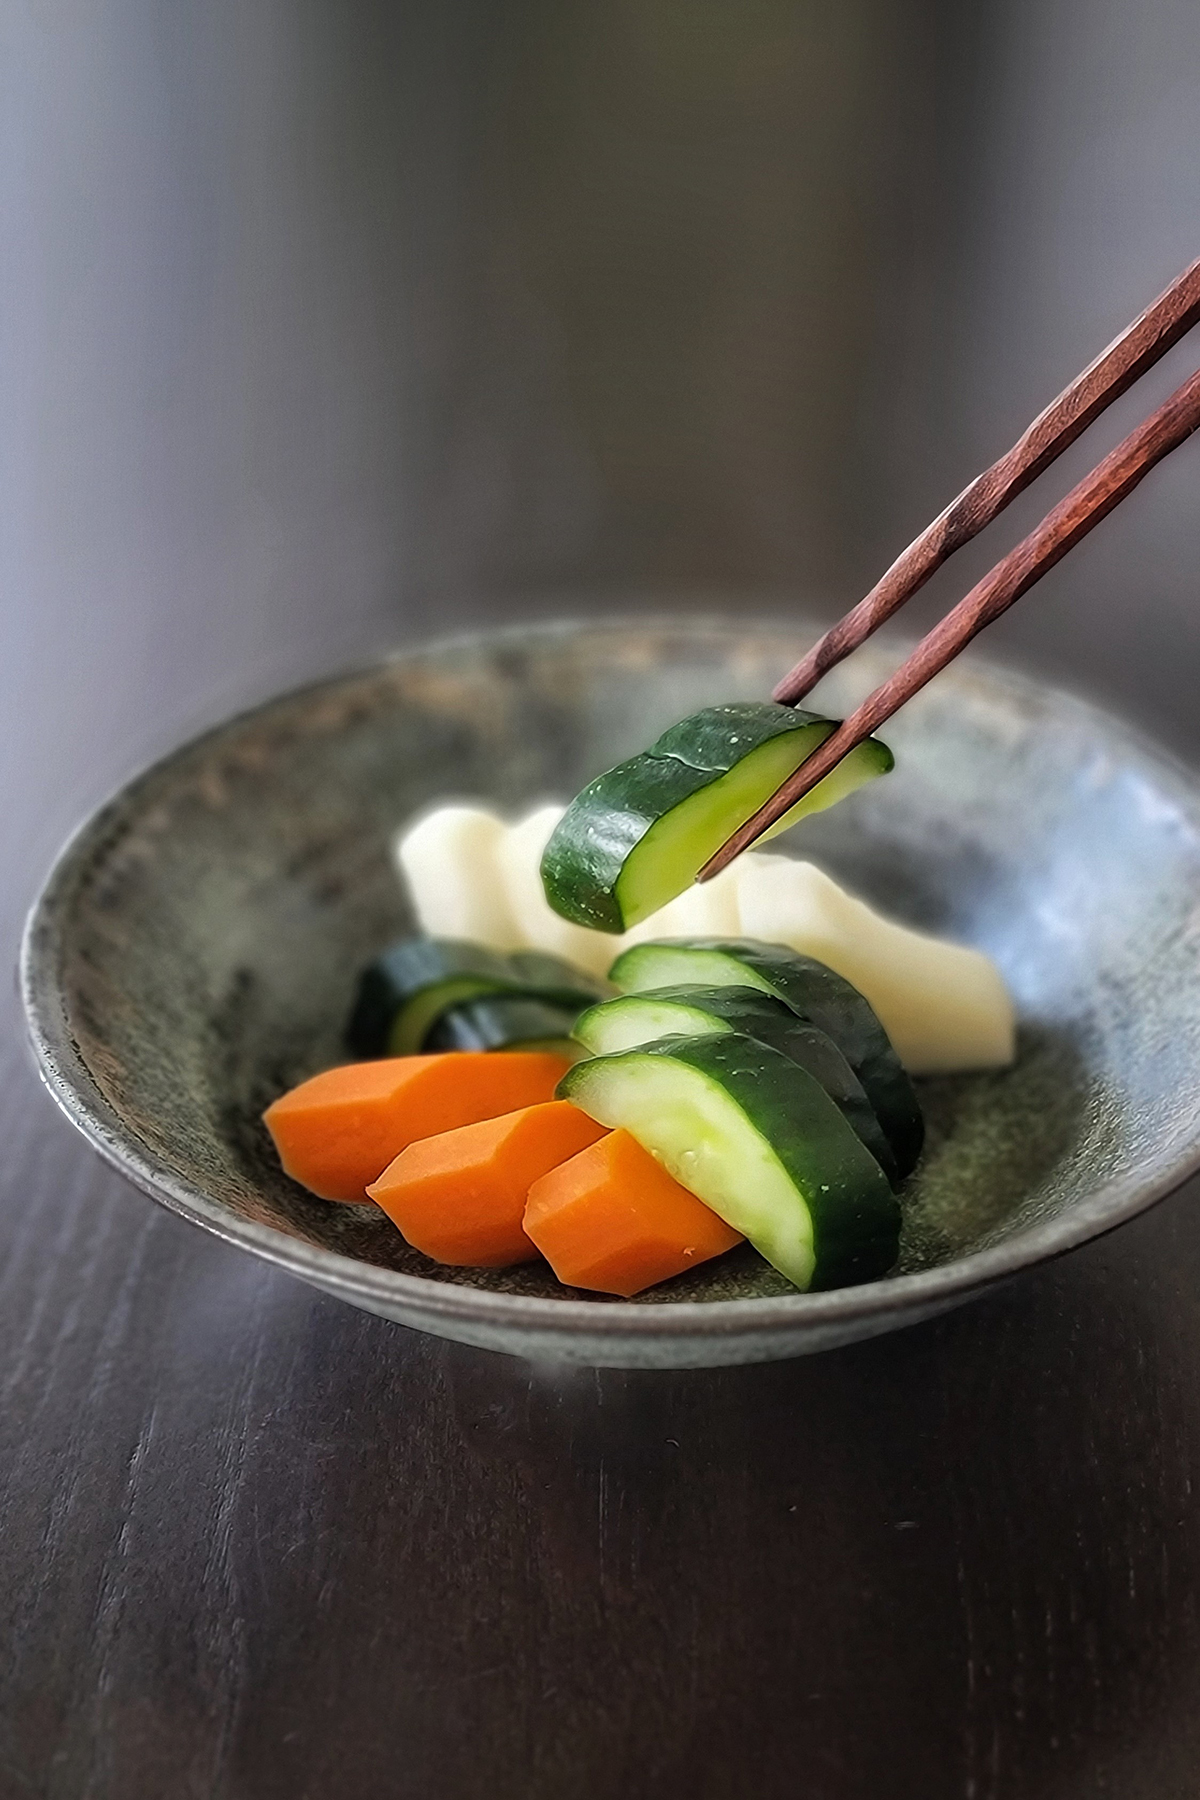
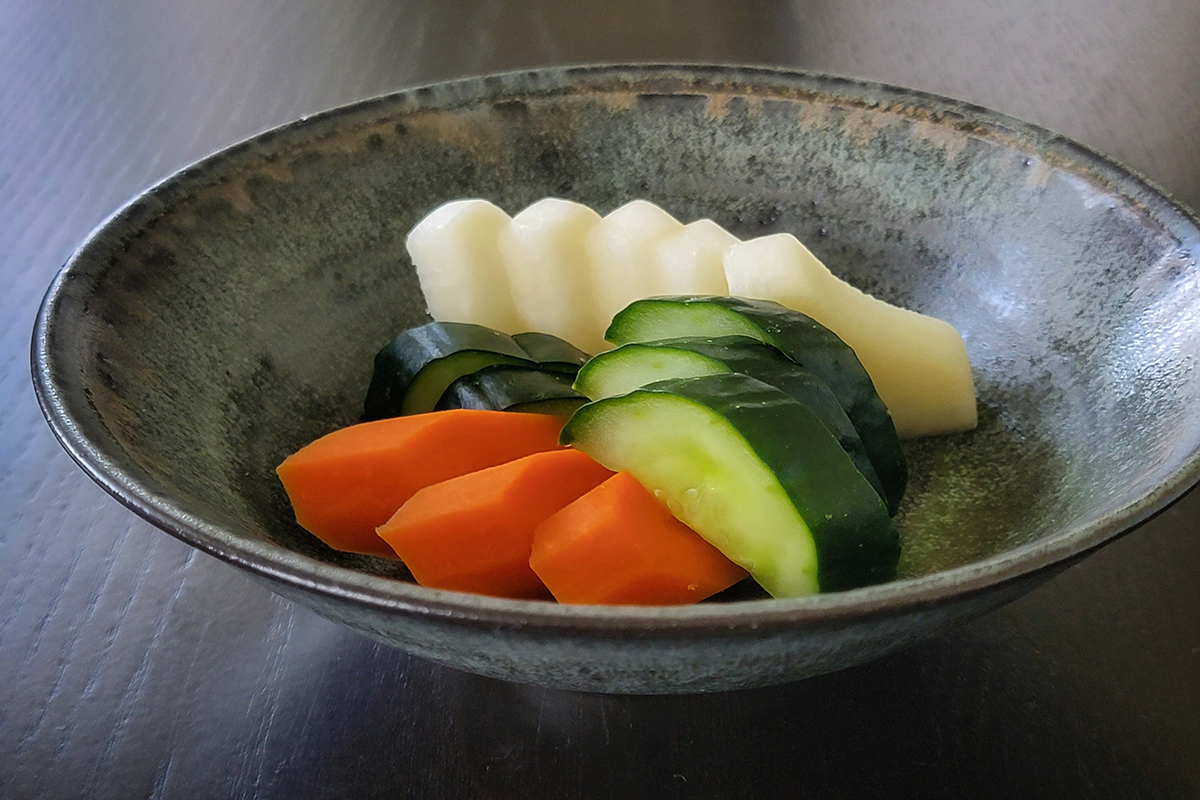
Nukazuke (Japanese Pickles Made in a Fermented Rice Bran Bed) is the most basic yet authentic & traditional Japanese pickles made in nukadoko. The recipe features some of the commonly used veggies for making nukazuke: cucumber, carrot and daikon radish. The concept is very simple and humble yet, something about the process of making Japanese pickles, nukazuke, teaches us the core of what it means to prepare Japanese food from scratch. It’s naturally vegan and gluten-free.
What’s Nukazuke?
Overview
Nukazuke is a quintessential Japanese pickles that are pickled in a fermented rice bran bed called nukadoko. Using nukadoko to make pickles is a Japanese traditional method of making pickles that the Japanese have been practicing for centuries.
When you nest raw veggies in nukadoko for a couple of hours at a room temperature or 12-24 hours in the fridge, the veggies will be pickled (actual time will vary depending on the climate, the condition of nukadoko and the storage method.) As a result, you will have delicious nukazuke.
Nukazuke is usually served as a side dish along with rice and miso soup. For me, with those three components, rice + miso soup + nukazuke, it’s a healthy & complete meal.
Taste
Nukazuke tastes briny, slightly sour with a uniquely complex aroma and taste. The kombu and the fermented rice bran from nukadoko gives a natural umami taste. The brininess of nukazuke pairs very well with warm plain Japanese rice.
The sourness is also very mild compared to kimchi or other fermented pickles like sauerkraut. Nukazuke isn’t spicy nor sweet, either.
Aroma
Although Nukazuke has a unique aroma from the fermented rice bran, it doesn’t have a strong fermented smell (in other words…stinky) like kimchi that stings your nose.
Nukadoko(A Fermented Rice Bran Bed for Pickling)
The unique characteristics of the flavor and the aroma of nukazuke come from nukadoko (a fermented rice bran bed.) It’s an essential component of making nukazuke.
The main ingredient of nukadoko is the nuka (rice bran) which is basically the outer layers of rice grain that you see on brown rice. When the rice crops are milled to make white rice, what’s left is the bran. Actually, nuka (rice bran) is high in fiber, minerals and vitamins which means it’s highly nutritious.
Making nukazuke is easy but it’s quite a process to prepare nukadoko. It requires patience and consistency from start to finish but it’s really worth it. Good news is that with proper maintenance, you can use the nukadoko semi-permanently.
You won’t be able to make nukazuke without nukadoko! Be sure to check out the nukadoko recipe!
What Can You Pickle for Nukazuke?
Typical (suitable) ingredients for making nukazuke pickles are:
- Cucumber
- Daikon Radish
- Carrot
- Eggplant
- Japanese Turnip
- Napa Cabbage
- Cabbage
- Burdock Root
- Asparagus
- Paprika
- Okra
- Celery
- Nagaimo (Mountain Yam)
- Myoga (Japanese Ginger) etc.
Some unusual choices can be:
- Tofu
- Konnyaku (Konjac)
- Avocado
- Natto etc.
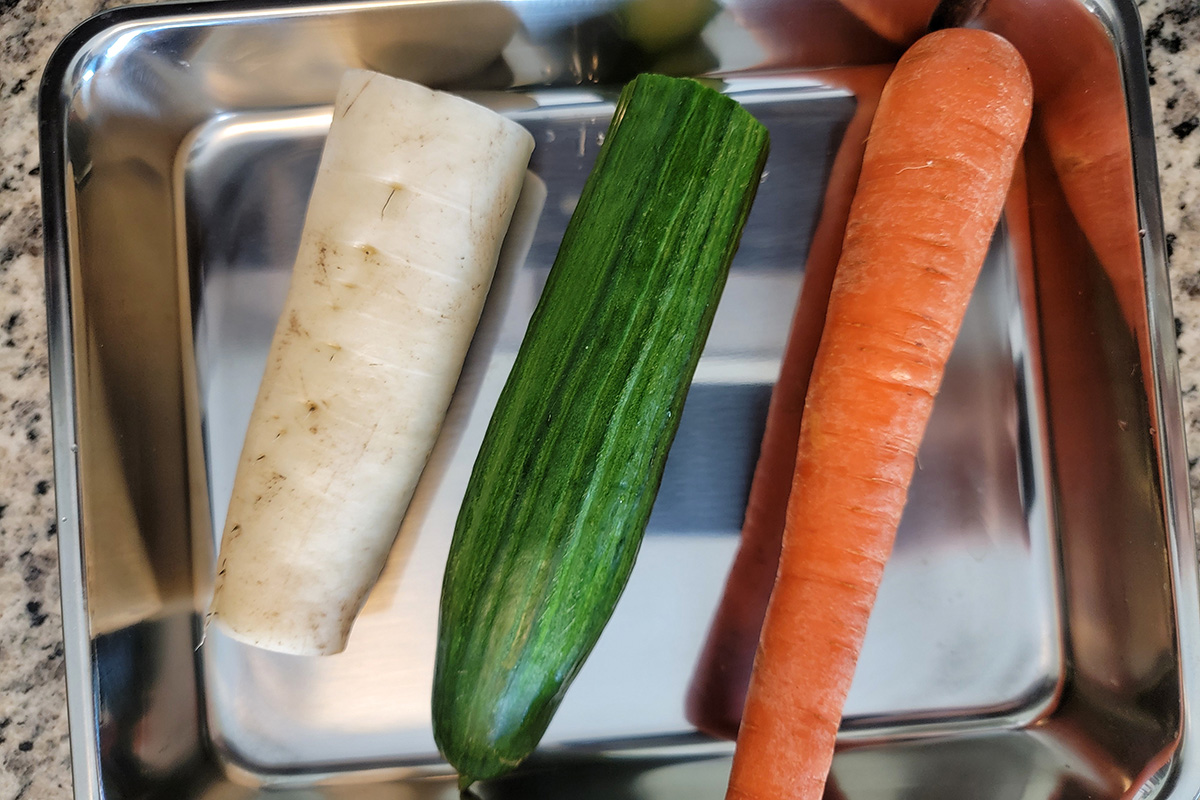
I use the three basic choices of veggies for this recipe; English cucumber, daikon radish and carrot. Those are the items I can always find at the market and organic options are available throughout the year.
Process of Making Nukazuke
Once the nukadoko is made, the actual process of making nukazuke is much easier than making other kinds of pickles.
Here is the brief process.
- Clean veggies then peel (if necessary) then pat dry.
- Cut them into smaller size (if necessary) or leave as whole.
- Massage with a small amount of salt.
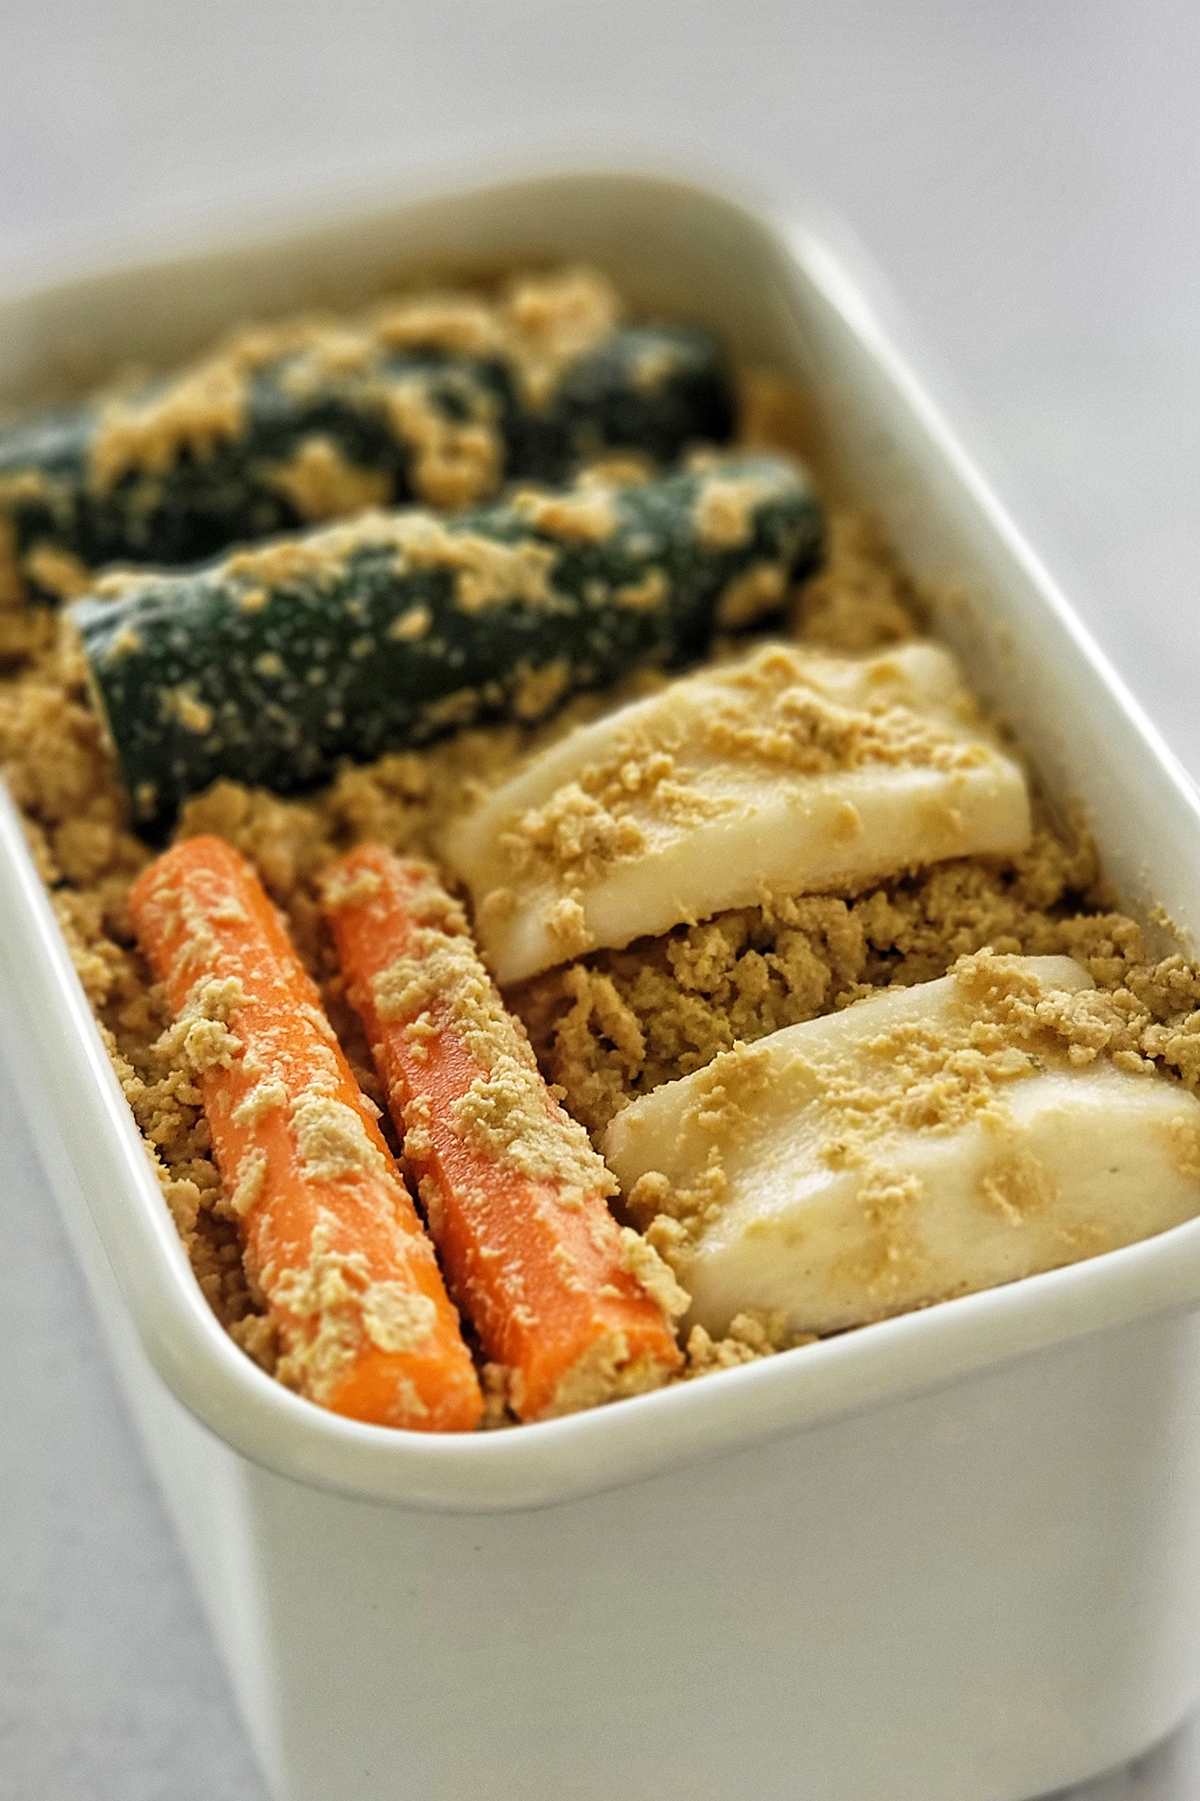
- Bury the cut veggies in the nukadoko.
- Wait (pickle) for 12-48 hours or longer (in the fridge.)
- Remove from the nukadoko and rinse off the nukadoko (rice bran) mixture.
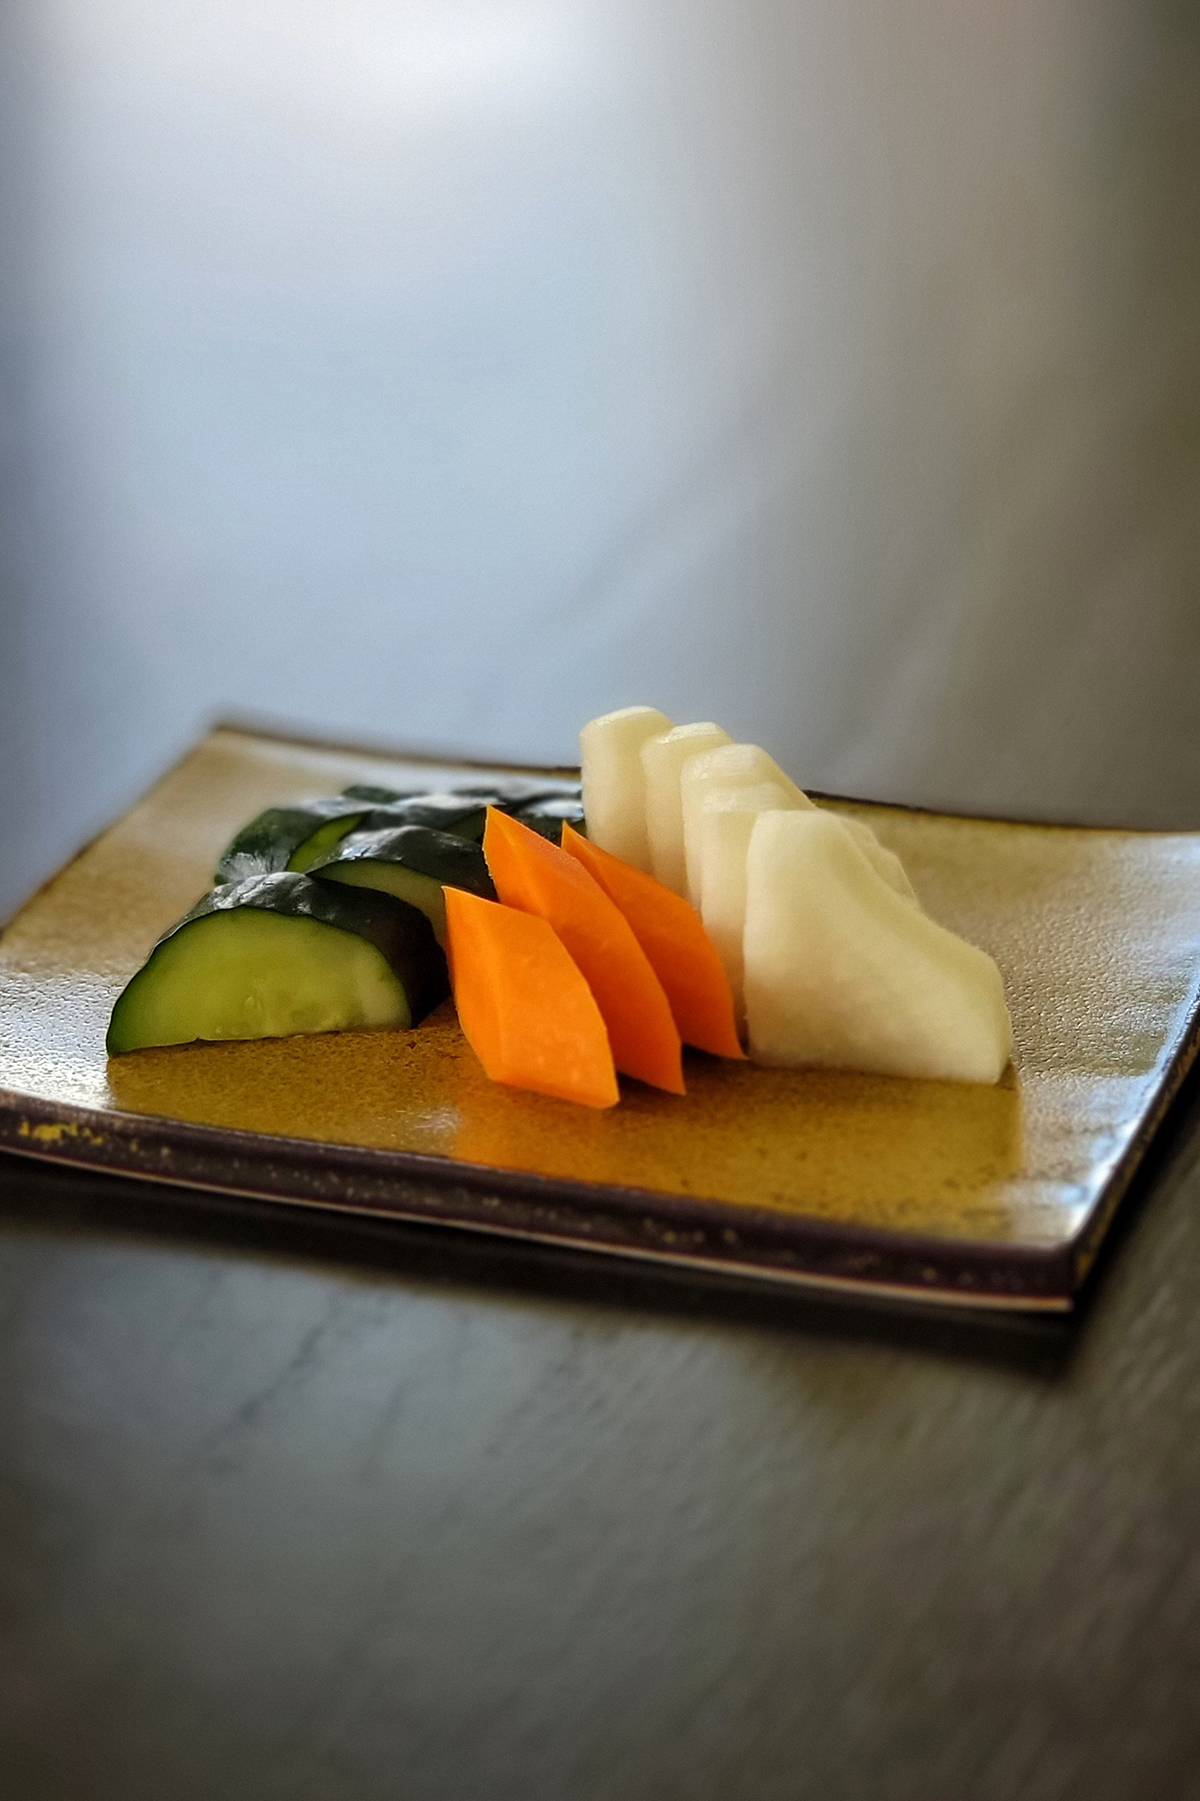
- Slice and serve.
How easy is that? Again, prior to making nukazuke, you’ll need to have the nukadoko.
Ways to Serve (Use) Nukazuke
First of all, nukazuke tastes the best when it’s chilled. As mentioned, my number one recommendation is to serve nukazuke with a warm bowl of Japanese rice! This is the most basic & authentic way to appreciate the taste of nukazuke at its best! Try eating nukazuke like the Japanese do!

Now nukazuke isn’t just good for rice. It’s also great with Japanese sake for a little bite to drink with. Believe or not, nukazuke is also tasty in sandwiches and salads.
How to Store Nukazuke
Once you remove nukazuke from nukadoko to serve, store any leftover in a container with a lid and consume within 2-3 days. You can store it either as sliced or whole. I always keep mine sliced so I can serve it with one less step!
Nukazuke is best to consume fresh right out of the nukadoko (or within 1-2 days) for the fresh aroma and the taste. After that, nukazuke will start losing its flavor and the aroma. Also, if you let nukazuke sit in a storage container for too long, mold may start growing (usually, this starts happening after 3-4 days of taking it out of the nukadoko.)
The key is to make nukazuke in smaller quantities at a time and consume as soon as possible. In general, once you remove nukazuke from nukadoko, you don’t want it to sit there for too long.
Ingredients
About 4 servings
Pickling Time: 12-48 hours in the fridge
- Nukadoko (A Fermented Rice Bran Bed for Pickling)
- 1/2 English cucumber or Japanese cucumber (I use 6 oz / 170 g)
- 2 carrots (I use 4 oz / 113 g)
- 1/3 daikon radish (I use 5 oz / 142 g)
- 3/4-1 tsp sea salt (adjust to taste)
Instructions (Step by Step)
1. Wash and clean veggies throughout and pat dry to remove excess water.
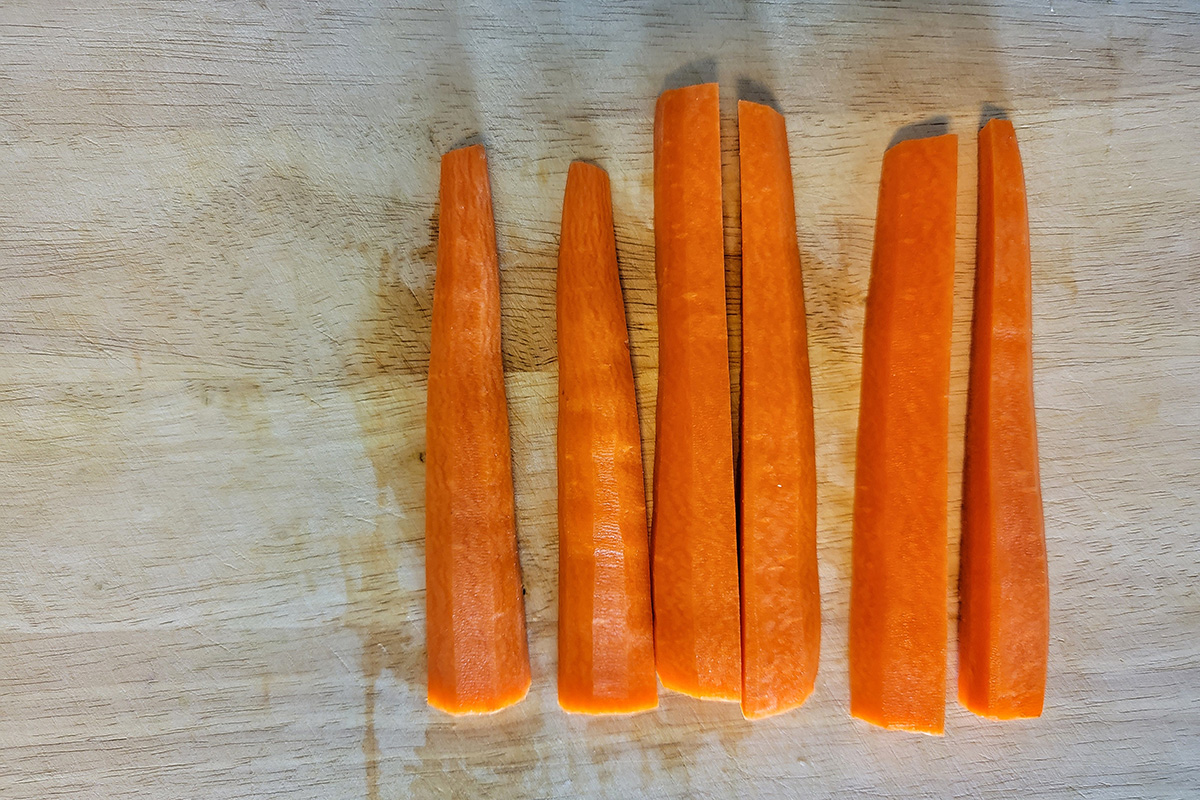
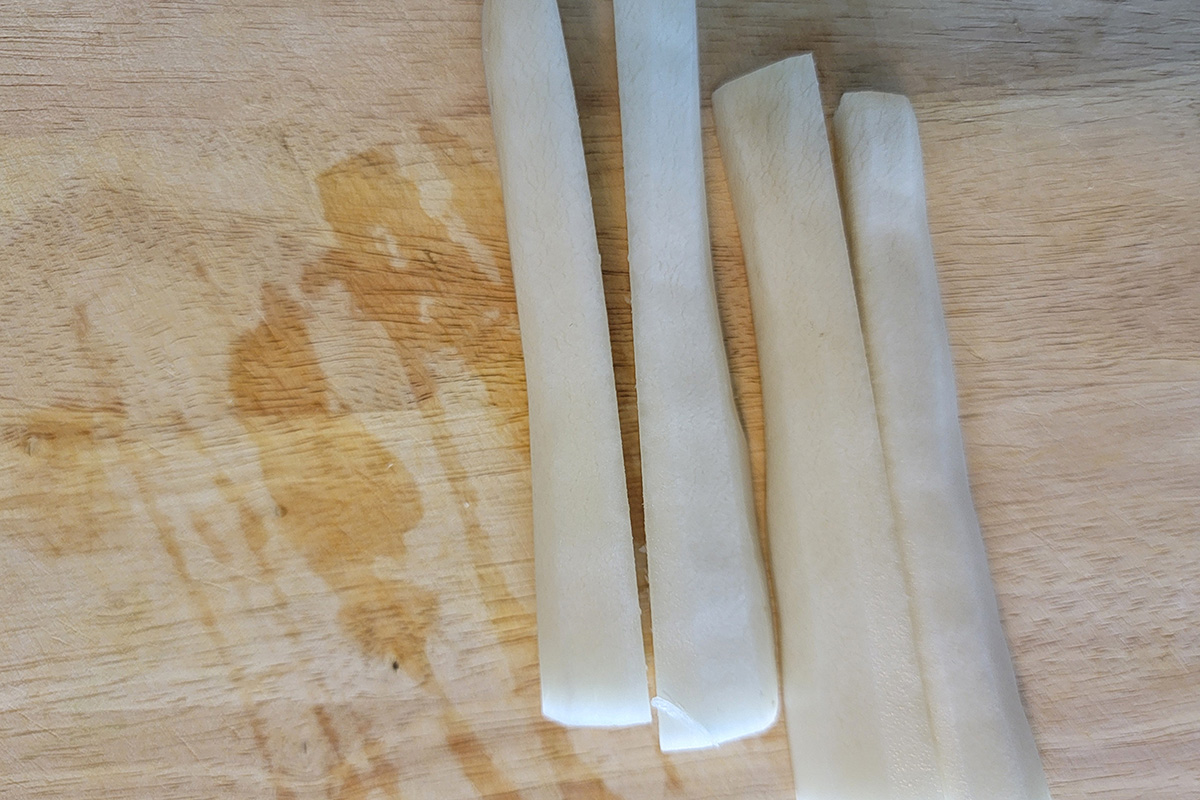
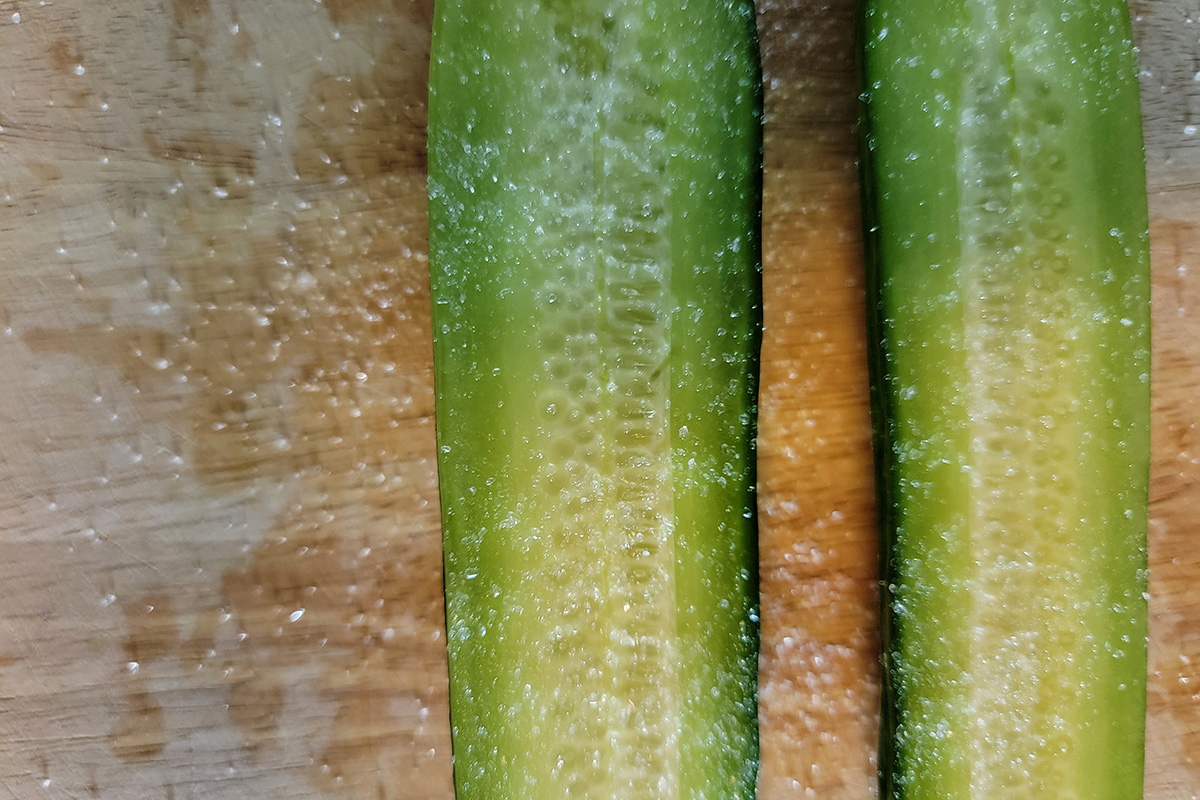
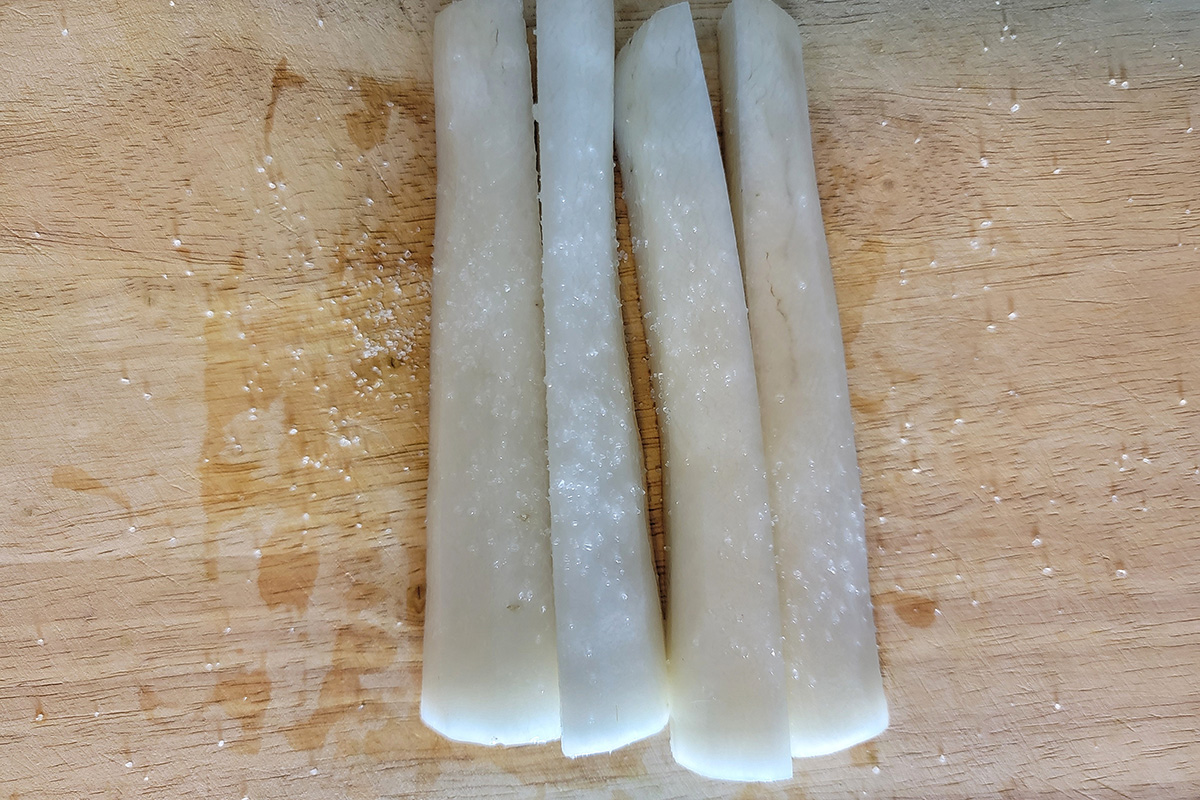
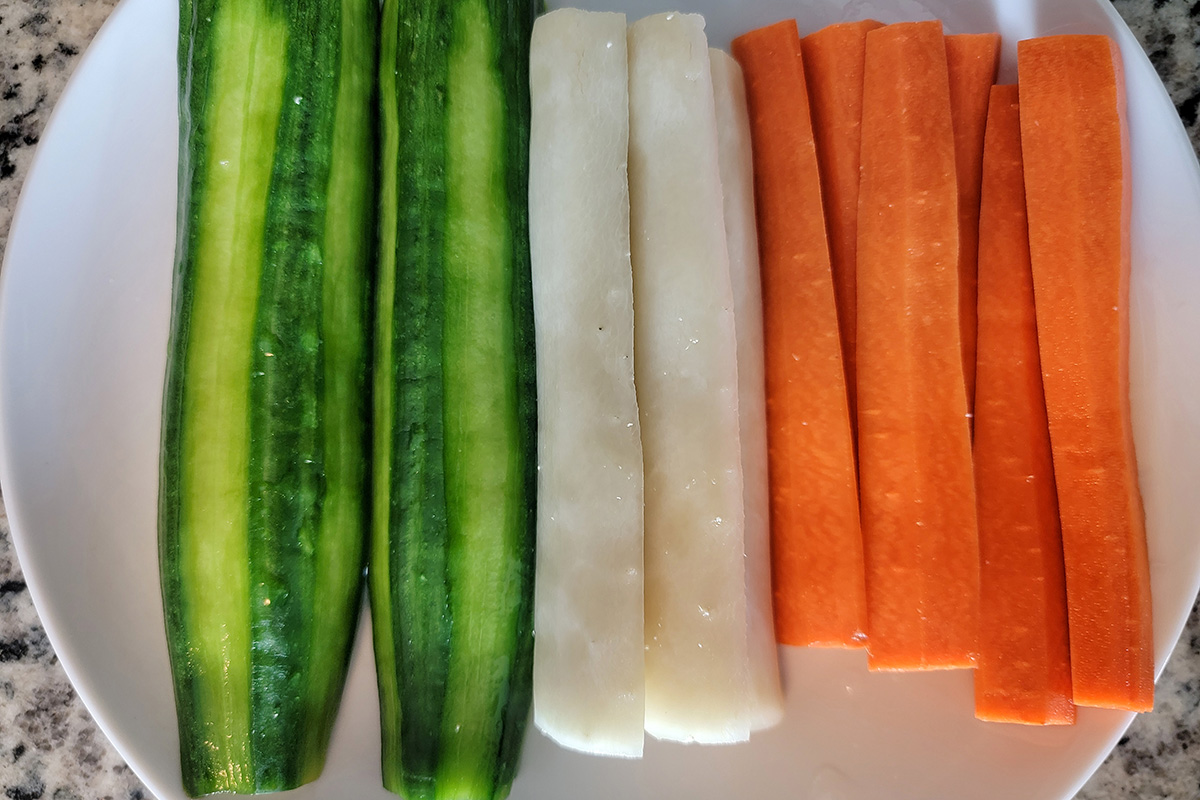
2. Cut the veggies into smaller (thinner) size.
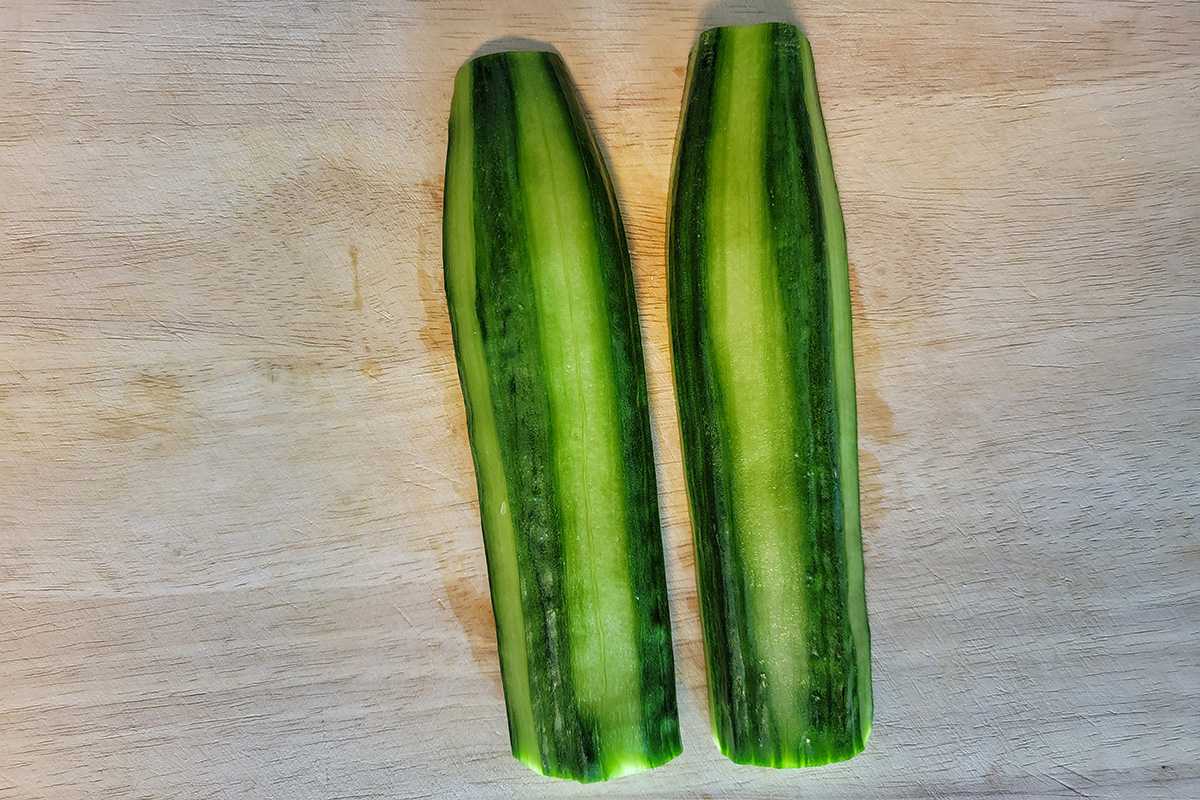
Tips: For English cucumber, slice it in half lengthwise and partially peel the skin.
For carrots, peel the skin and cut off the top then slice it in half (or quarter) lengthwise.
For daikon radish, peel the skin and cut off the top (if applicable) then slice it in half (or quarter) lengthwise.
3. Massage the veggies with sea salt (about 1/4 tsp for each veggie.)
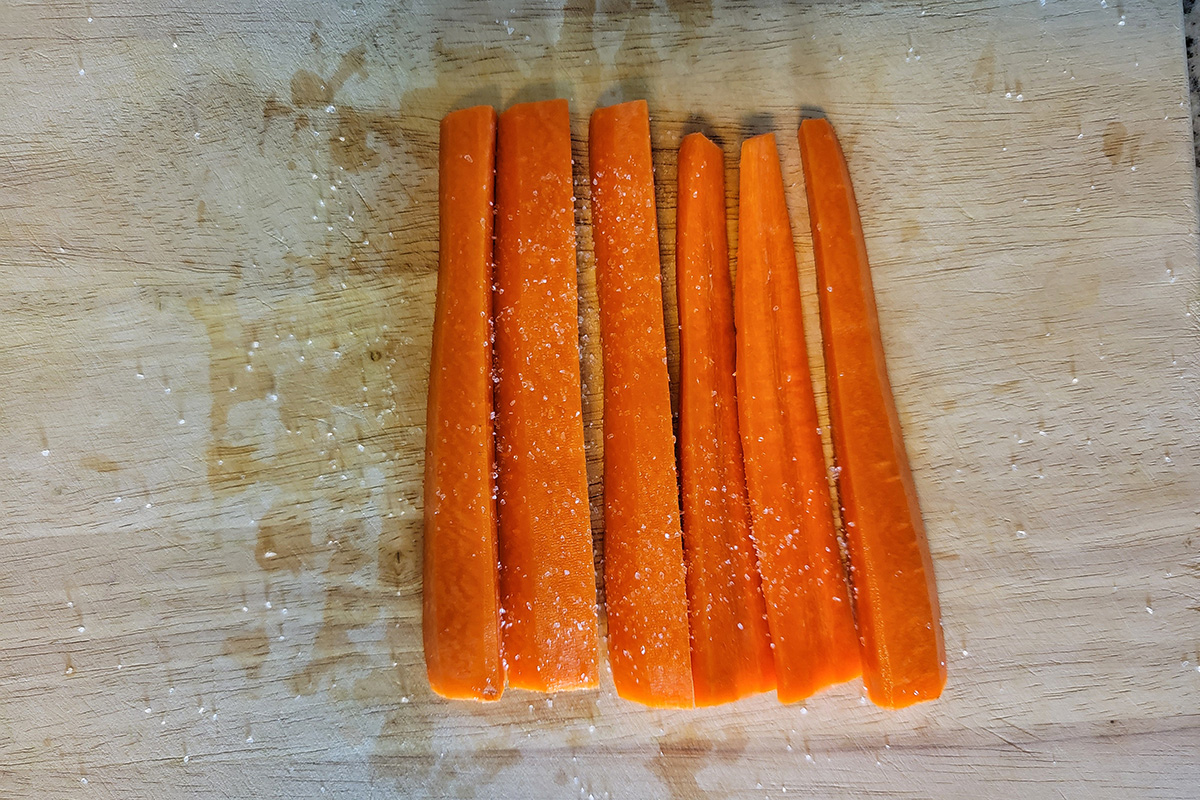
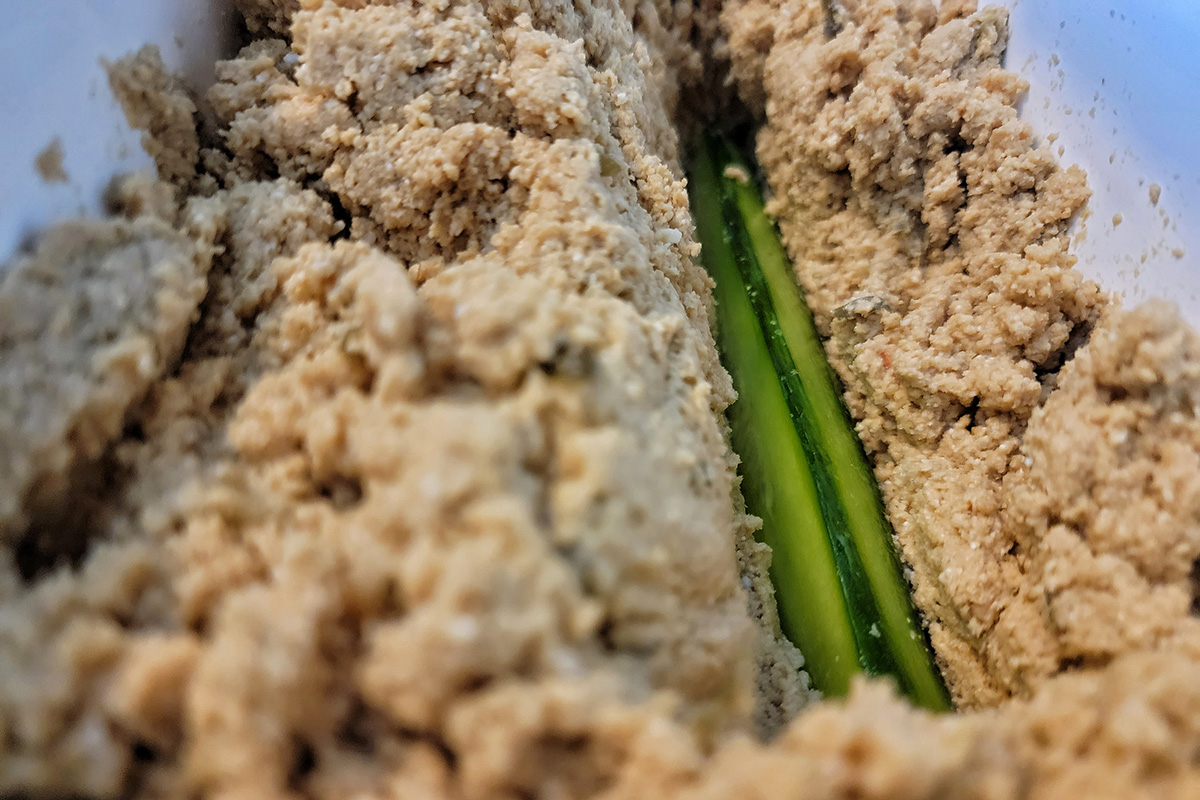
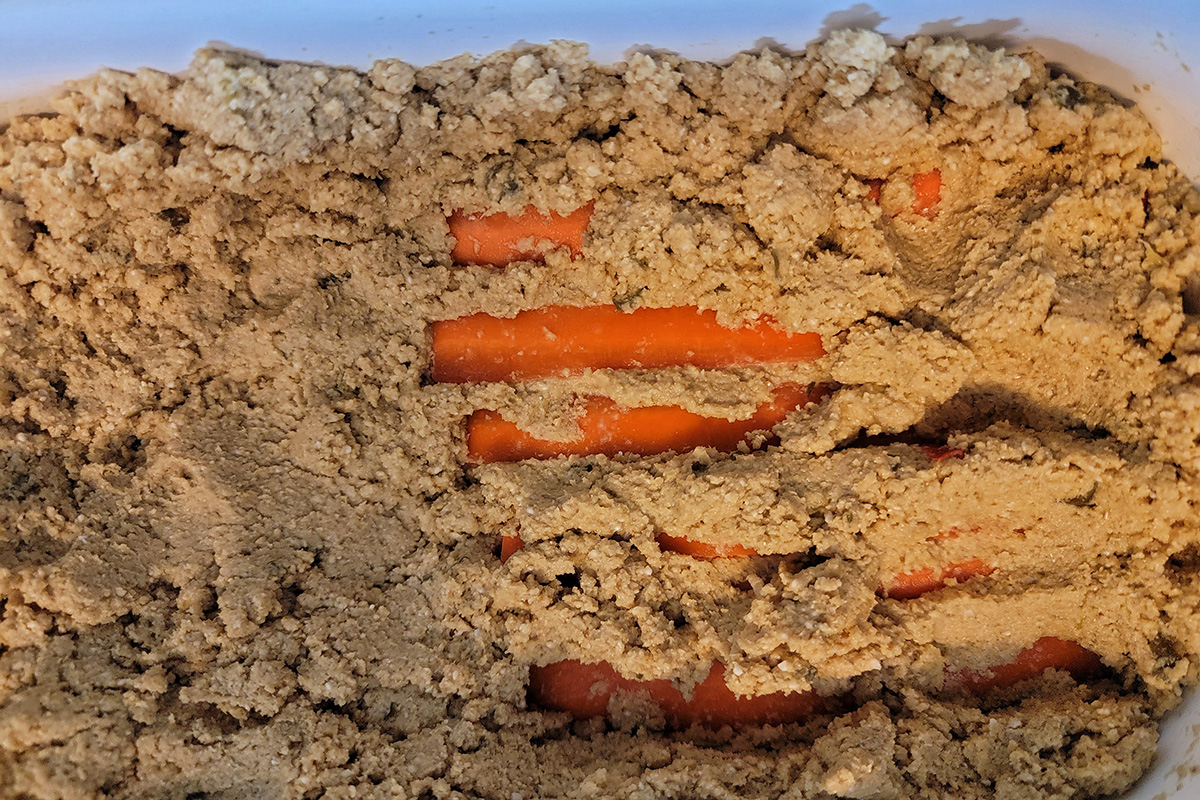
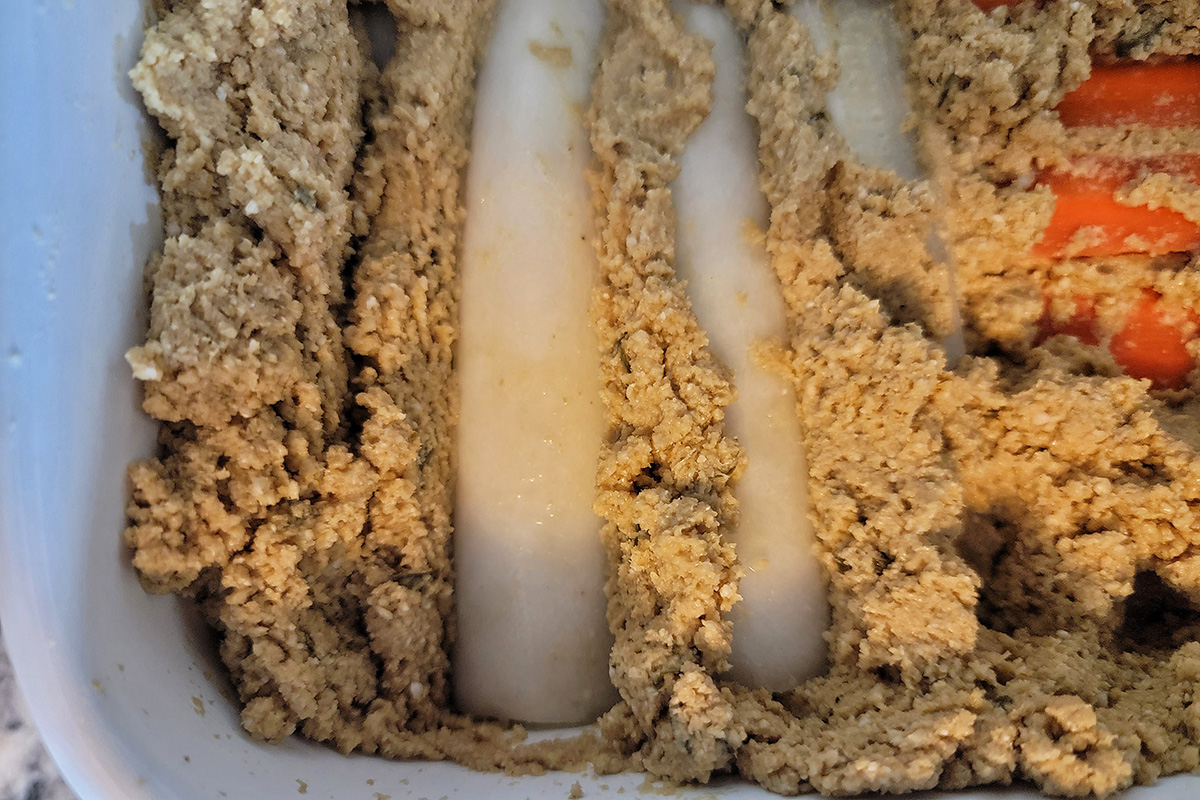
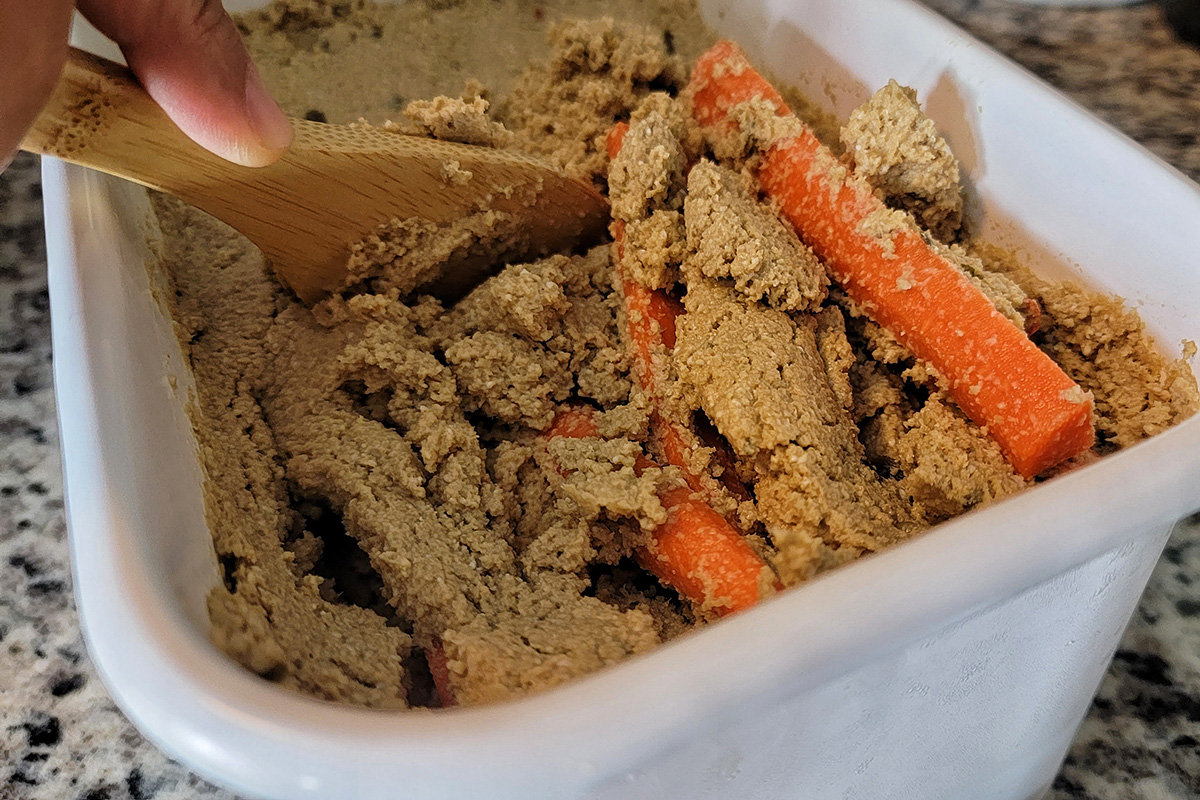
Mix the nukadoko thoroughly then bury them in the nukadoko.
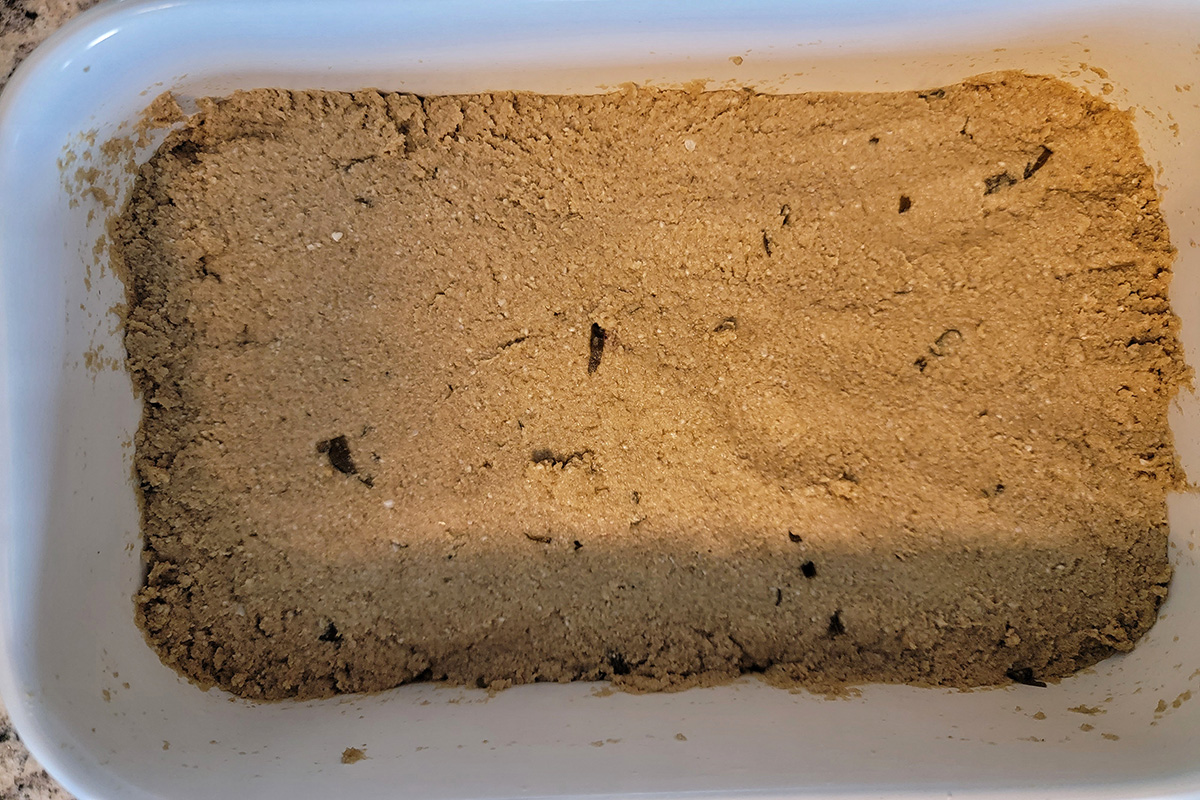
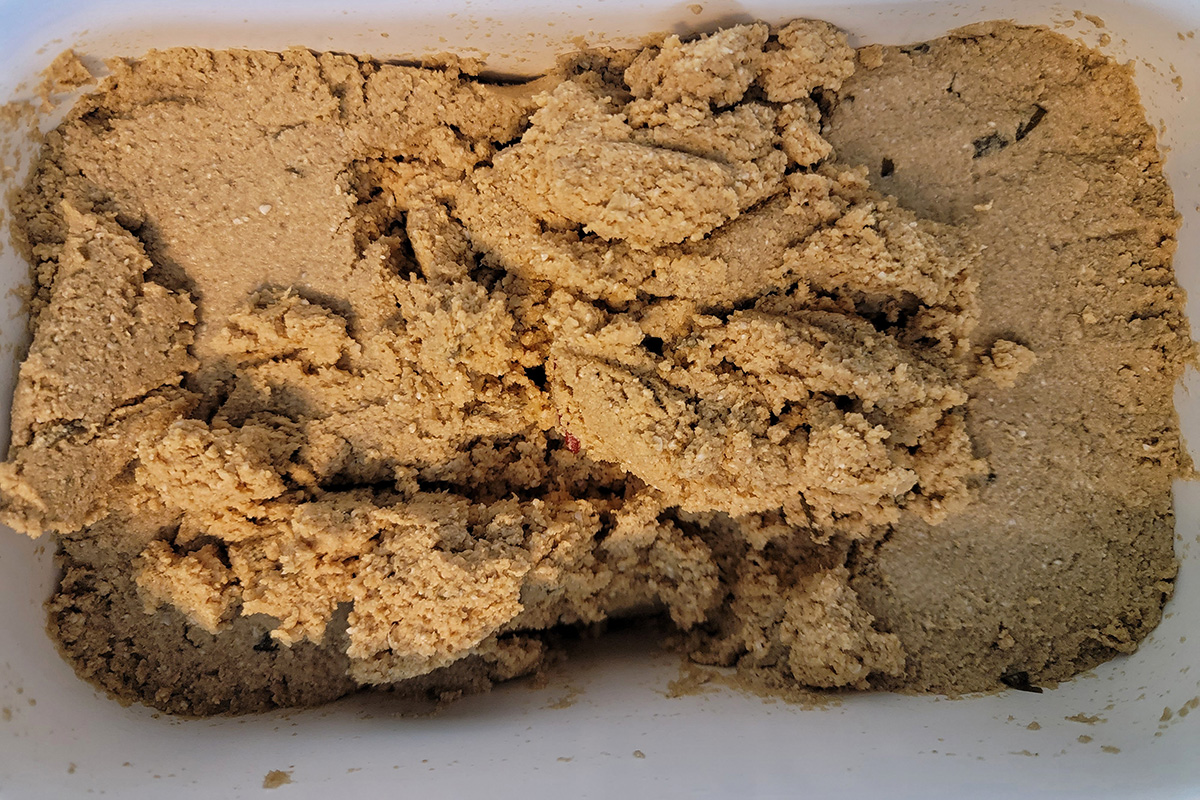
Make sure that the surface of each piece of veggie is fully coated (exposed to) with the rice bran mixture.
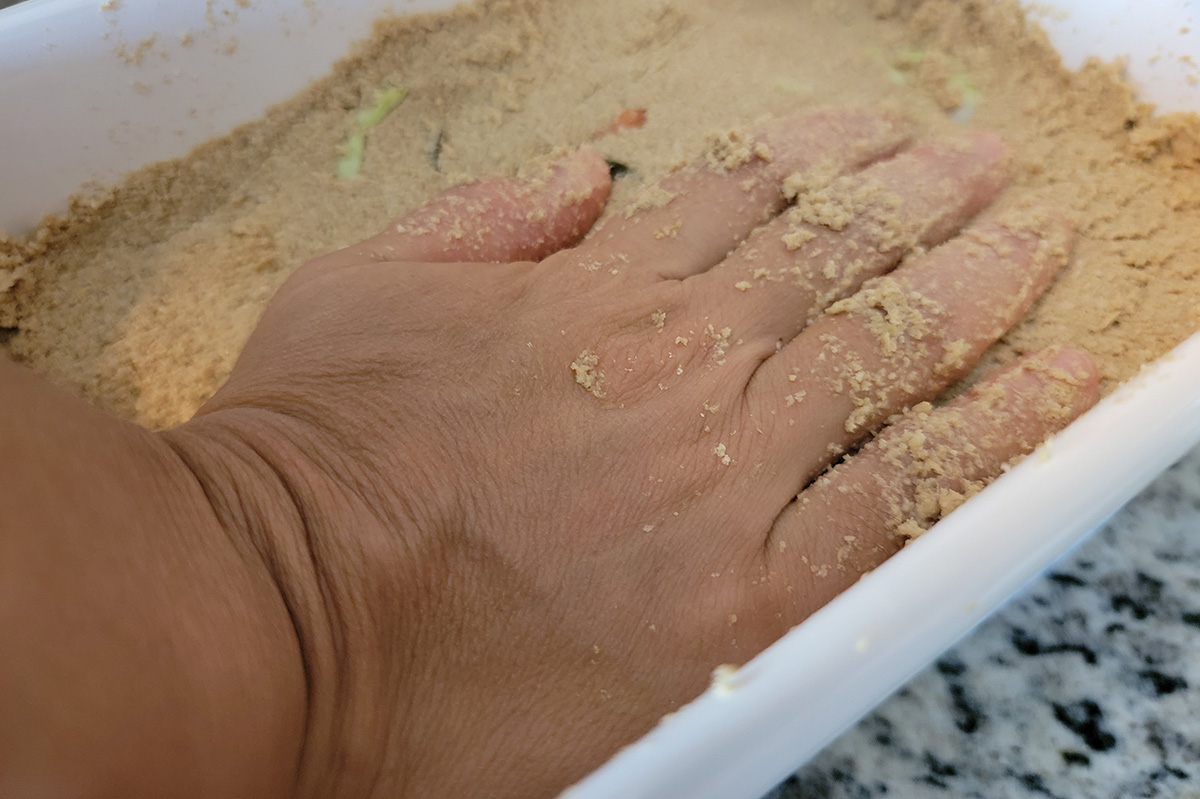
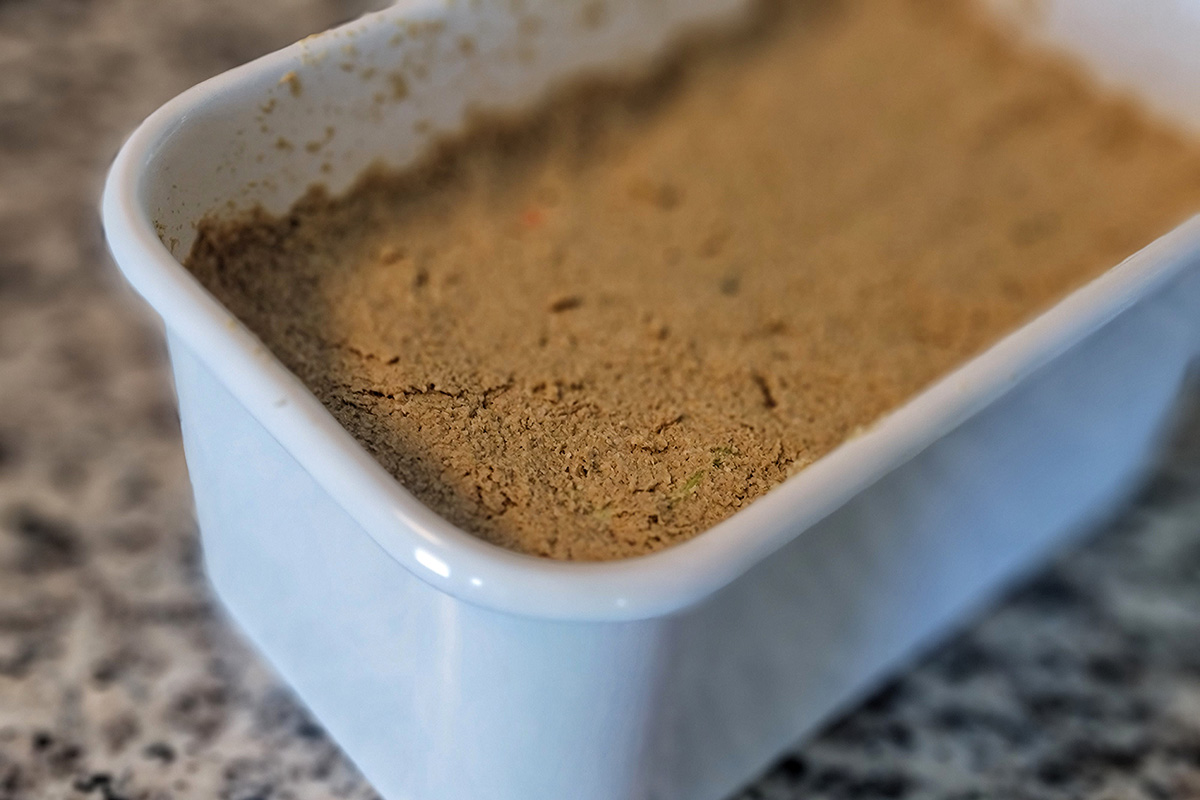
Use hand to compress the surface of the nukadoko mixture down to get rid of air pockets. Wipe off the rim of the container with a clean cloth then close the lid.
4. Leave it in the fridge to pickle them for at least 12 hours up to 48 hours (I typically go for 24-48 hours.)
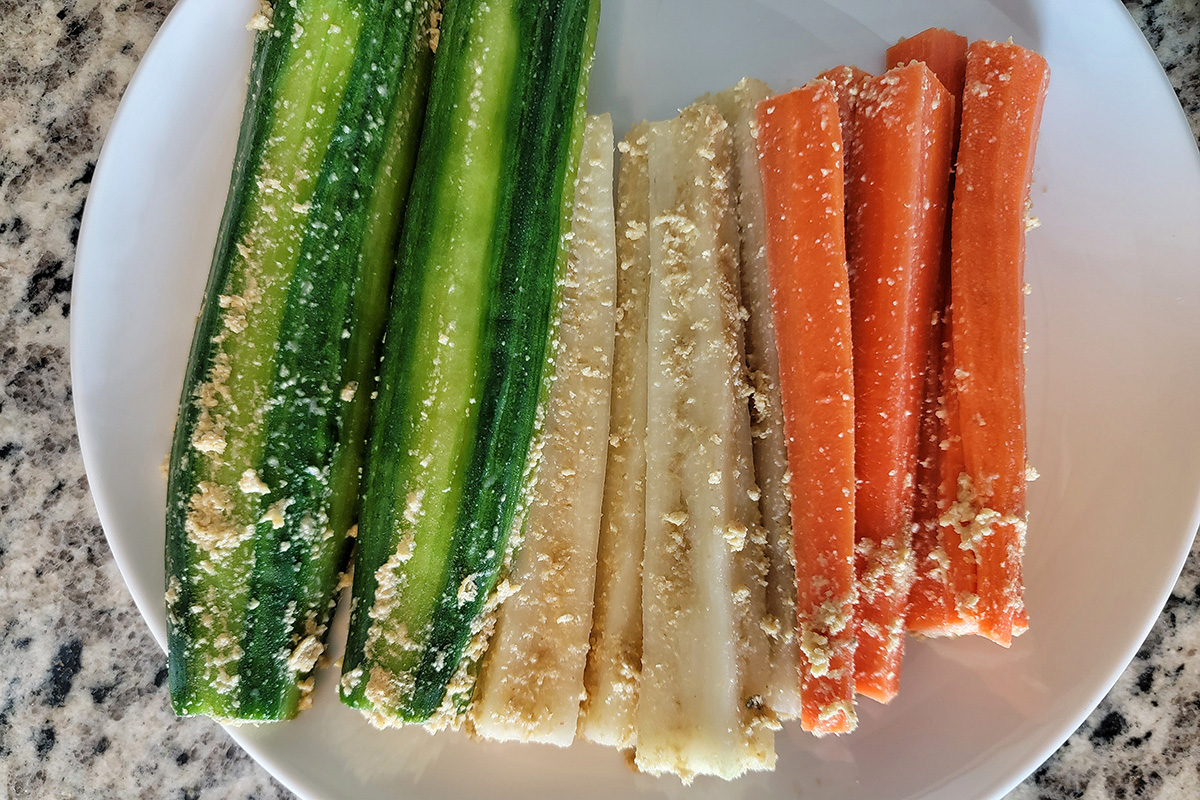
5. After the desired pickling time, remove the veggies from the nukadoko. Use fingers and strip off the rice bran that’s coated around the veggies as much as possible. Do this over the container so you don’t waste any the rice bran mixture. Set aside.
6. Important: After removing veggies, mix the nukadoko thoroughly. Use hand to compress the surface of the mixture down to get rid of air pockets. Wipe off the rim of the container with a clean cloth then close the lid. Store it in the fridge until using it again. Continue to maintain the nukadoko mixture by mixing the rice bran mixture at least every 2-3 days or more often to avoid getting a mold.
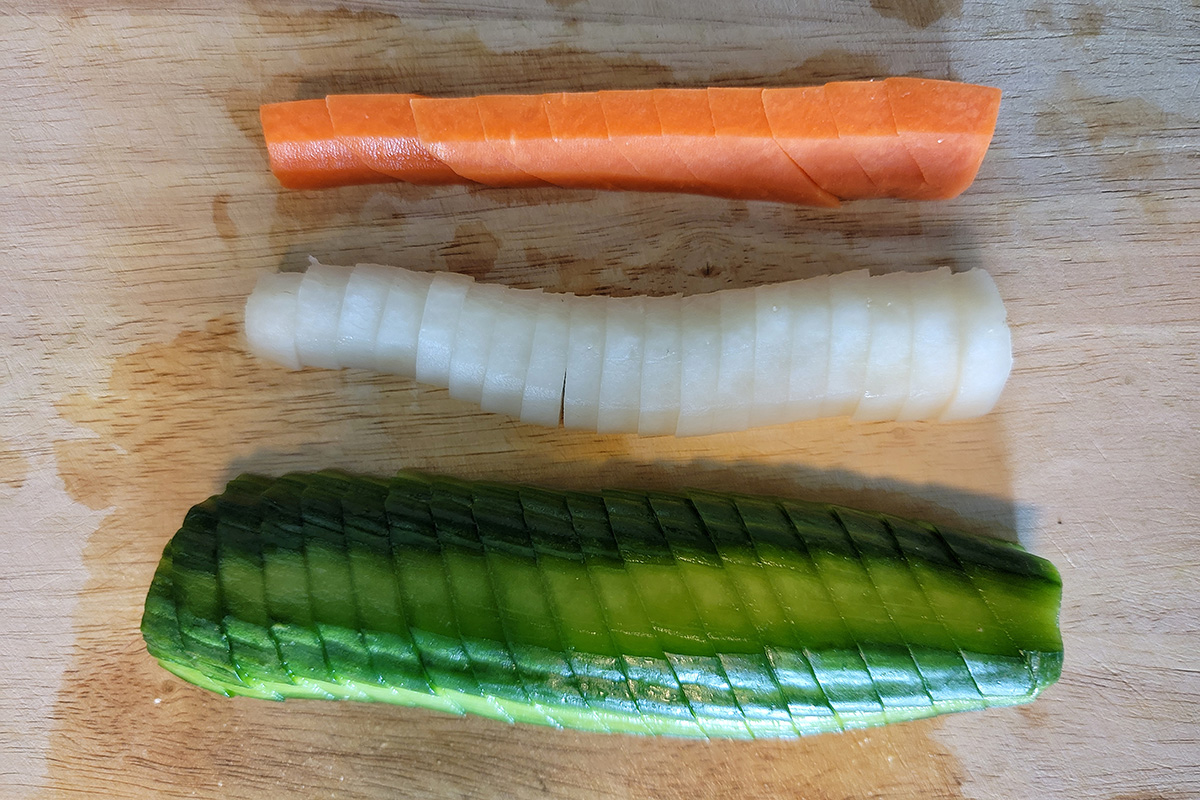
7. Rinse off the remaining nuka (rice bran) mixture on the pickled veggies under running water. Pat dry with a towel to remove excess water (don’t squeeze) and slice them into bite size.
8. Serve with a bowl of Japanese rice. Store the leftovers in a food container with a lid. Consume within 2-3 days.
Tips and Notes
Nukadoko
- Nukadoko is a Fermented Rice Bran Bed for Pickling. You need to have nukadoko in order to make this nukazuke recipe.
- See my Nukadoko (A Fermented Rice Bran Bed for Pickling) recipe for a comprehensive guide. It takes some time but easy to make.
Choice of Veggies
- I use the most basic veggies, cucumber, carrot and daikon radish, that are accessible to the majority.
- You can try with other choice of veggies such as:
- Eggplant
- Japanese Turnip (Kabu)
- Napa Cabbage
- Cabbage
- Burdock Root
- Asparagus
- Paprika
- Okra
- Celery
- Nagaimo (Mountain Yam)
- Myoga (Japanese Ginger) etc.
- The weight/size of the veggies don’t have to be precise to the recipe. The volume of veggies that I use in the recipe is perfect for the size of my nukadoko You can adjust to fit your preference and needs.
- Adjust the amount of sea salt accordingly to the size of the veggies you use.
Peel or Not to Peel
- Technically, you don’t have to peel veggies but it pickles better when peeled.
- If you want to enjoy the crunch of the veggie peels, leave it on and pickle for a longer period than you typically do.
- For example, Japanese cucumber has thinner skin than English (European) cucumber. So, I don’t peel when I have Japanese cucumber available. But when I use English cucumber, I partially peel (like I did in this recipe.)
How Long to Pickle
- Refrigerated nukadoko has a slow(er) fermentation (pickling) process. Typically, you’ll have delicious nukazuke after 12 hours of pickling.
- If you like stronger flavor (pickling taste and brininess), try longer period like 36-48 hours. Basically, the longer it sits in nukadoko, the stronger the flavor will become.
- When pickling leafy veggies like cabbage, it pickles in a shorter time.
- I sometimes go for 72 hours depending on the size and the type of veggies.
- Using room temperature nukadoko can pickle veggies in a few hours in a warm climate.
How to Serve
- It’s best to serve chilled with a warm bowl of Japanese rice.
- Nukazuke is also delicious in sandwiches and salads.
- It’s best to consume within 1-2 days for the fresh taste/aroma.
Storage
- Store nukazuke in a container with a lid and keep it in the fridge. It may release a faint smell (fermented pickle smell) from it but this is normal. Please note that when you pickle daikon radish, it smells pretty strong (similar to kimchi.)
- Consume any leftover nukazuke within 2-3 days.
If you enjoy the recipe, please share, leave a comment below and tag us @plantbased_matters on Instagram! We appreciate your kind support 🙂
Nukazuke (Japanese Pickles Made in a Fermented Rice Bran Bed)
Ingredients
- Nukadoko (A Fermented Rice Bran Bed for Pickling)
- 1/2 Any seedless cucumber such as English cucumber or Japanese cucumber I use 6 oz / 170 g
- 2 carrots I use 4 oz / 113 g
- 1/3 daikon radish I use 5 oz / 142 g
- 3/4 tsp sea salt adjust to taste
Instructions
- Wash and clean veggies throughout and pat dry to remove excess water.
- Cut the veggies into smaller (thinner) size. Tips: For English cucumber, slice it in half lengthwise and partially peel the skin. For carrots, peel the skin and cut off the top then slice it in half (or quarter) lengthwise. For daikon radish, peel the skin and cut off the top (if applicable) then slice it in half (or quarter) lengthwise.
- Massage the veggies with sea salt (about 1/4 tsp for each veggie.) Mix the nukadoko thoroughly then bury them in the nukadoko. Make sure that the surface of each piece of veggie is fully coated (exposed to) with the rice bran mixture. Use hand to compress the surface of the nukadoko mixture down to get rid of air pockets. Wipe off the rim of the container with a clean cloth then close the lid.
- Leave it in the fridge to pickle them for at least 12 hours up to 48 hours (I typically go for 24-48 hours.)
- After the desired pickling time, remove the veggies from the nukadoko. Use fingers and strip off the rice bran that’s coated around the veggies as much as possible. Do this over the container so you don’t waste any the rice bran mixture. Set aside.
- Important: After removing veggies, mix the nukadoko thoroughly. Use hand to compress the surface of the mixture down to get rid of air pockets. Wipe off the rim of the container with a clean cloth then close the lid. Store it in the fridge until using it again. Continue to maintain the nukadoko mixture by mixing the rice bran mixture at least every 2-3 days or more often to avoid getting a mold.
- Rinse off the remaining nuka (rice bran) mixture on the pickled veggies under running water. Pat dry with a towel to remove excess water (don’t squeeze) and slice them into bite size.
- Serve with a bowl of Japanese rice. Store the leftovers in a food container with a lid. Consume within 2-3 days.
Notes
- Nukadoko is a Fermented Rice Bran Bed for Pickling. You need to have nukadoko in order to make this nukazuke recipe.
- See my Nukadoko (A Fermented Rice Bran Bed for Pickling) recipe for a comprehensive guide. It takes some time but easy to make.
- I use the most basic veggies, cucumber, carrot and daikon radish, that are accessible to the majority.
- You can try with other choice of veggies such as:
- Eggplant
- Japanese Turnip
- Napa Cabbage
- Cabbage
- Burdock Root
- Asparagus
- Paprika
- Okra
- Celery
- Nagaimo (Mountain Yam)
- Myoga (Japanese Ginger) etc.
- The weight/size of the veggies don’t have to be precise to the recipe. The volume of veggies that I use in the recipe is perfect for the size of my nukadoko container. You can adjust to fit your preference and needs.
- Adjust the amount of sea salt accordingly to the size of the veggies you use.
- Technically, you don’t have to peel veggies but it pickles better when peeled.
- If you want to enjoy the crunch of the veggie peels, leave it on and pickle for a longer period than you typically do.
- For example, Japanese cucumber has thinner skin than English (European) cucumber. So, I don’t peel when I have Japanese cucumber available. But when I use English cucumber, I partially peel (like I did in this recipe.)
- Refrigerated nukadoko has a slow(er) fermentation (pickling) process. Typically, you’ll have delicious nukazuke after 12 hours of pickling.
- If you like stronger flavor (pickling taste and brininess), try longer period like 36-48 hours. Basically, the longer it sits in nukadoko, the stronger the flavor will become.
- When pickling leafy veggies like cabbage, it pickles in a shorter time.
- I sometimes go for 72 hours depending on the size and the type of veggies.
- Using room temperature nukadoko can pickle veggies in a few hours in a warm climate.
- It's best to serve chilled with a warm bowl of Japanese rice.
- Nukazuke is also delicious in sandwiches and salads.
- It’s best to consume within 1-2 days for the fresh taste/aroma.
- Store nukazuke in a container with a lid and keep it in the fridge. It may release a faint smell (fermented pickle smell) from it but this is normal. Please note that when you pickle daikon radish, it smells pretty strong (similar to kimchi.)
- Consume any leftover nukazuke within 2-3 days.