Last Updated on October 1, 2024
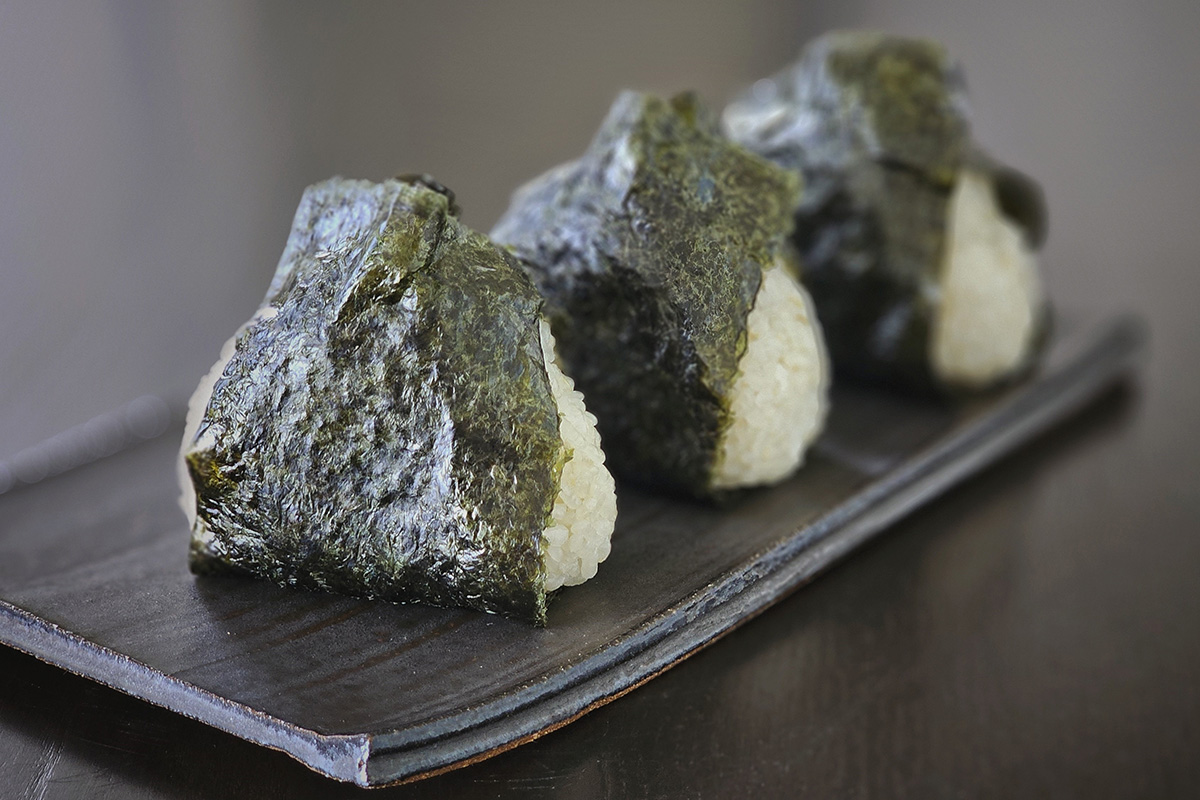
Vegan Onigiri (Japanese Rice Balls) are the most humble, inexpensive, simple, and delicious handheld Japanese food. It’s easy to make and a great option for lunch, snack, picnic food, potluck or a as meal by itself!
Onigiri (Japanese Rice Balls)
Onigiri is an iconic triangle shaped Japanese hand-held food that’s a perfect meal on the go. It makes great option for lunch, picnic, or snack! It’s simply cooked rice shaped into a ball shape or a triangle shape by hands then wrapped with nori seaweed.
Onigiri is a lunch staple for the Japanese people from kids to adults. It’s similar to PB & J for lunch in the U.S. I’d say one of the most common food items in Japan that you can find it just about anywhere.
When you don’t have anything to take for lunch, you can make onigiri at home and make that as a meal. Or, you can put onigiri in your lunch box with veggies and proteins which makes a very balanced meal.
What’s Onigiri Mean?
Onigiri is a Japanese word for “rice balls.”
You may know the word “nigiri” which is a type of sushi that has a small boat of rice topped with traditionally seafood or vegetables. The word “nigiri” is a variation of the Japanese verb “nigiru” which means “hold”, “grasp”, “mold”, “shape” etc. You get the idea.
Now, you may be wondering what’s the “O” from O-nigiri. “O” is used in many Japanese words to show respect and politeness for the action of them or the existence. Traditionally and historically, the Japanese considered food as something sacred and a blessing. Especially, when it comes to rice, it’s the most important and essential part of Japanese cuisine for thousands of years since the B. C. era. Therefore, the letter “O” is attached to show some respect to the rice.
Yet, onigiri is a humble food that’s for everyone! It’s easy to make with simple ingredients.
What’s in Vegan Onigiri?
There are many different variations of onigiri that you can make.
For example, you can put some fillings in it or mix rice with some seasonings. Most iconic appearance of any onigiri has nori (toasted seaweed) on it which is the most common way to make onigiri. But, if you don have seaweed or you’re not a fan of it, no worries! You can make it without and it’s totally fine.
Onigiri can easily be made vegan as long as you don’t use any fish or meat (which is rare) ingredients. Some of the common vegan ingredients to make onigiri are:
- Shiso flakes
- Umeboshi (Pickled plum)
- Toasted sesame seeds
- Wakame flakes
- Furikake flakes
- Sea salt (this recipe!) etc.
With this recipe, you can make the very basic onigiri.
Ingredients for Vegan Onigiri (Japanese Rice Balls)
This Vegan Onigiri recipe is the simplest version of onigiri which is rice balls with sea salt.
Onigiri with sea salt is called “shio onigiri” or “shio musubi.” The word “shio” is salt and “musubi” is another word for onigiri. Shio onigiri is also the best way to appreciate the flavor of rice itself!
The ingredients to make vegan onigiri is a short list of 5:
- Japanese rice (short grain rice)
- Purified water
- Sea salt
- Toasted sesame oil (optional)
- Toasted nori sheet
As you can see, in my Vegan Onigiri (Japanese Rice Balls), I add my personal favorite touch with toasted sesame oil. It’s optional but I really like the taste of nutty toasted sesame oil in my onigiri rice balls.
Another great option would be using ‘’moshio” instead of sea salt. Moshio is Japanese sea salt blended with seaweed. It gives a great umami taste!
Type of Rice to Use (IMPORTANT!)
The most important ingredients for making the simplest salted onigiri is the choice of rice!
It depends where you live but you really want to find good quality rice and it’s worth the price to pay for the rice and the effort to find them. I buy authentic Japan-grown rice from The Rice Factory New York. They have an extensive selection of great tasting Japanese rice (organic and conventional.) You can read more about Japanese rice on my Japanese Pantry Guide here.
I typically use Koshihikari, Akitakomachi, or Sasashigure. Any of those rice would be good for making Onigiri. Another important reason to choose good rice is the fact that onigiri is typically eaten at room temperature. Of course, onigiri is great when it’s warm but in my opinion, it’s even better when it’s at room temperature.
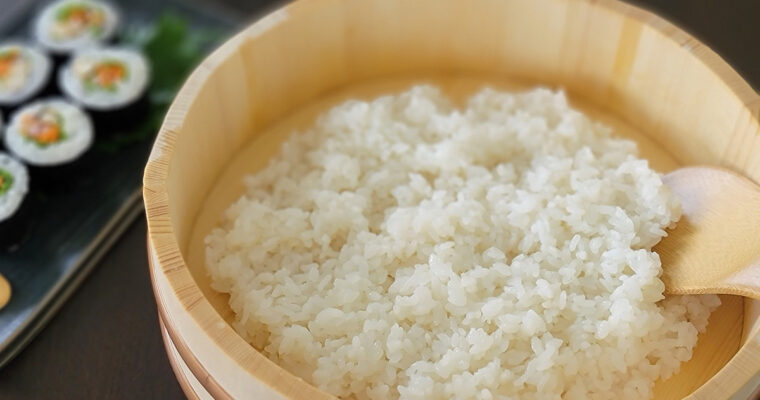
You can prepare rice for onigiri by rice cooker or cook on a stovetop. I use Japanese Zojirushi rice cooker which makes my life easier to prepare rice!
How to Enjoy Vegan Onigiri
Onigiri can be great by itself but another way to eat onigiri would be with Japanese pickles like nukazuke.
My guilty pleasure is to eat onigiri as a side with udon noodles. Carb on carb but it’s so good!
How to Store Onigiri
Onigiri should be good at room temperature for 4-6 hours as long as it’s stored properly. Be sure to wrap or cover with something so the rice doesn’t dry out.
Any leftovers (after 4-6 hours) must be stored in the fridge and consume within 1-2 days. Rice will be hard in the fridge so you have to reheat it in microwave or steamer.
You can also freeze it and microwave for about 2 minutes to eat. To freeze it, wait until it’s completely cooled down and put it individually in a small container. I freeze mine in a glass container.
How to Make Vegan Onigiri (Japanese Rice Balls)
Prep the Ingredients
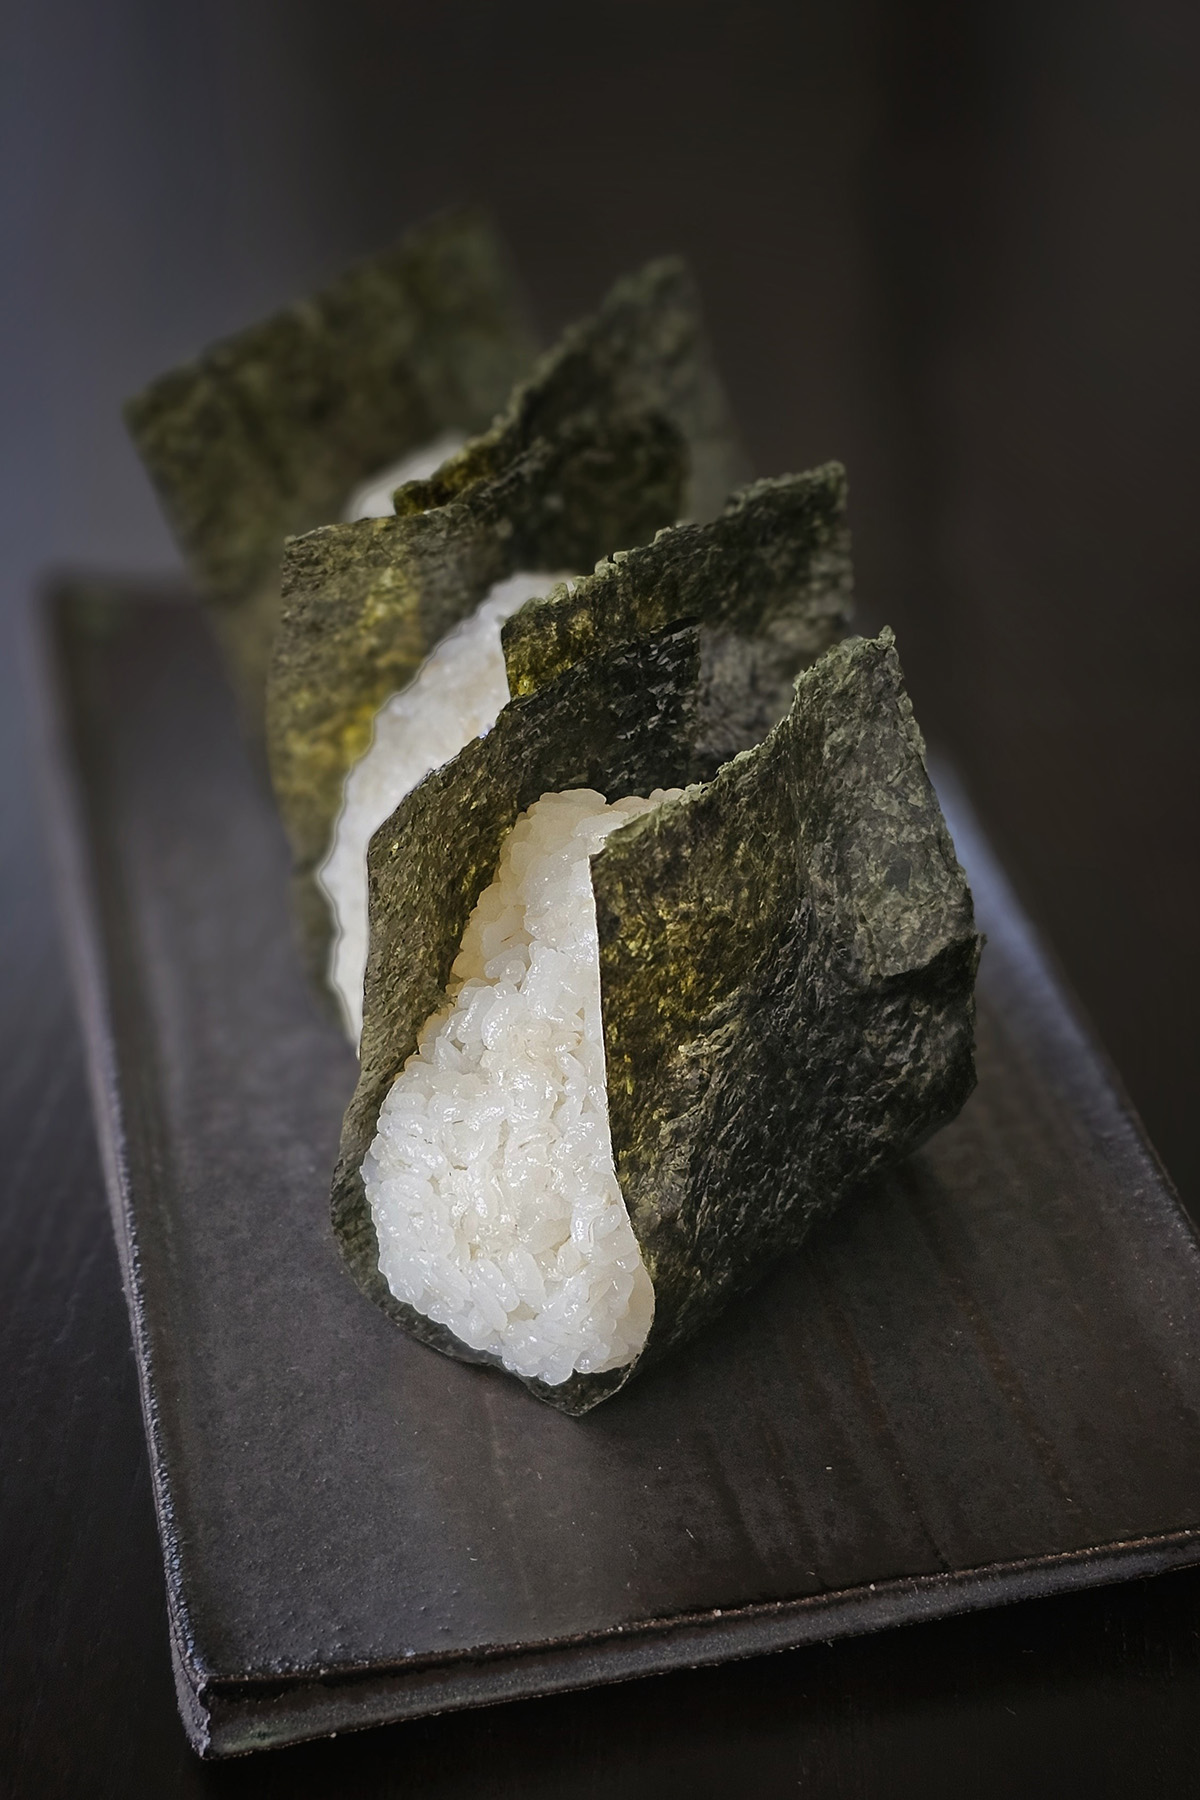
1. Cut the nori sheets with kitchen scissors (2-3 wide strips per sheet.) After cutting, it’s better to keep the nori strips in an airtight bag until assembling so they stay crisp.
2. Prepare the rice. Place rice in a large bowl. Pour running water to cover the rice. Wash it with hand moving in circular motion then quickly discard the water. Repeat the process for 5 to 6 times until water becomes clear. Drain well.
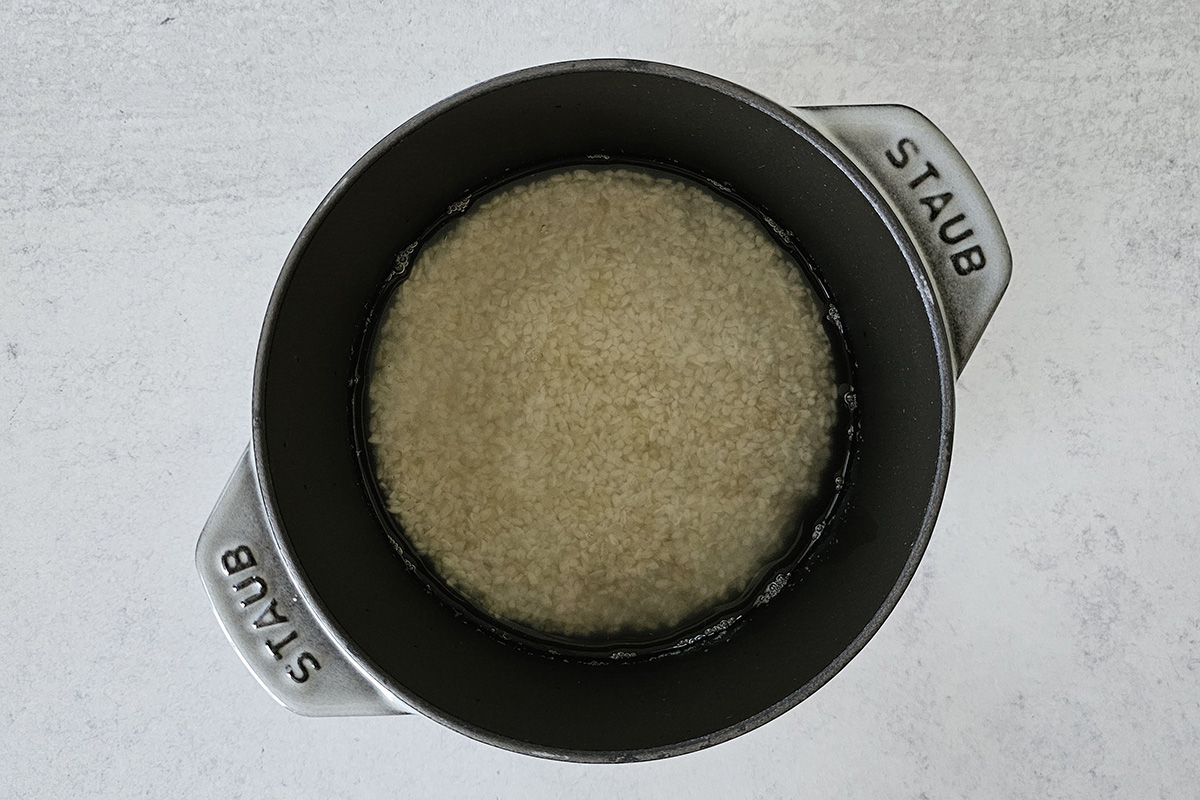
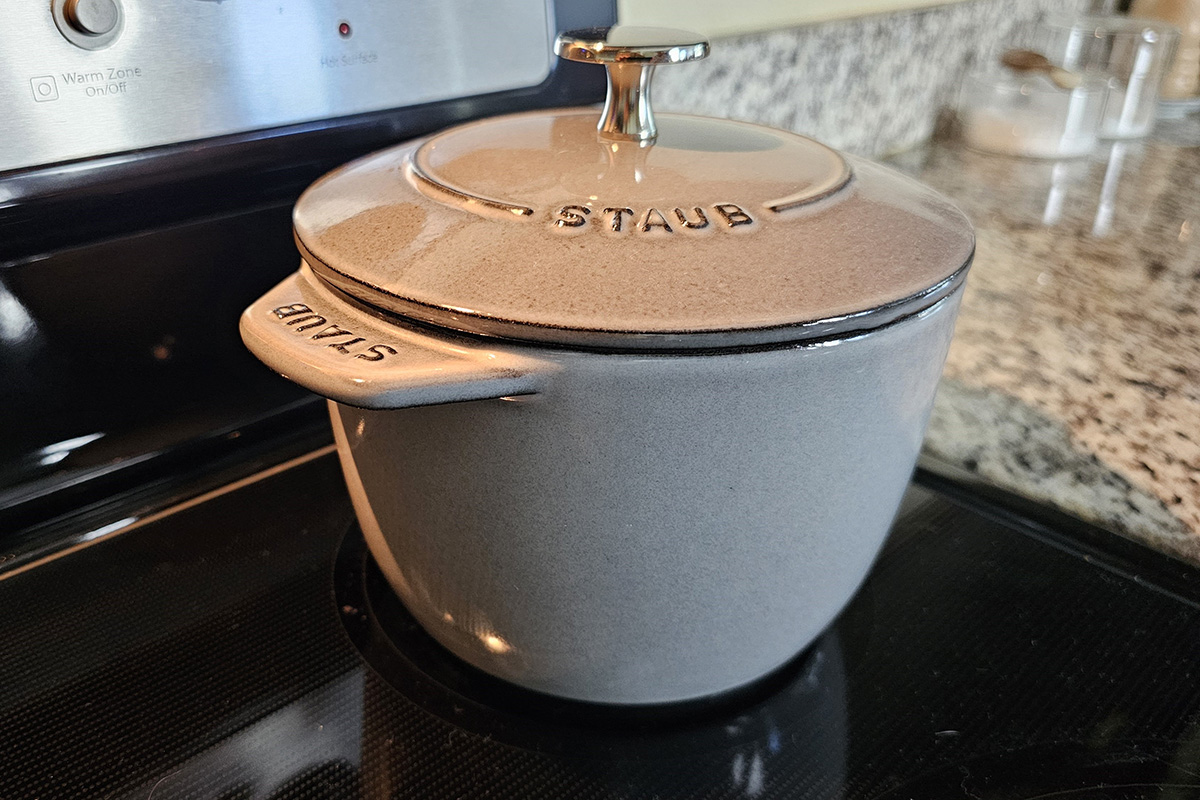
3. Stovetop Method: Transfer the rice to a saucepan with a heavy lid (preferably cast iron cookware such as Staub.) Pour in water and let it stand for 30 minutes (optional but highly recommended.) Add sea salt then stir and make the rice leveled and cover with the lid.
Japanese Rice Cooker Method: Transfer the rice to a rice cooker. Pour in water and add sea salt then stir and make the rice leveled. Cook the rice according to the settings of your rice cooker. Skip to step 5.
4. Cook over slightly higher than medium heat. In about 10-15 minutes, it starts almost boiling (you will see the bubbles.) At this point, open the lid and use a rice paddle to give a quick stir from the bottom. Make the rice leveled again then cover with the lid. Reduce the heat to low and continue to simmer for 10 minutes. After the 10 minutes, turn off the heat. Keep the lid on and let it stand for 10 minutes.
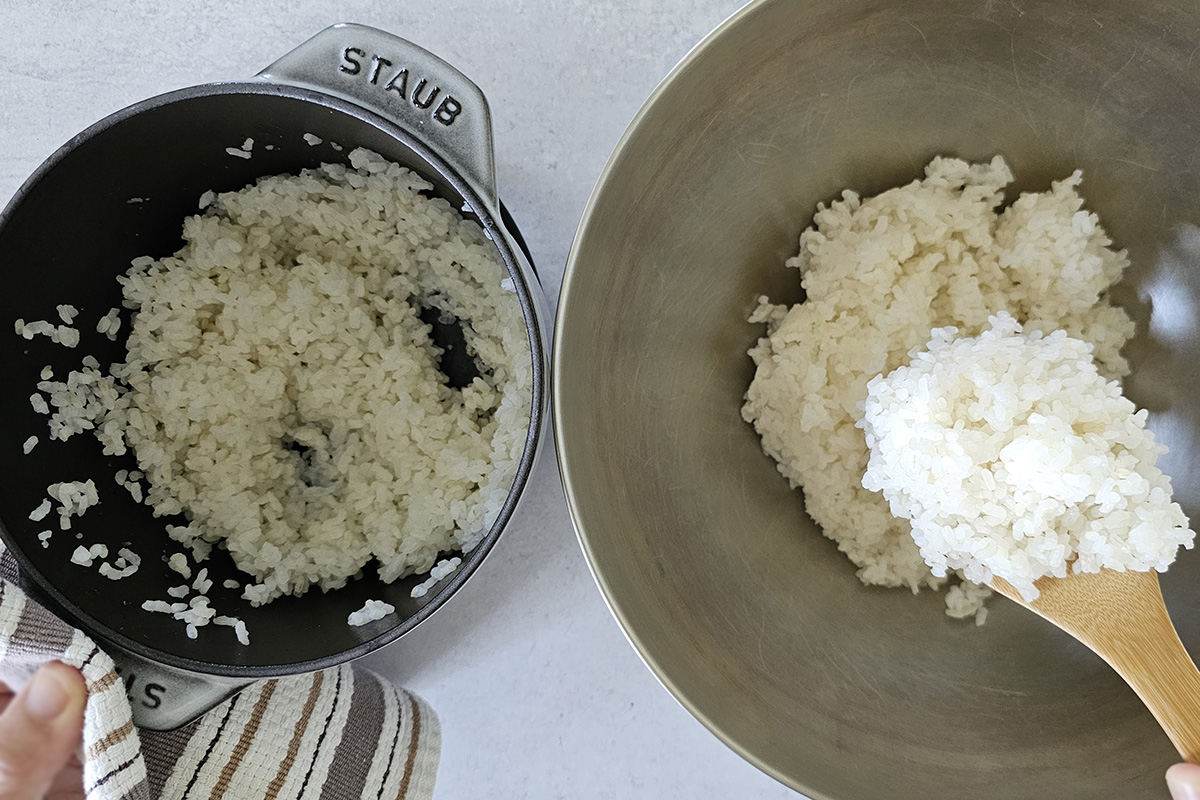
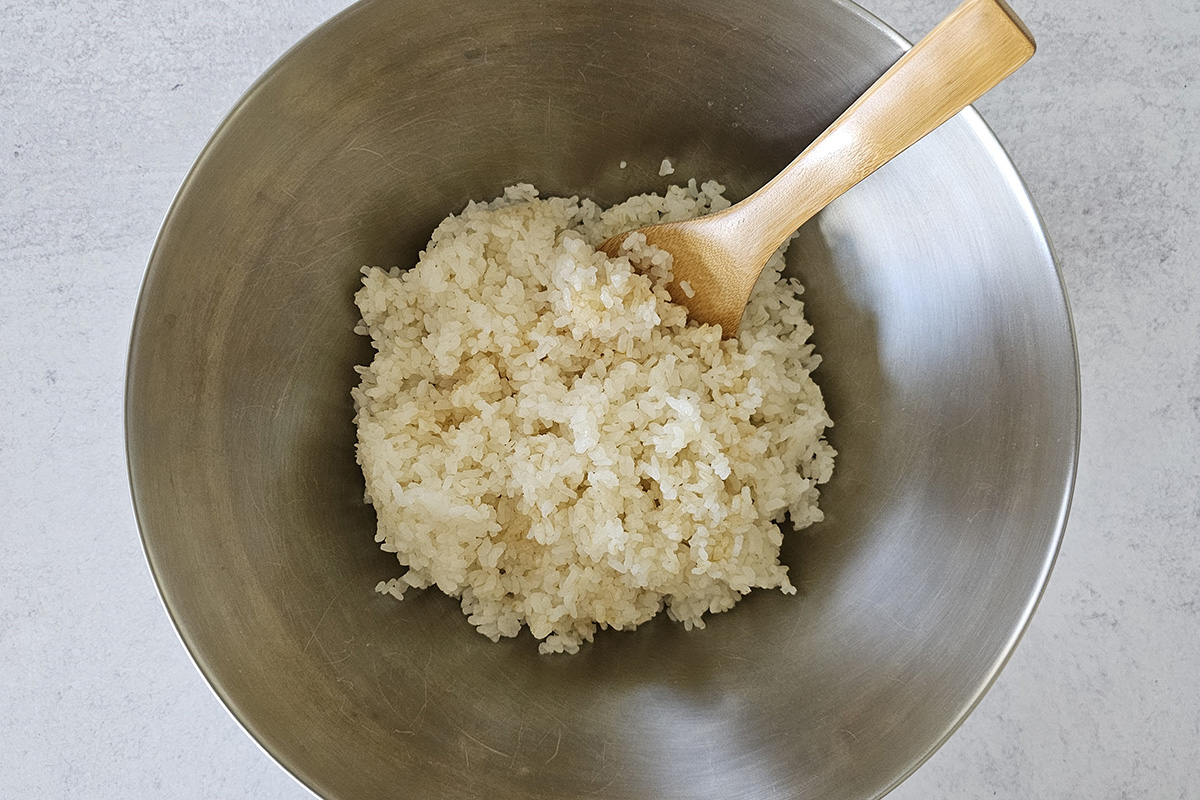
5. When the rice is done, fluff it with a rice paddle and transfer the rice to a large bowl.
Optionally, add toasted sesame and give a quick mix.
Divide the rice into 4-6 portions (1 ½ cups of uncooked rice makes 4 large or 6 medium size onigiri.)
Assembling
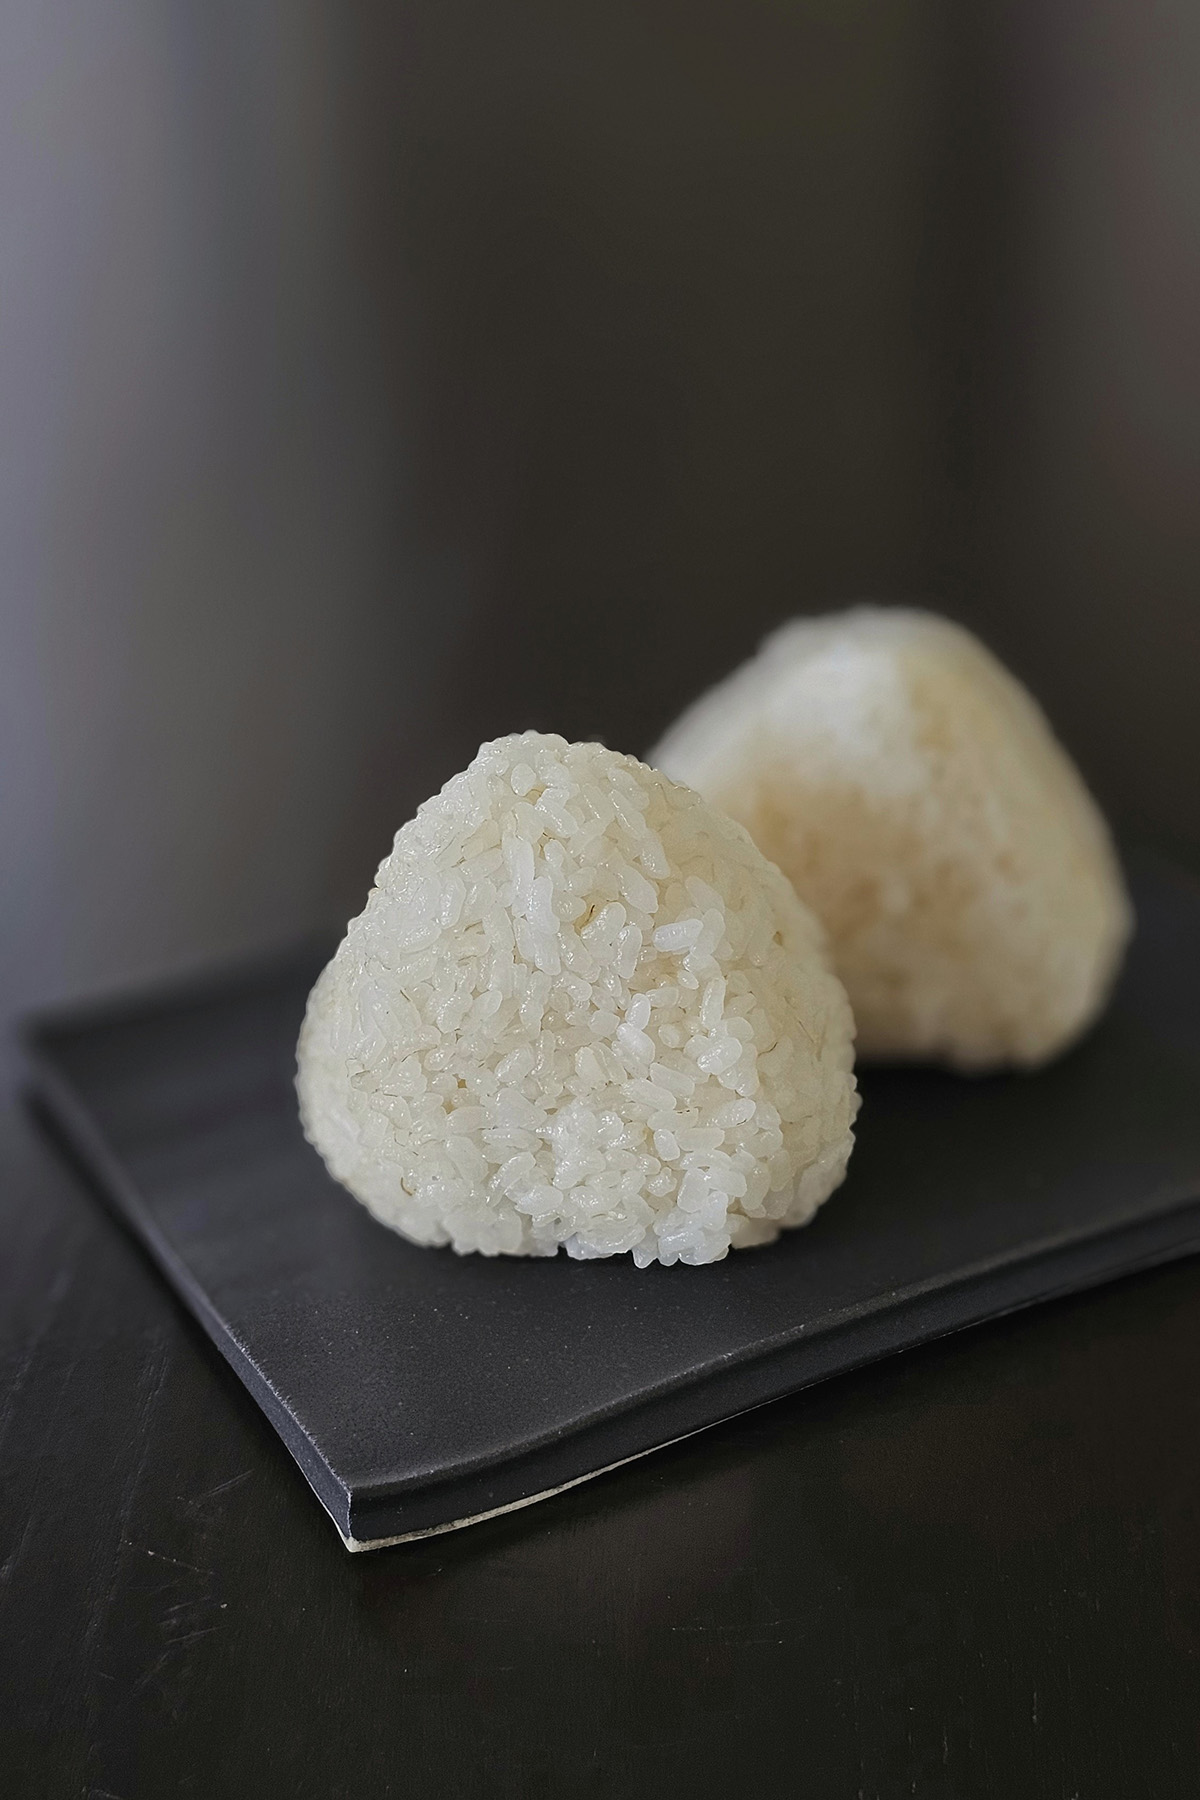
Prepare iced water or cold water in a separate bowl (to handle the hot rice and also to prevent the rice sticking to your hands.) Soak your hands in the water and briefly dry them off with a clean towel. Grab each portion and shape it with a gentle squish and make into triangle. Set aside on a tray or plate.
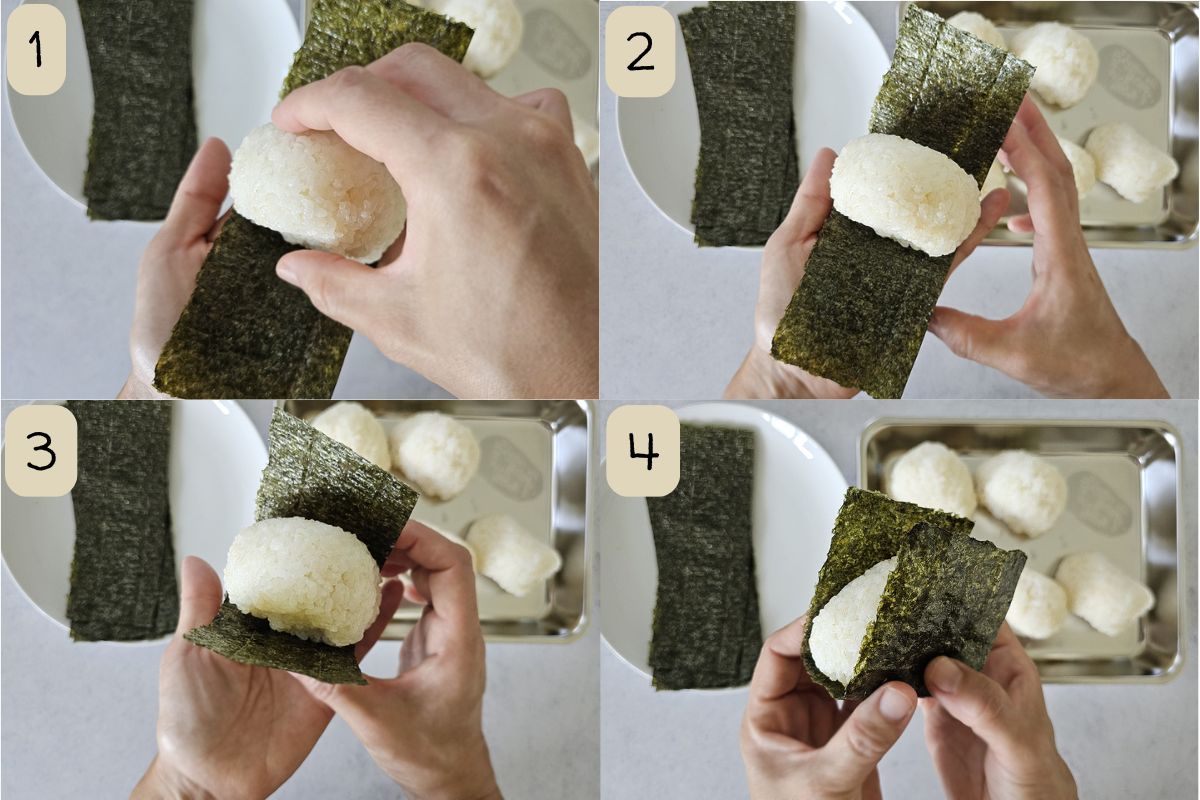
Wrap each portion of shaped rice with a nori sheet.
Serve right away or at room temperature.
Vegan Onigiri (Japanese Rice Balls)
Ingredients
- 1 1/2 cups uncooked Japanese white rice 1 ½ cup = 2 cups Japanese rice cooker measuring cup
- 1 2/3 cups purified water
- 1 1/4 tsp sea salt adjust to taste
- 1 tsp toasted sesame oil optional
- 2 toasted nori sheets
Instructions
- Cut the nori sheets with kitchen scissors (2-3 wide strips per sheet.) After cutting, it's better to keep the nori strips in an airtight bag until assembling so they stay crisp.
- Prepare the rice. Place rice in a large bowl. Pour running water to cover the rice. Wash it with hand moving in circular motion then quickly discard the water. Repeat the process for 5 to 6 times until water becomes clear. Drain well. Transfer to a fine-mesh colander and let it stand for 30 minutes (optional but recommended.)
- Stovetop Method: Transfer the rice to a saucepan with a heavy lid (preferably cast iron cookware such as Staub.) Pour in water and let it stand for 30 minutes (optional but highly recommended.) Add sea salt then stir and make the rice leveled and cover with the lid.Japanese Rice Cooker Method: Transfer the rice to a rice cooker. Pour in water and dd sea salt then stir and make the rice leveled. Cook the rice according to the settings of your rice cooker. Skip to step 5.
- Cook over slightly higher than medium heat. In about 10-15 minutes, it starts almost boiling (you will see the bubbles.) At this point, open the lid and use a rice paddle to give a quick stir from the bottom. Make the rice leveled again then cover with the lid. Reduce the heat to low and continue to simmer for 10 minutes. After the 10 minutes, turn off the heat. Keep the lid on and let it stand for 10 minutes.
- When the rice is done, fluff it with a rice paddle and transfer the rice to a large bowl. Optionally, add toasted sesame and give a quick mix. Divide the rice into 4-6 portions (1 ½ cups of uncooked rice makes 4 large or 6 medium size onigiri.)
- Prepare iced water or cold water in a separate bowl (to handle the hot rice and also to prevent the rice sticking to your hands.) Soak your hands in the water and briefly dry them off with a clean towel. Grab each portion and shape it with a gentle squish and make into triangle. Set aside on a tray or plate.
- Wrap each portion of shaped rice with a nori sheet and serve right away or at room temperature.
Notes
Choice of Rice
- Use authentic Japanese rice (grown in Japan) to make good onigiri.
- Good quality rice makes tasty onigiri even at room temperature.
How to Store
- Onigiri should be good at room temperature for 4-6 hours as long as it's stored properly. Be sure to wrap or cover with something so the rice doesn't dry out.
- Any leftovers (after 4-6 hours) must be stored in the fridge and consume within 1-2 days. Rice will be hardened in the fridge. You can reheat it in microwave or steamer.
- You can also freeze onigiri. To freeze it, wait until onigiri is completely cooled down and put it individually in a small container. I freeze mine in a glass container and reheat it in microwave for 2 minutes.
Optional
- Try using ‘’moshio” instead of sea salt. Moshio is Japanese sea salt blended with seaweed. It gives a great umami taste!
